I’ve been cooking for about 25 years. During all those years, I never really gave much thought to what was going on and why I was doing certain things. It wasn’t until I actually began looking more deeply into the endeavor that I started realizing that there’s actually a method to the madness.
Let’s take carrot for example. Back in the day (just a few months ago), if I wanted to fry up some carrots to soften them as a side dish, I would simply pull a few out of the refrigerator, peel them and haphazardly cut them into randomly sized pieces. I’d sauté them in my skillet and, when I thought they were finished, I’d scoop them out and place them on our plates for consumption. I have to be honest here when I tell you that my carrots never really ended up all that great. I’m not sure if it was my lack of seasoning or what, but what I am sure of is that I had some carrots that were almost burnt and some that were still hard in the center. I attribute this to my haphazard chopping.
What I’ve been learning is that, in order to have even cooking for just about anything, you need to be sure the food sizing is consistent. Being a person who is always in a rush, I had some trouble with this concept. I’m now appreciating its value though, so I’m here today to demonstrate the wonder of chopping a carrot so its pieces end up consistently sized. And the good part is, this method is safer than the one I used to employ and it’s actually more fun. Knowing that I’m doing things the way the pros do it is rewarding in itself.
My Carrot
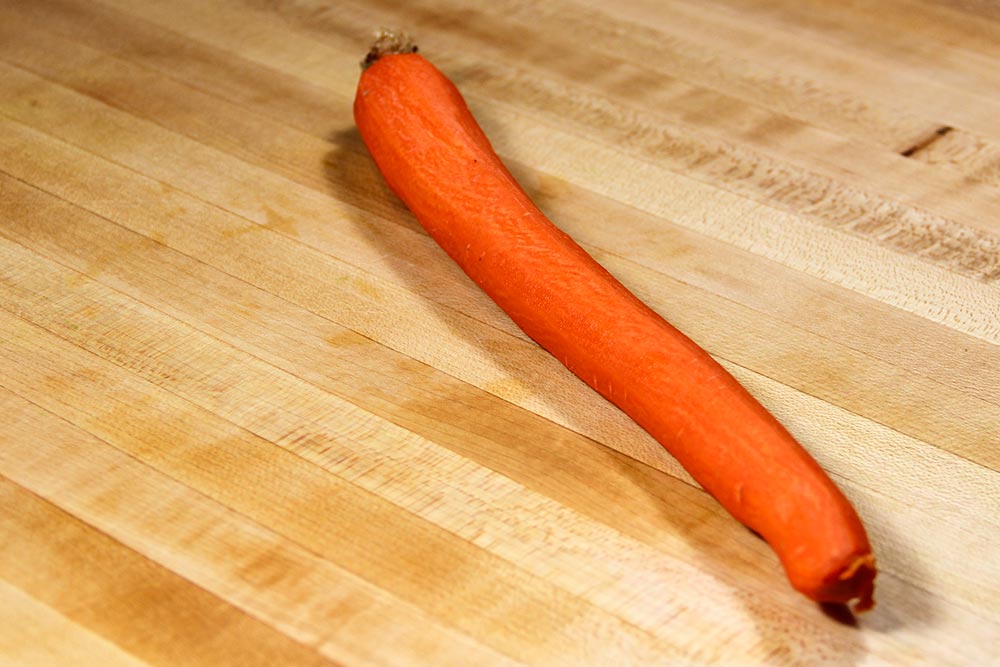
You’d be surprised how difficult it is to locate a good looking carrot. I had every intention of displaying an evenly tapered and wonderfully composed carrot here on this site, only to shuffle through my brand new 5-pound bag to find that not many fit the bill. The one in the photo below was what I settled on. I also located another one, with a crooked end, that almost made it into the photo shoot. I just couldn’t show you the crooked one. I’d never get over it.
Anyway, here is a photo of the carrot that I’ll be using as an example in this post. The difficulty with working with something like this is that it’s not only round, but tapered as well. I’ll discuss how to deal with both of these issues below.
Trimming the Carrot
As you can see in the previous photo, I already peeled the carrot. In this next step, I’m going to trim off both ends. We don’t need them for any reason at all.
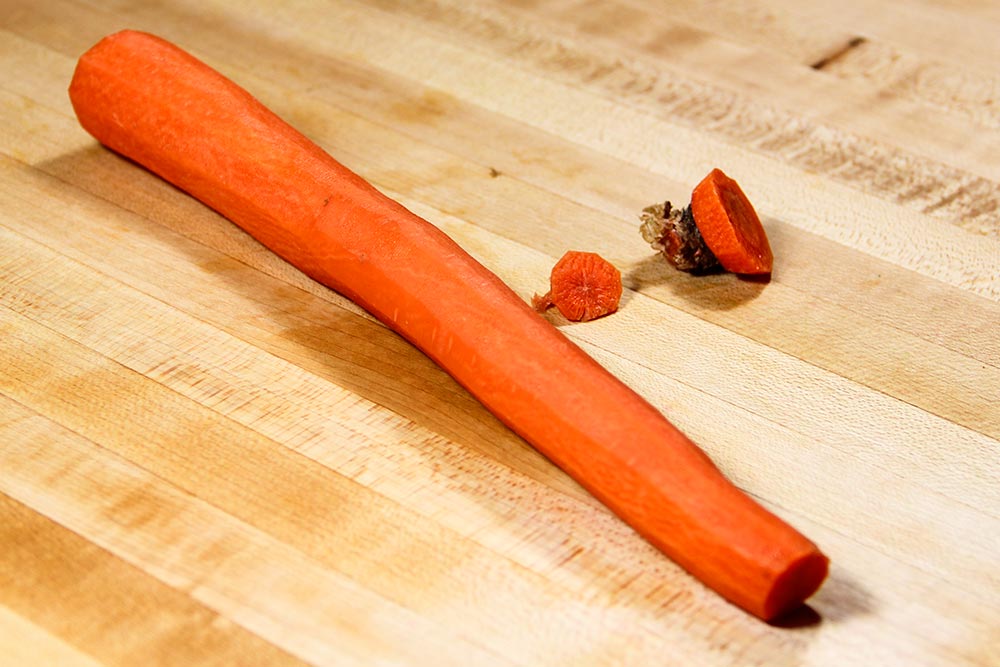
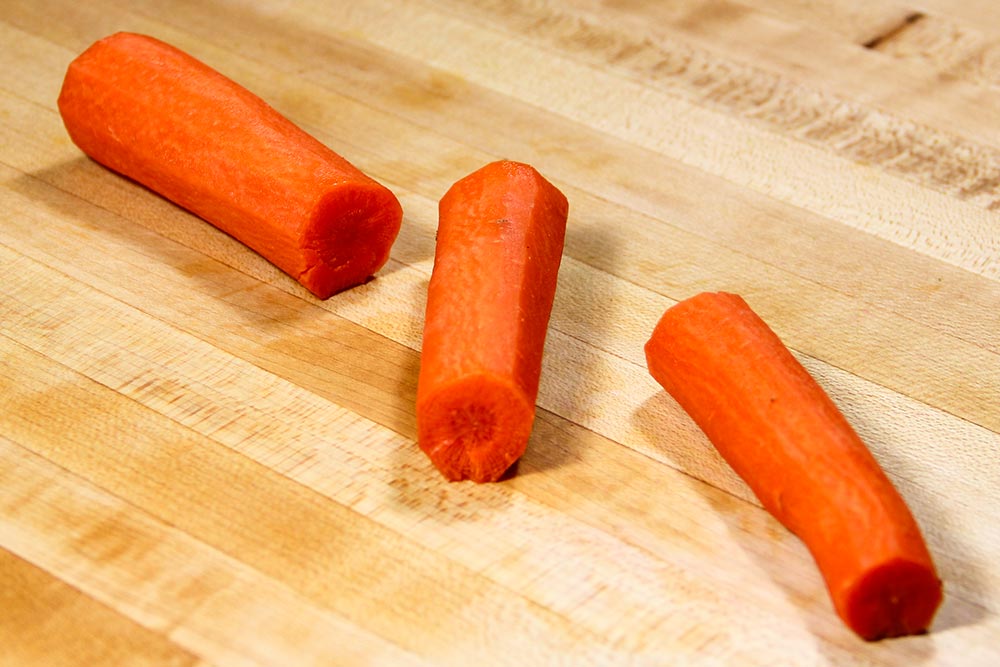
And after that, I’m going to cut the carrot in thirds. This is the best method of dealing with the taper, in order to cut pieces that are as uniformly sized as possible. I’ll go over the exact method below, but for now, just remember that by shortening each carrot length, we’re removing some of the size difference at each end. This is especially important with carrots that have a more severe taper than the one I’m dealing with in this post.
Making the Carrot Safe To Dice
If you’ve ever attempted to cut into a carrot, potato or any other vegetable that’s on the hard side as well as round, you surely know there’s a risk of cutting your fingers off. To lessen this risk, chef’s have a little trick they use to create a stable base. All they do is slice off a bit of material from one side of whatever they’re working with. I tried to get a photo of this below.
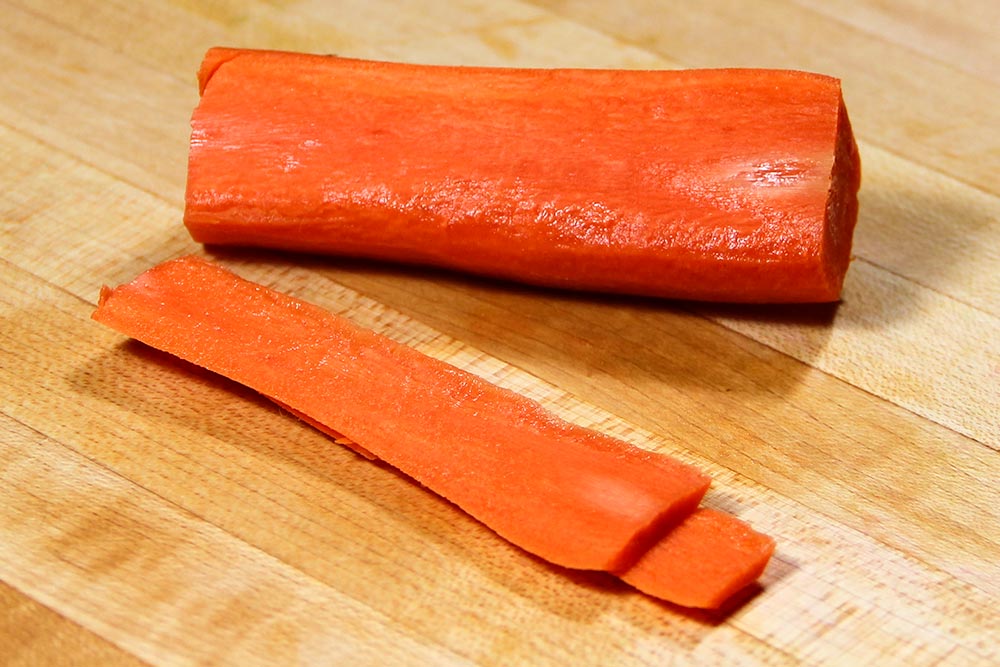
Basically, the goal is to cut a small amount off of one side only, giving the round vegetable something flat to rest stably on. Since carrots aren’t the friendliest items in the kitchen to work with, it took two attempts to complete this task.
Cutting the Carrot Into Planks
The next step is to decide what size we want our final dice to be. In my case, I’ll be cutting this carrot into fairly course sized pieces. Since that’s the case, I’ll begin working with the largest third and cut it into three planks.
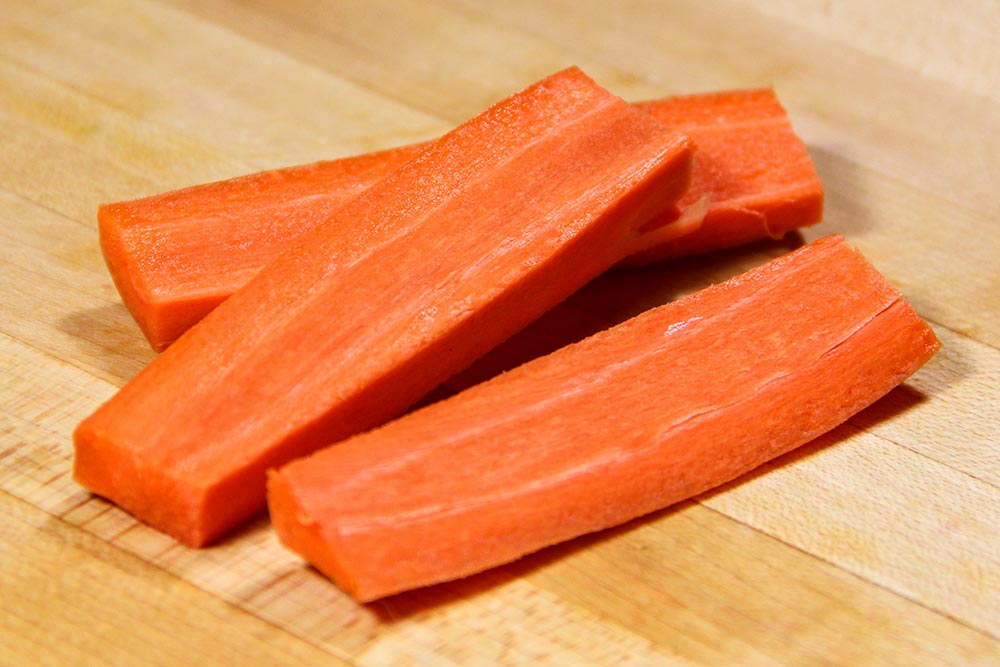
Planks just mean that something is cut into flat pieces.
Cutting the Carrot Into Sticks
We’ve all heard of carrot sticks before. They are the evenly sized pieces of carrot we use to sink into great tasting dip. When dicing a carrot, sticks are pretty much the same thing. And to get them, all we need to do is stack our planks flat and slice vertically into them, creating long, square pieces. This is a photo of me in action.
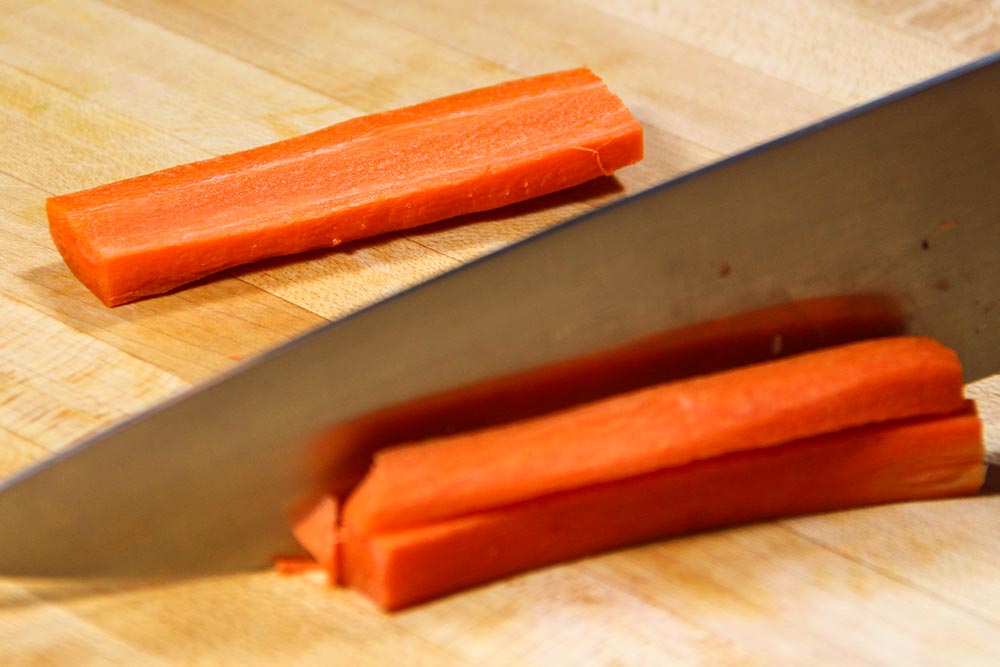
And these are the finished carrot sticks.
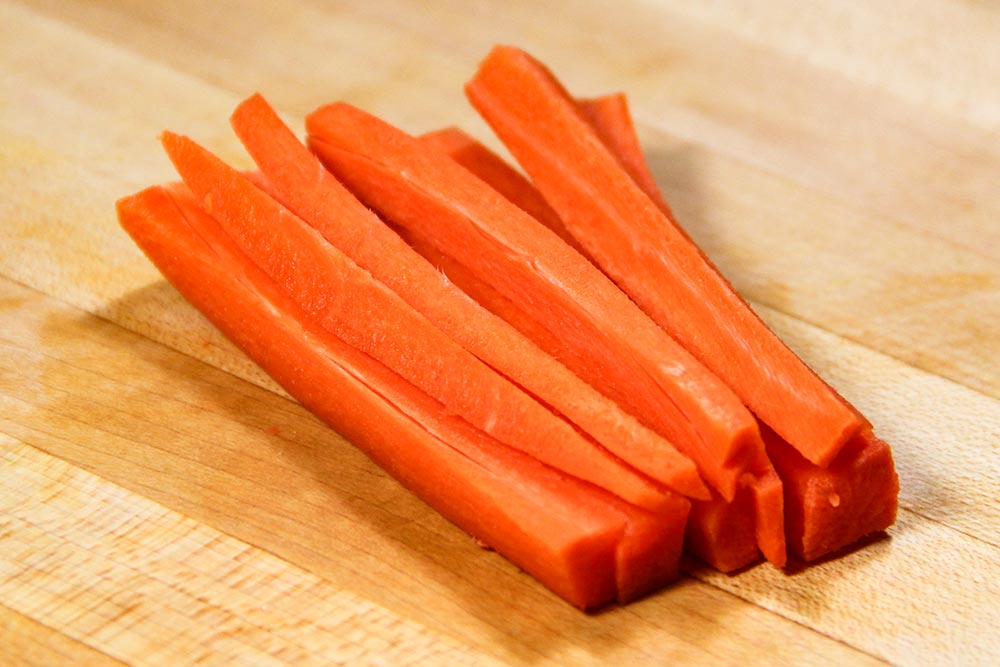
I want you to take notice of how uniformly sized these pieces are. At this point, it’s extremely important to make each piece as consistently comparable to each other. And since I made three planks and cut each of those planks into thirds, I’ve got nine sticks.
Dicing the Carrot
Holding the carrot pieces correctly and firmly, I cut perpendicularly through all the sticks. What I’m looking for here are as close to squares as possible. Since I’m making a course dice, my pieces are about a half inch thick.
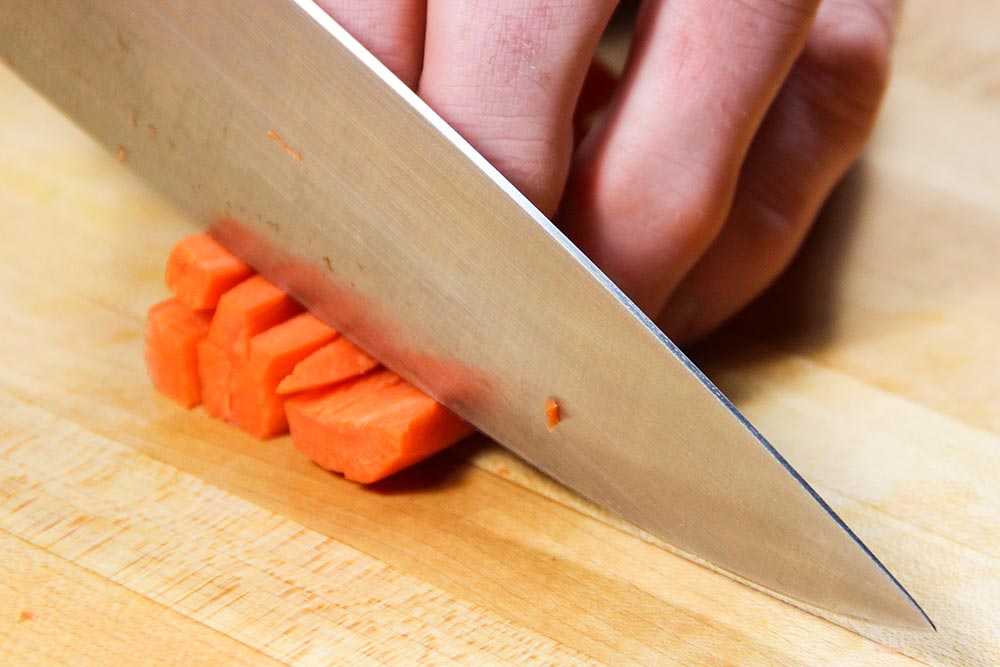
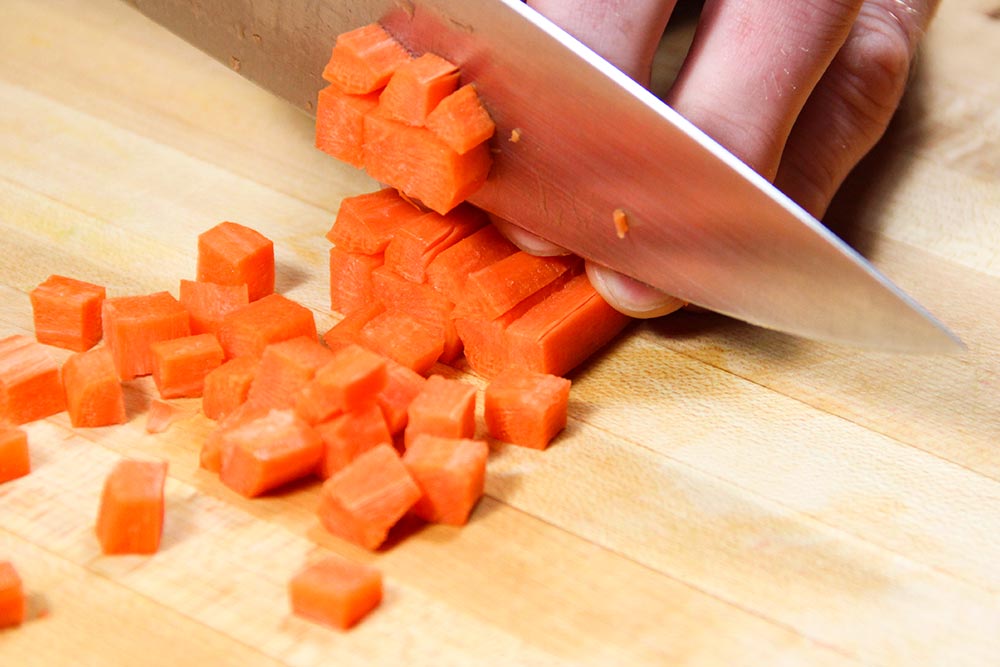
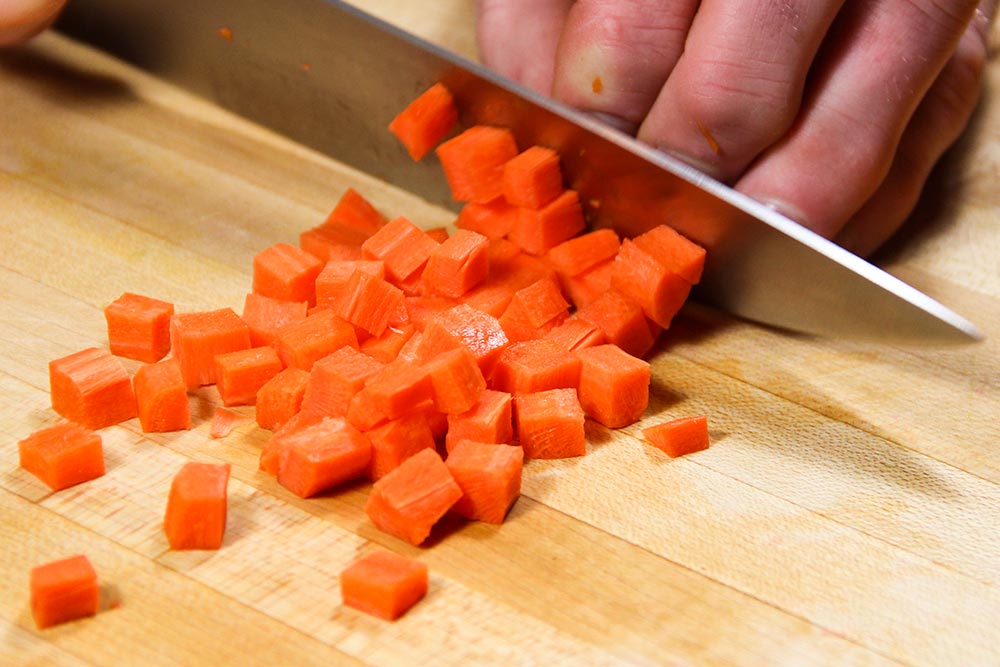
Isn’t it a beautiful thing?
The Final Product
I don’t want to get ahead of myself here because we’ve got the other two thirds to cut and dice. But since I think we’ve already had our fill of carrot photos, I figured I would just walk you through those pieces.
Since the center third is thinner than the large end third, I only cut four sticks as opposed to nine. And since the small end third was the smallest of all, I only cut two sticks out of that. Once the sticks were ready, I held them and diced them the same exact way I did in the previous sections above. Nothing changed. By doing this, I was rewarded with semi-uniformly sized pieces of carrot from an oddly shaped vegetable.
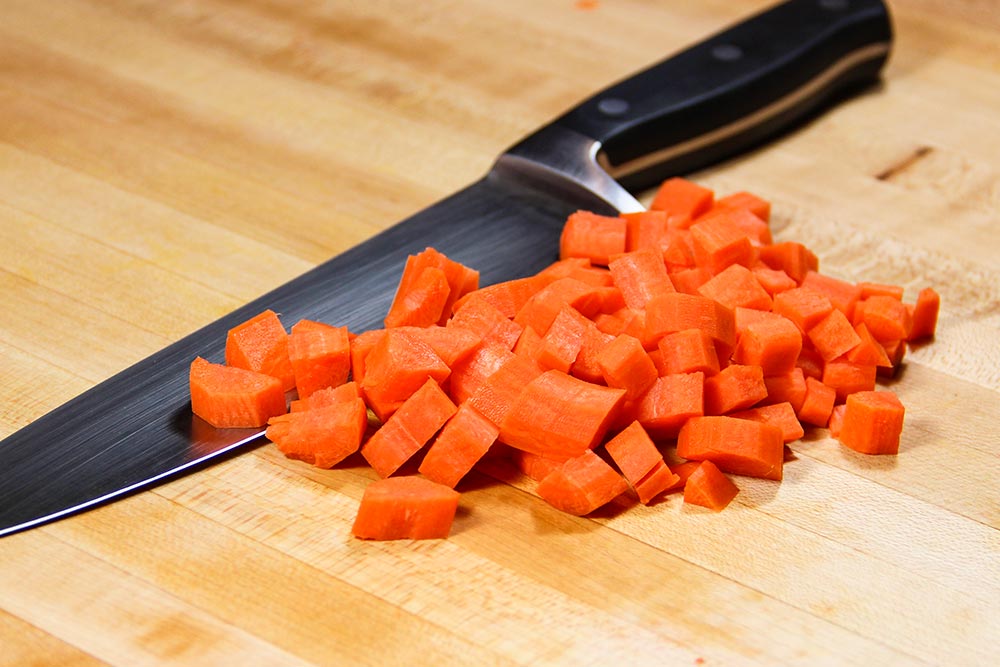
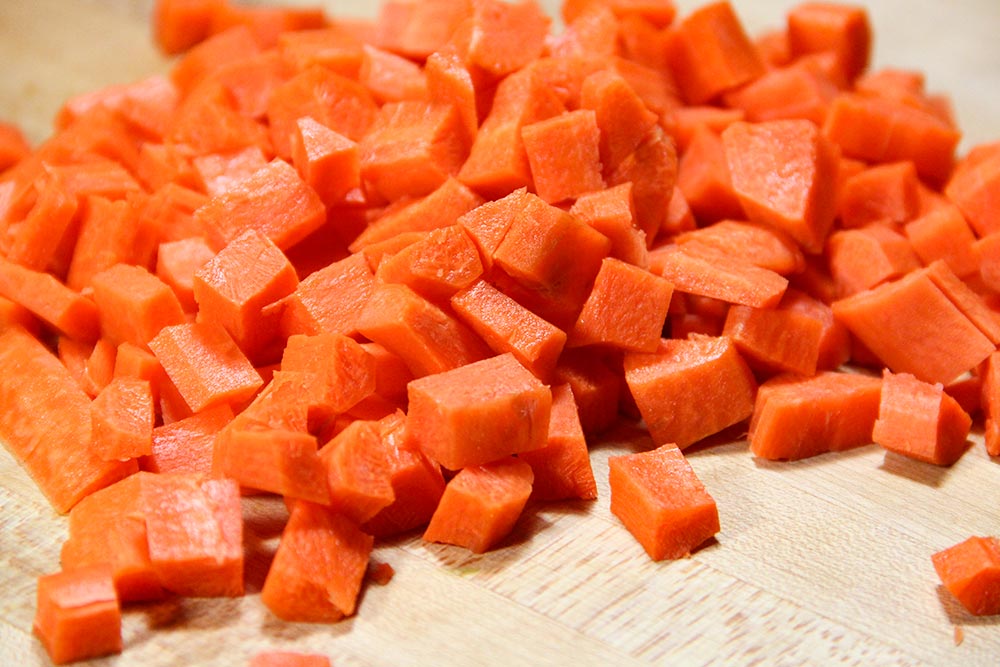
——
If you’ve enjoyed today’s post and found it helpful, please share it with a friend. Thanks!
Leave a Reply