I planted lavender two years ago and it has taken off rather nicely. This was quite a risky endeavor because the U.S. Department of Agriculture plant hardiness zone here in Western Maine is 3b and most species of lavender are hardy from zones 5 through 9. Lavender is a perennial herb that grows well in soil with good drainage and full sun. I grew a few seeds from a packet of Outsidepride English lavender Munstead Lavandula angustifolia while living in Connecticut and the seeds grew really well there. I had about half a packet left and I thought I would give these a try here.
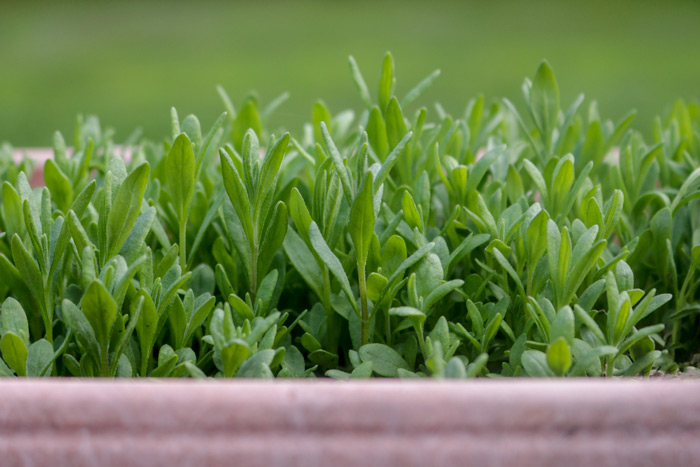
Growing English lavender from seed in a planter.
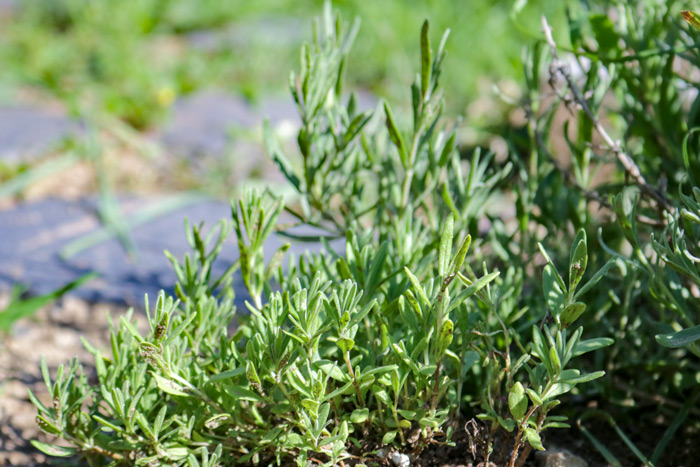
New English lavender moved into the flower garden.
I read that you can get by in zone 3, because of the significant amount of snowfall that we get here that serves as winter protection for the plants. Two years later, I now have a significant amount of beautiful Munstead. This type of lavender is a rugged and compact evergreen shrub with mounding, fragrant, gray foliage with rich lavender-colored flower spikes. The lavender looks beautiful in perennial borders, herb gardens, rock gardens, and on its own. It is commonly used for perfumes, sachets, and oils.

A single stem of English lavender.
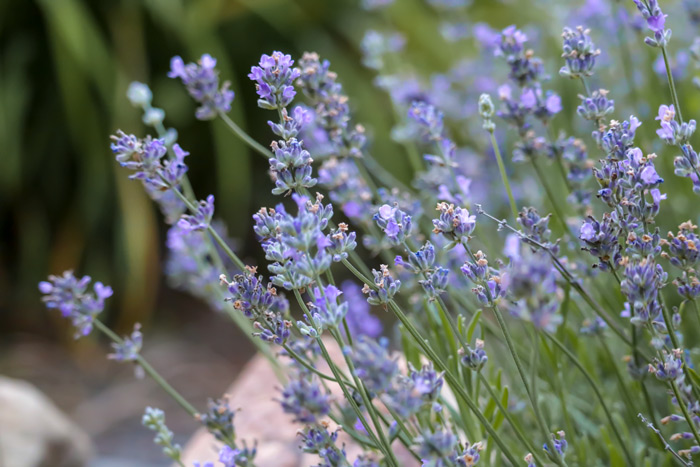
An English lavender garden.
Lavender has such a rich and wonderful fragrance and I wanted to take a shot at harvesting and drying some of it. It is a good idea to wait until the second year of growth before harvesting. This also serves as a nice way of keeping your plants pruned. During the process of harvesting the lavender, I only took a few stems, because I wanted to make sure there were enough blooms for nectar-consuming species and pollinators. Toward the end of the season, I will give them a nice pruning. Pruning your lavender plants will ensure that they will grow nicely in the future.
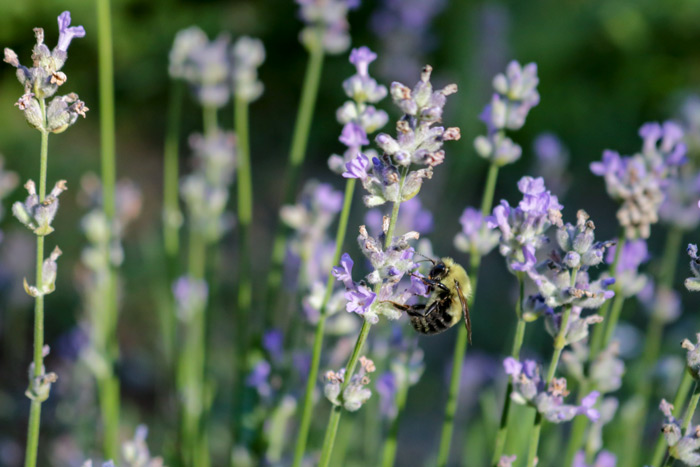
A bumblebee Bombus, visiting English lavender.
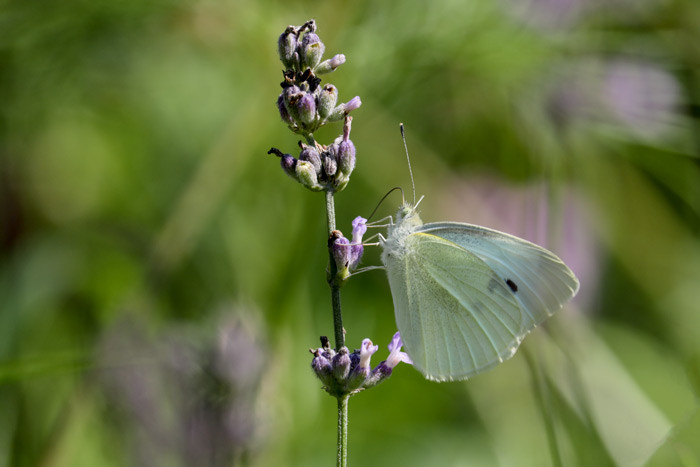
A cabbage white butterfly Pieris rapae on English lavender.
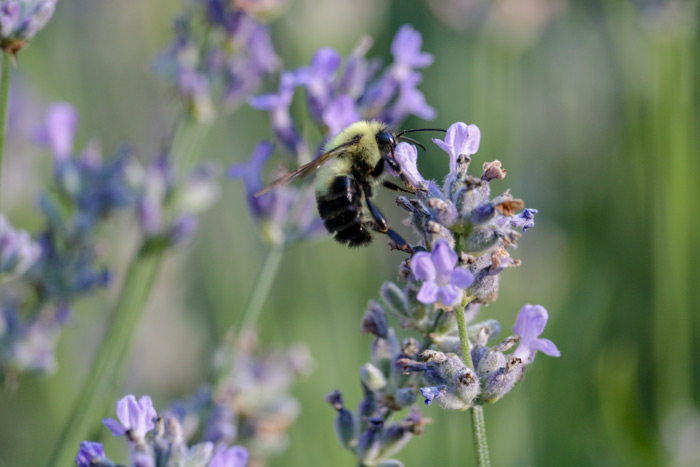
A bumblebee gathering nectar from English lavender.
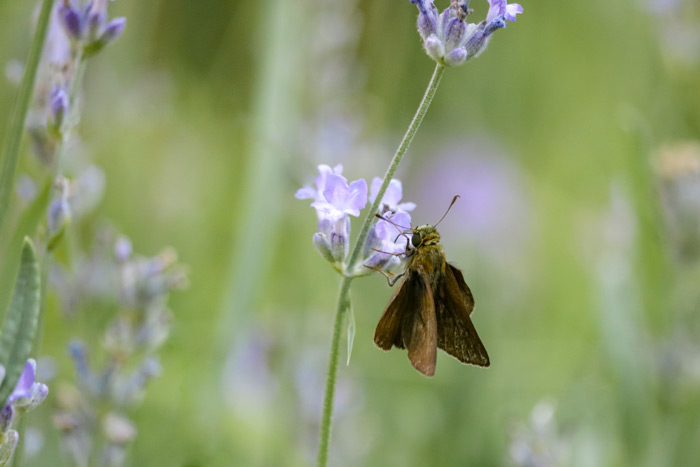
A skipper butterfly Hesperiida on English lavender.
In this post, I will share the steps I took to harvest and dry lavender. Dried lavender can be used for cooking and teas as well as made into items such as personal beauty products, candles, sachets, and dried flower arrangements. I only had enough harvested lavender for making a dried flower arrangement and I will share the photographs below of my creation.
Harvesting and Drying Lavender
The best time for harvesting lavender is May, June, and July, but here in Maine we still have snow on the ground in May. I had harvested my lavender toward the end of July. As I mentioned above, this will help to encourage future growth. If these plants are properly cared for, they will live for about 10 years. The best time to harvest lavender is in the early morning before the sunlight becomes too intense. Otherwise, the lavender blossoms will not preserve their essential oil.
What you will need:
1. lavender that is ready to harvest
2. pruning shears or scissors
3. rubber bands
4. paperclips
5. hairspray (for flower arrangements)
Step 1
The best time to harvest lavender is when half of the buds are in bloom. If lavender is cut during the spring, the plant may have enough time to produce more flowers for a second harvest. You don’t have to be gentle with lavender as it is quite hearty. Gather a handful of lavender into a bunch. Next, look for the woody part of the stems toward the bottom and cut above this section. If you cut too low, the growth of the plant will be stunted the following year.
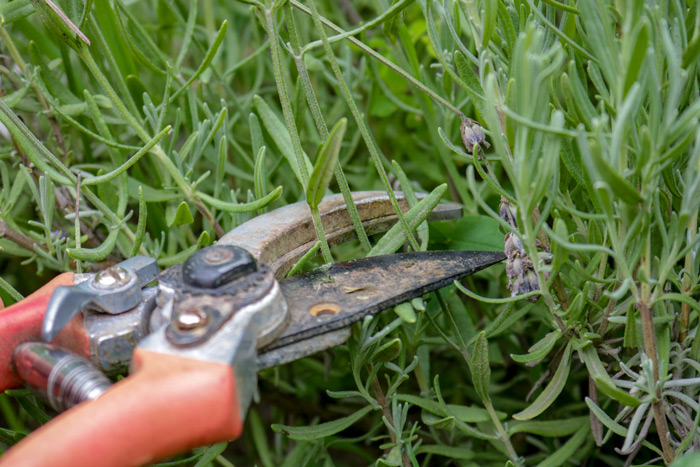
Cutting English lavender with pruning shears.
As I had mentioned above, I only wanted to take a few stems, so I cut my stems individually.
Step 2
Next, remove any extra growth from the stems to make sure your stems are uniform. Gather the stems into a bunch and wrap a rubber band around the bunch. If you prefer, you can trim the bottom of the stems to make them look neater.
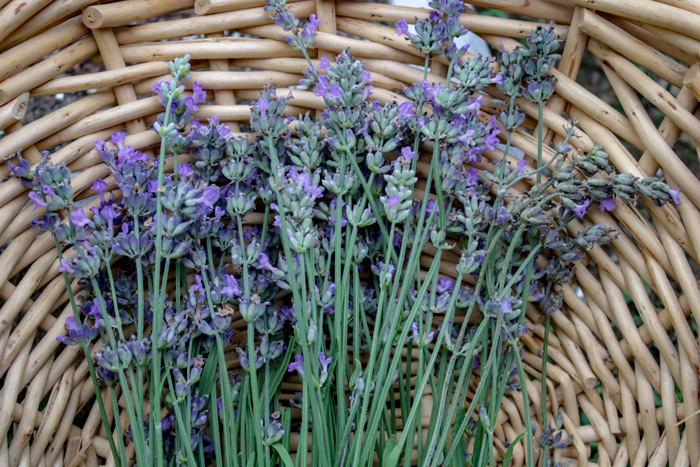
English lavender cut and gathered in a basket.
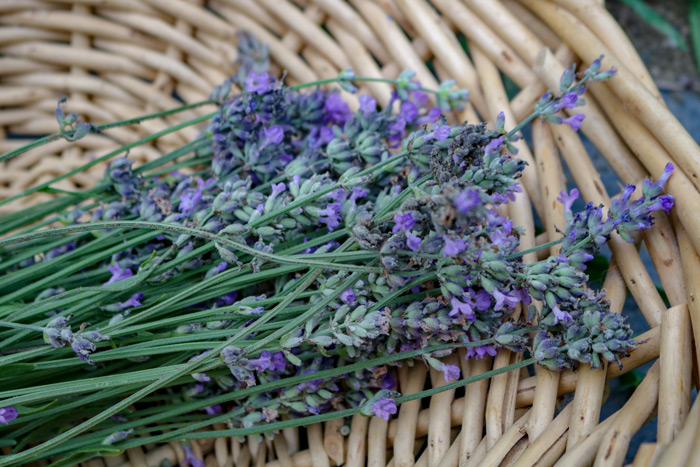
English lavender gathered in a basket for drying.
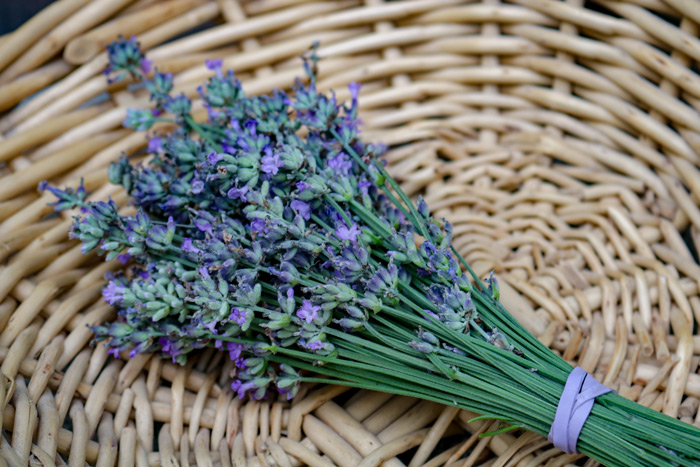
An English lavender bunch gathered in a rubber band for hanging and drying.
Step 3
Open a paperclip and attach it to the lavender bunch. This will serve as a hanger for your bundle. Place the bunch upside down in a dry and dark place. The dark area will aid in the lavender retaining its color and drying it upside down will help the lavender blossoms to keep their shape. Lavender should be hung for about 2-4 weeks or until moisture is removed from the stems and blooms. I hung my lavender bunch in the back of the garage on a nail.
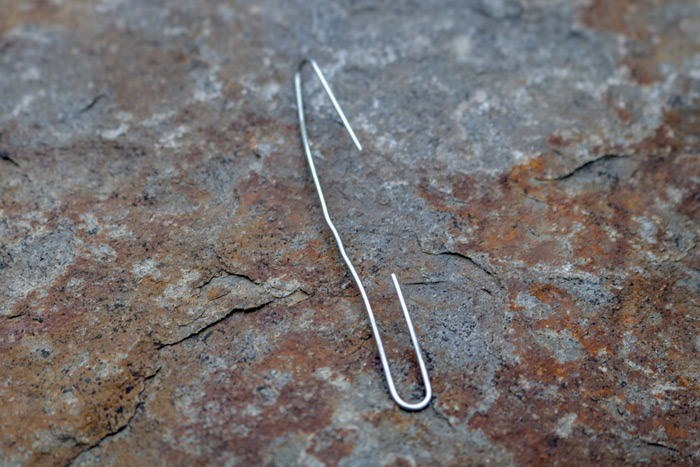
An open paperclip for hanging and drying lavender.
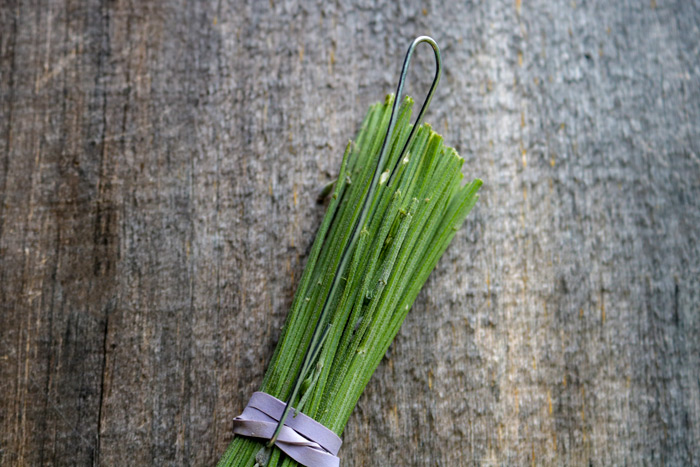
A rubber band hanger for lavender.

A hanging dry bunch of lavender.
Step 4
Once the drying process is over, your next step will be deciding what you would like to do with your dried lavender. As I mentioned, I didn’t have enough lavender for many options, so I decided to leave the bunch as a dried arrangement. I used hairspray to aid in holding the lavender bunch firm and prevent the blossoms from falling off the stems. If you are interested in doing this with your dried lavender, simply spray the hairspray on the lavender from several inches away and let it dry.
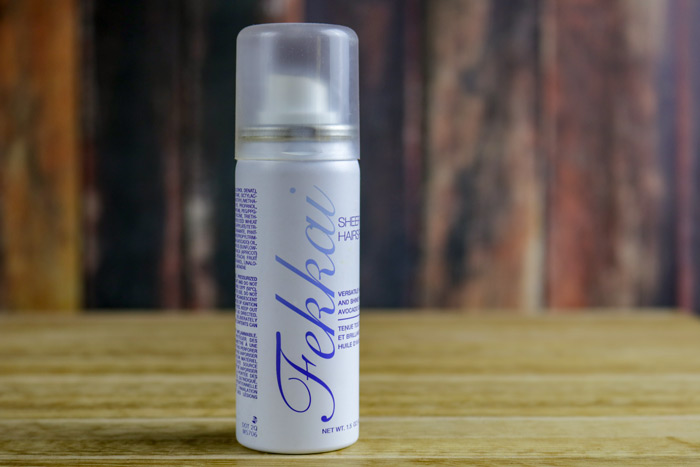
The hairspray I used for the flower arrangement.
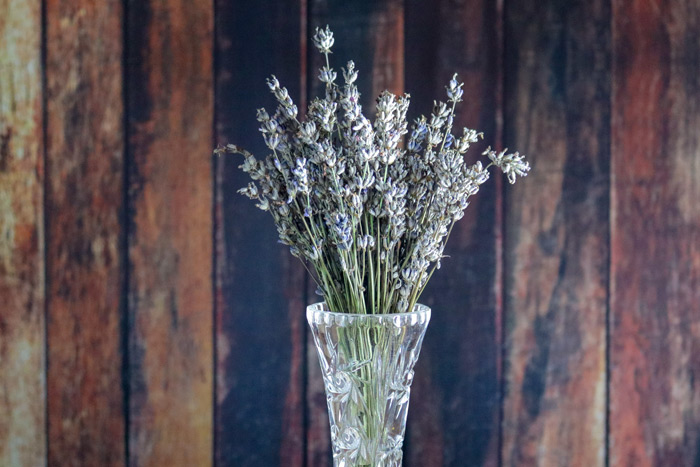
A dried lavender arrangement in a vase.
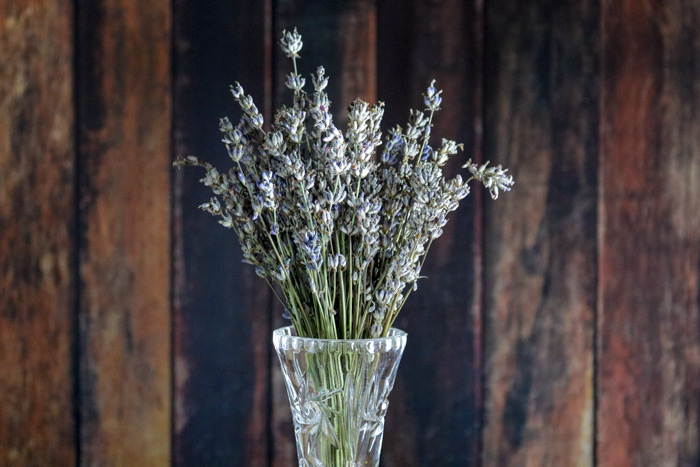
A dried lavender arrangement.
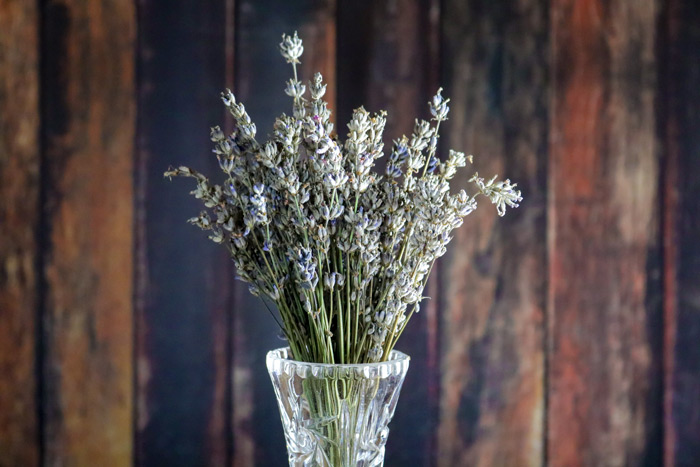
Dried lavender.
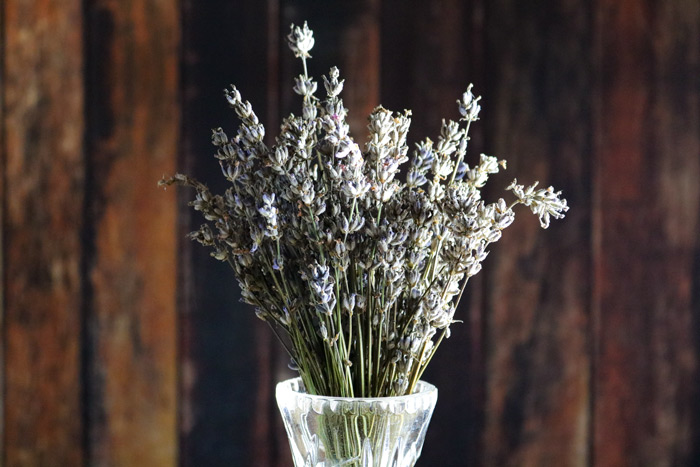
A close-up of a dried lavender arrangement.
We have had one of the hottest and most humid summers since we arrived here in Maine. During the drying process, the lavender didn’t retain all of its color. I suspect the heat and humidity were the culprits. I don’t mind the dull color of the lavender and the fragrance is wonderful.
Do you have any information on white lavender?
Hi there, No, I don’t have any information on white lavender. It sounds lovely and you have sparked my interest. Perhaps you can find what you are looking for on google. I wish you luck, Laura