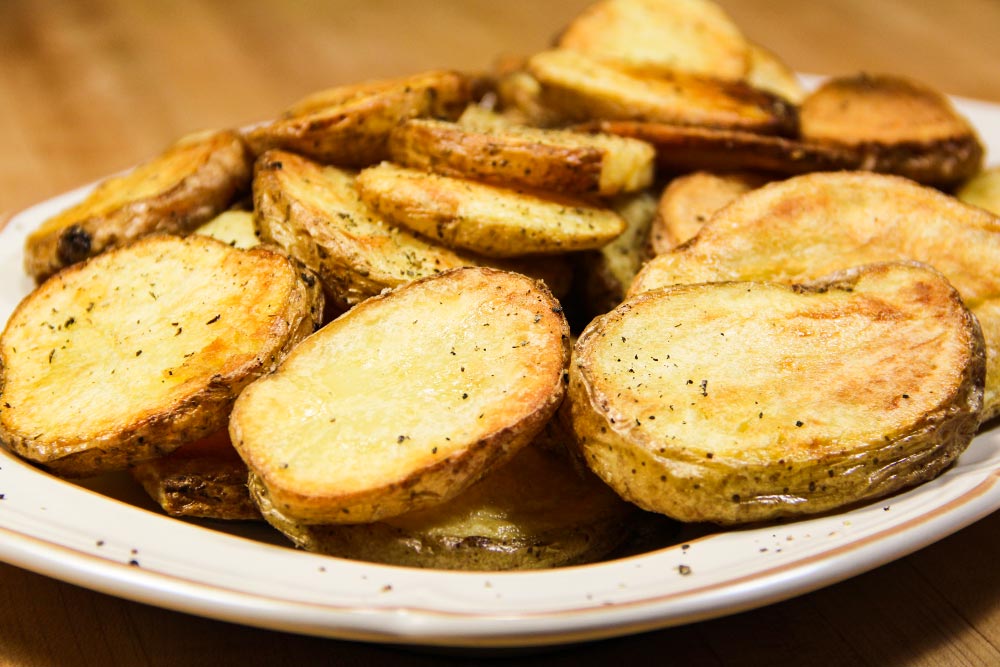
I recently began learning about oven roasting and just last night, I tried my hand at preparing one of my favorite foods – roasted potatoes. To be clear, I’ve made this type of potatoes dozens of times before, only to find out that I’ve created some sort of leathery golden brown “chunks.” I think I may have been doing something wrong.
In the past, I prepared roasted potatoes two ways. The first method I used was to quarter or eighth each potato (depending on its original size) and place the pieces on an oiled baking sheet. I’d cook them for however long it was necessary to soften them. When they were ready, I’d add a bit of salt and pepper and enjoy one of the worst tasting foods I’d ever eaten. What I ended up with was potatoes that had a “gummy” exterior with a “grainy” interior. Nothing about this recipe was good.
The second method I used was similar to the first, but this time, I’d toss all the cut potatoes in olive oil before putting them in the oven. These were better than before, but still, something was wrong. Nothing was crispy and I continued to suffer through eating gummy, grainy potatoes.
Fortunately, this has all changed. Last night, I created a dish of wonderfully tasting, crispy, golden brown potatoes that were a joy to eat, thanks to “America’s Test Kitchen.” These are the kind folks who showed me what I was doing wrong and who offered up the recipe that I’ll share with you below.
Lesson Learned
Here’s a short lesson for you. I knew none of this, so it was enlightening, to say the least. I’ll admit, I’m heartened by this type of information because it’s exactly why I wanted to take some cooking lessons to begin with. I was tired of simply following recipes and having absolutely no idea what I was following or why I was doing what I was doing. If you know me, you know that I enjoy peeking around each corner to understand what makes things tick.
Various types of potatoes have various starch levels. The Yukon Gold potatoes I used in the recipe below have a medium starch level. Red potatoes have a lower level, while those big Russet potatoes have a higher level. Starches are ultimately broken down into sugars when cooked or ingested. When cooked, sugars brown very nicely. The trick, with a recipe like the one in this post, is to get as much starch to the surface of the potatoes as possible to promote browning. This is going to give us our crisp.
What Types of Carbohydrates Turn to Sugar?
I also learned that there’s a wonderful method to release the water soluble starch in potatoes (called amylose). It’s called boiling.
“Starch becomes soluble in water when heated. The granules swell and burst, the semi-crystalline structure is lost and the smaller amylose molecules start leaching out of the granule, forming a network that holds water and increasing the mixture’s viscosity.”
By boiling potatoes before placing them in the oven to roast, we can release much of the inherent starch to the surface of each one. We all know how potatoes create that sticky coating after they boil, especially if we toss them in a bowl and stir them up. That coating is the starch that’s going to turn into glucose (sugar), which, when roasted, is going to turn brown and crispy. Oh yeah, it’s also going to taste really good. If you have no idea what I’m talking about, all you need to do is follow the recipe I’m going to give you below from now on. You’ll get better tasting and crispier potatoes than if you simply throw them in the oven like you used to.
Ingredients
2 1/2 Pounds Yukon Gold Potatoes
Pure Olive Oil (Not Extra Virgin)
Salt
Pepper
Step-by-Step Instructions
The first thing we need to do is get our potatoes and rinse them off, just to make sure there’s nothing weird hanging out on them. Directly after that, it’s important to put them on a huge butcher’s block and take a few pictures of them. If you aren’t aware, this is my humor in action.
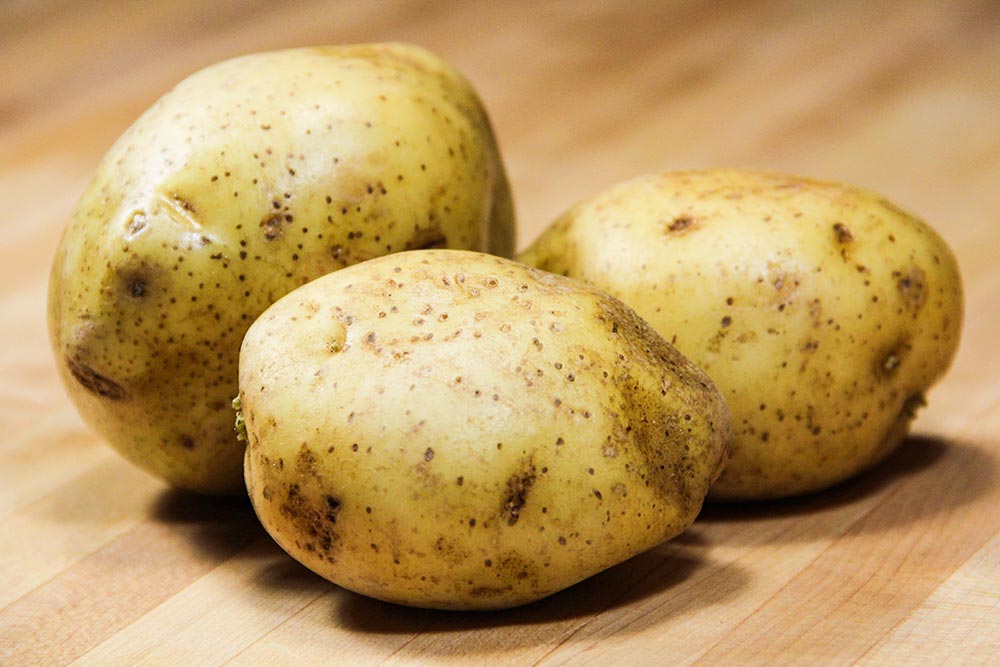
Obviously, this isn’t the entire two and a half pounds of potatoes I used. If I had to guess, I probably cooked around ten in all.
Slice the Potatoes
Because we’re going to roast these potatoes on one side and then the other, it makes sense to slice them instead of chunking them. Because of this, I sliced each potato into half inch pieces.
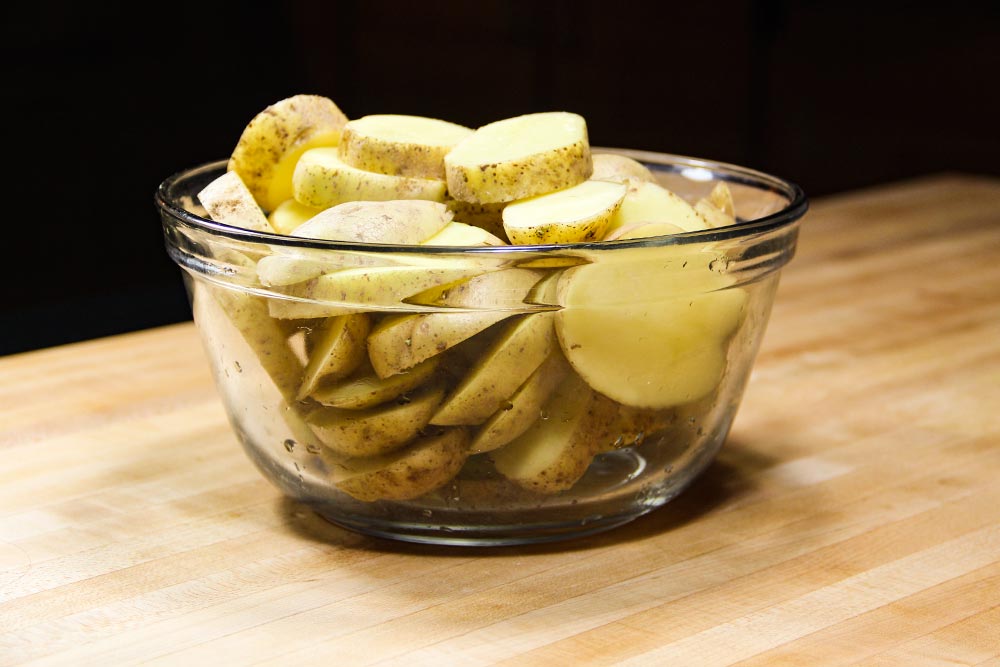
While my glass bowl of potatoes may look pretty, I had a larger one (bowl) at the ready for later on in the recipe.
Now, if you recall from a few of my previous posts, it’s important to stay the course when piecing out vegetables. If I were to have some really thick pieces and then some really thin pieces, those thick ones would never cook all the way through and the thin ones would burn. A half inch is perfect in this case because it’ll give the oven enough time to heat through to the center while browning the crust. When slicing, especially at the ends of each potato, think about the time it’s going to take for the heat to get to the center of the piece. The end pieces may need to be a bit thicker than the center pieces.
Preheat the Oven
Since it’s important to have the oven hot and ready, this would be a good time to start preheating it. Turn your oven onto 450 degrees and be sure to keep your baking sheet in it. We need that preheated as well. When those potatoes eventually make it onto the baking sheet, you want to hear a sizzle.
Boil the Potatoes
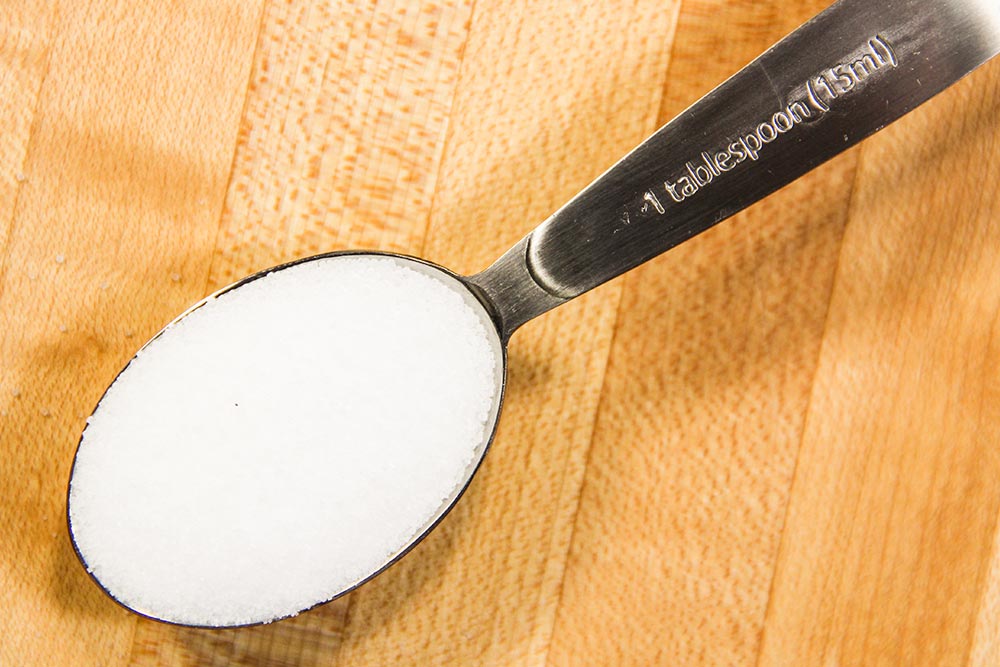
Here comes the boiling part. Place the potatoes into an empty pot. Then, sprinkle a tablespoon of salt over the potatoes. Finally, fill the pot with cold water and place over high heat.
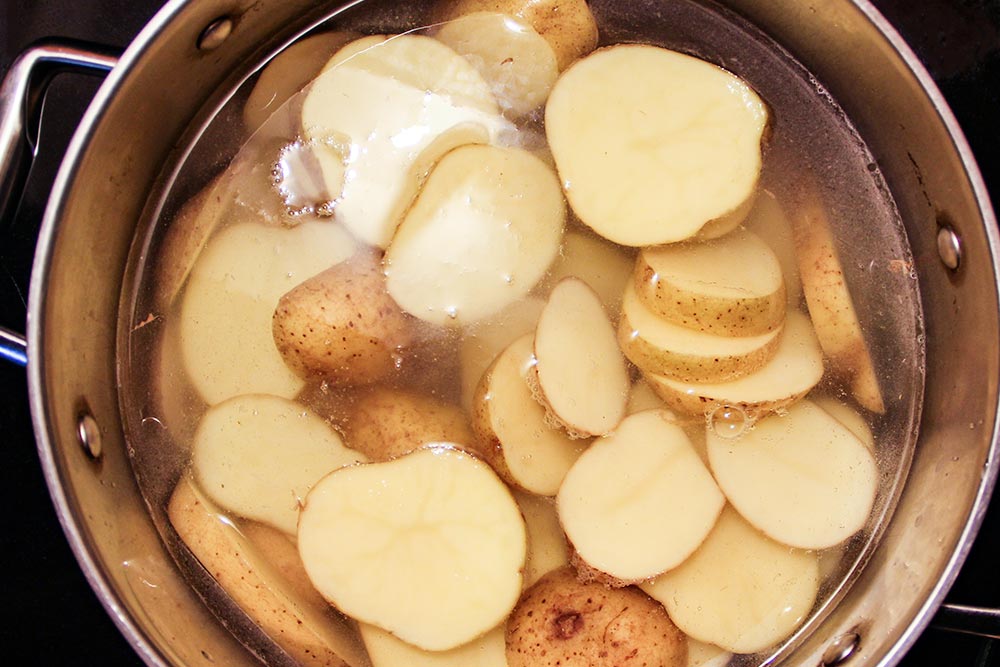
Just cover the potatoes with water. You don’t want to spend all day boiling them.
After about 5 minutes, go ahead and try to push a knife through one of them. You don’t want to overcook anything at this point. The knife should be able to travel through, but still have some resistance. If it’s too hard, keep boiling. If you can get a knife through, you’re finished with this step.
Drain the Potatoes
Since we don’t have a colander, for years, we’ve been using some sort of steaming apparatus. I figure it has holes in it and any liquid is able to strain away, so it’s okay. Anyway, whichever piece of equipment you have, go ahead and strain the liquid from the potatoes.
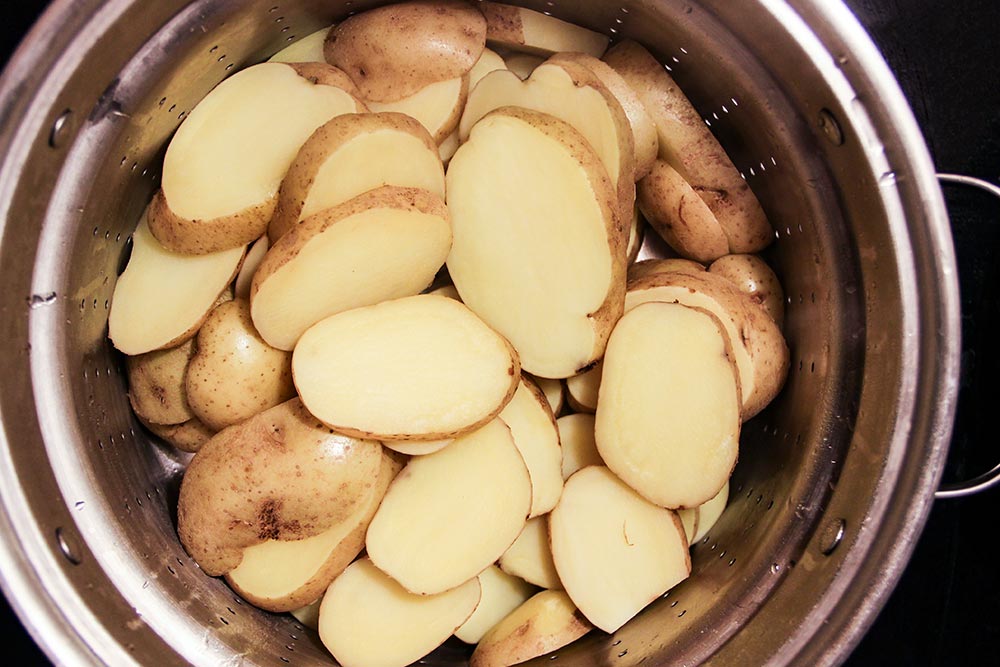
Place the Potatoes in a Larger Bowl
You’re going to be doing some mixing here, so it’s important to have room. Grab the largest bowl you have and move the potatoes into it. After that, add 2 tablespoons of pure olive oil. Remember, you want to use regular olive oil here, not extra virgin. The smoke point of extra virgin olive oil is far too low for the 450 degree oven. If you use it, you’re going to end up with a smoky mess.
After you add the oil to your bowl, stir everything up a bit. Then, add a half teaspoon of salt. Stir again. Then, repeat the same process with another 2 tablespoons of oil and another half teaspoon of salt. Stir until you feel that these additional ingredients are evenly dispersed.
At this point, I’m going to interject. Last night, after eating a few of these (delicious) crispy potatoes, I felt that I could’ve done without some of this salt. Perhaps if I was 20 years old and wasn’t concerned about having my heart stop, I would go ahead and enjoy my creation, but at my age, I need to start thinking of blood pressure. As we all know, too much salt can cause an undesirable situation.
Use your judgement here. If you’re going to share this final product with one of your grandparents, don’t make them suffer through eating something that can be potentially dangerous. Half or quarter the salt.
Place Potatoes on Baking Sheet
Please, when removing the baking sheet from the hot oven, use a towel or something that’s going to protect your hands. We’re so conditioned to pull things like this out of the oven when they’re cool, we can easily make a mistake.
Take the sheet from the oven and place it on your stove top. Then, drizzle some more olive oil on the baking sheet surface and spread it out with a rubber spatula. It doesn’t need to be a lot of oil – just enough to cover the dry areas. After that, move your potatoes onto the pan.
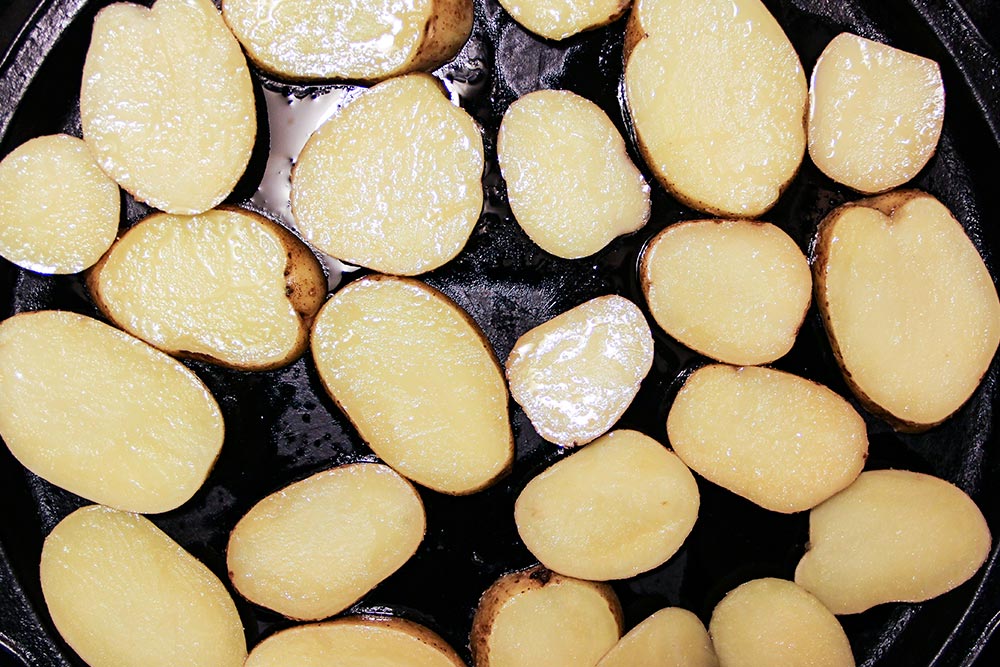
In my case, I added the potatoes to two baking sheets. I’ve got one regular round one and one cast iron. I preheated both of them and put half the potatoes on one and half on the other.
Place Baking Sheet in Oven
Ovens are notorious for browning food in an uneven fashion. Because of this, it’s important to rotate the pans and change which rack they’re on. When I was roasting, I removed each pan, rotated them and placed them back in. This was at the 10 minute mark.
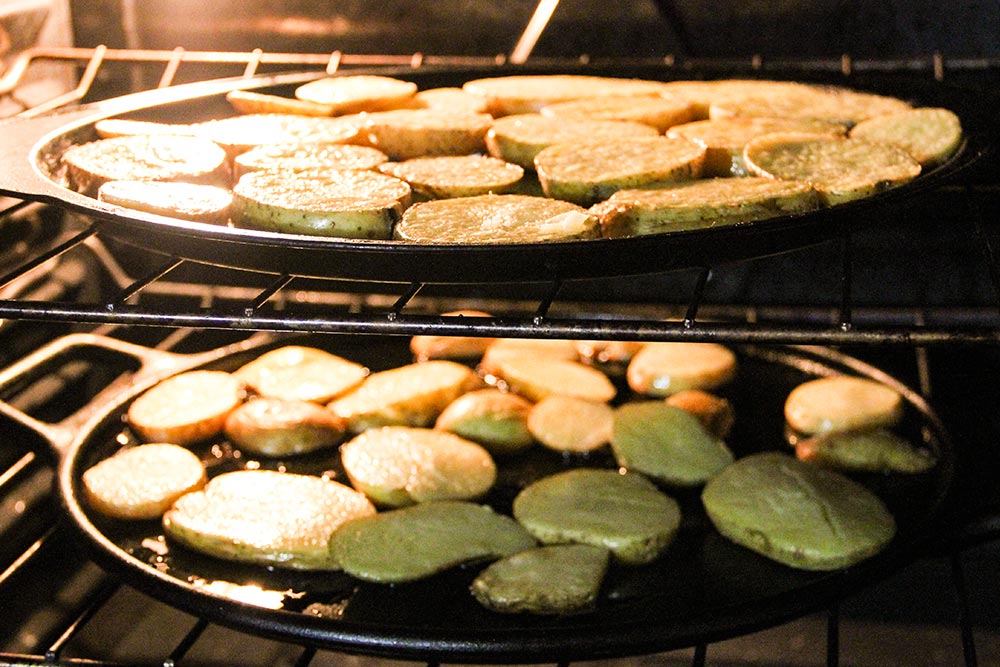
One thing I noticed was that after about 20 minutes, the underside of the potatoes on the bottom pan were browning much faster than those on the top pan. In an ideal world, I’d only be using one pan, but my world isn’t ideal. This is when I decided that I needed to switch racks. But not before flipping each potato slice.
I took out one pan at a time. I placed it on my stove top again, where I quickly turned the potatoes over using a fork. I found this utensil to be the fastest. When that was finished, I popped it back in the oven, but this time (like I just mentioned), I shuffled the pan locations.
The cooking time probably took about 40 minutes in total. I flipped the potatoes when I saw the undersides turning gold and then kept my eye on them until everything was uniformly colored.
The Final Product
I was surprised to see these come out so nicely. I’ve never had such luck. With patience and correct procedure (and a bit of pepper), I won this small battle.

And because I couldn’t decide which picture was better, you get to see another one.
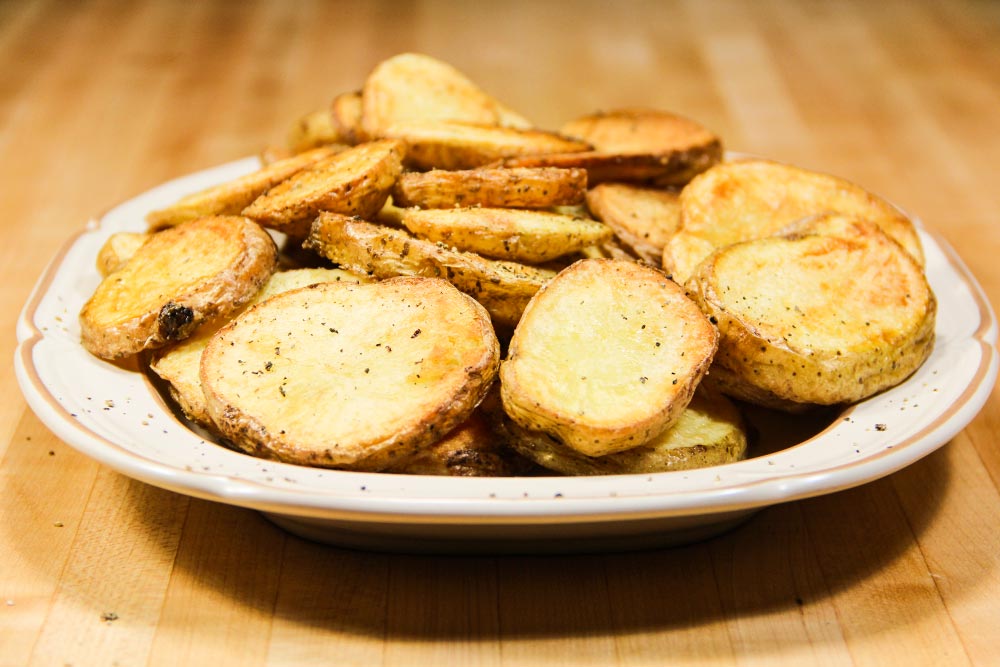
Imagine presenting this platter at a party. People would love you.
——
If you’ve enjoyed today’s post and found it helpful, please share it with a friend. Thanks!
Leave a Reply