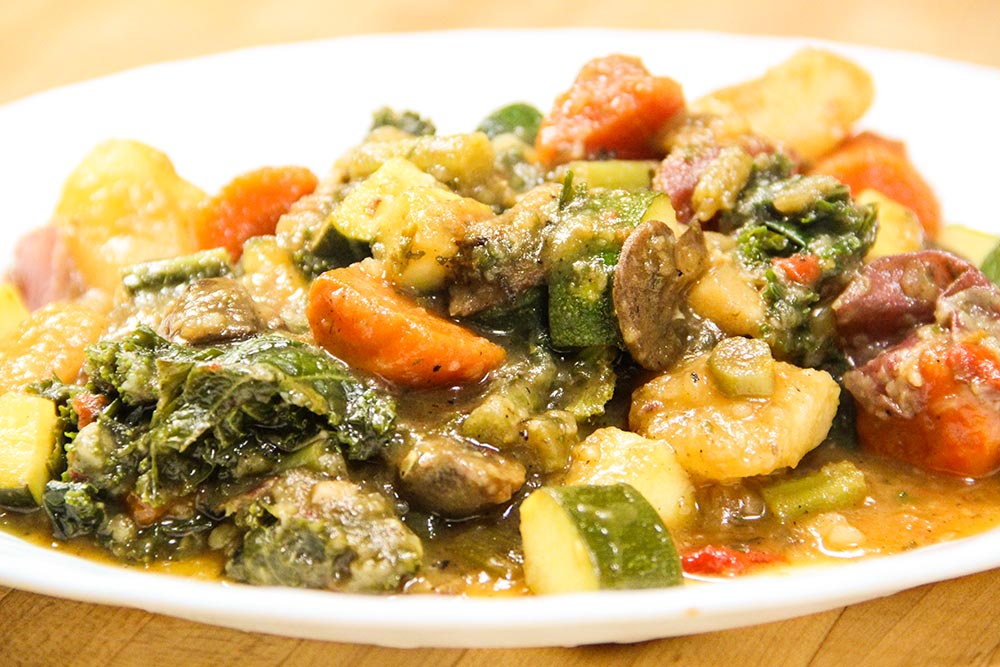
I’m starting to think that I enjoy putting all these recipes together so much merely for the photography. Just wait until you scroll down this page. You’ll see exactly what I’m talking about. Laura and I have been having a really good time with the mini-studio we put together right outside the kitchen. The pictures look almost as good as the food tastes.
In today’s post, I’m going to do my best at putting together the parts of what “America’s Test Kitchen” calls “Hearty Ten Vegetable Stew.” This recipe is, sort of, the final project for the “Stewing & Braising” section. Now that I’ve finished cooking it and I’ve tasted it, I have to say that it’s very good and extremely filling. The word “hearty” is an understatement.
One of the best aspects of preparing a dish like this is that it’s a semi-slow cooking one. I was able to use my wood burning stove cook-top for the majority of it, saving on electricity, getting me out of the kitchen and giving me the feeling of living 100 years ago. I enjoy that and I hope to use the wood stove for many more recipes where the Dutch oven is necessary.
Ingredients
This is a fairly long ingredient list. Luckily, it’s quite versatile, meaning much of what’s listed can be substituted for something else. The primary considerations you need to be aware of is chopping size (make sure everything you chop is consistently sized) and cooking time. Some vegetables cook faster than others, so to avoid overcooking anything, you need to add them in steps. I’ll explain it all down below.
Lastly, remember that this stew takes some time to prepare. My feeling was that if I was going to be cooking for over two hours, I wanted something to show for it. Because of that, I doubled up on many of these ingredients (already doubled in the list below). Now I’ve got dinner for a few nights. Feel free to do the same. The recipe is forgiving.
2 Tablespoons Pure Olive Oil
2 Pounds Regular Mushrooms
Large Bunch Swiss Chard (1 Pound) (I substituted with Kale)
2 Onions
2 Celery Ribs
2 Large Carrots
1 Red Bell Pepper
6 Garlic Cloves
2 Teaspoons Minced Fresh Thyme Leaves or 3/4 Teaspoon Dried (I used dried)
2 Tablespoons All-Purpose Flour
1 Tablespoon Tomato Paste
1/2 Cup Dry White Wine
3 Cups Vegetable Broth
2 1/2 Cups Water
12 Ounces Red Potatoes
3 Parsnips
8 Ounces Celery Root (I didn’t add this ingredient)
2 Bay Leaves (I didn’t add this ingredient)
3 Medium Zucchinis
1/4 Cup Minced Fresh Parsley Leaves or 1 Tablespoon Dried
1 Lemon or 2 Tablespoons Lemon Juice
Table Salt
Ground Black Pepper
Step-by-Step Instructions
There is one very important aspect of this recipe that I’d like you to be aware of. It’s called flavor development. For the first half of preparation, you’ll be adding ingredients and attempting to coax as much flavor out of them as possible. The way you’re going to do this is by browning them. The thing is, when you first put these ingredients in your pot or Dutch oven, they’ll be fresh looking, springy and fun to look at. As time passes though, they’ll become dry, brown and will most likely begin sticking to the bottom of the pot. That’s what’s supposed to happen. You’ll need to continuously stir your ingredients to remove them from the bottom, but please recognize that much of what’s in there needs to turn to a shade of dark brown. That’s where the caramelization happens and that’s where you’re going to get what tastes good. It just won’t look as appealing as it originally did.
Finally, get ready for some prep work. There’s a lot of slicing, cutting and chopping in this recipe.
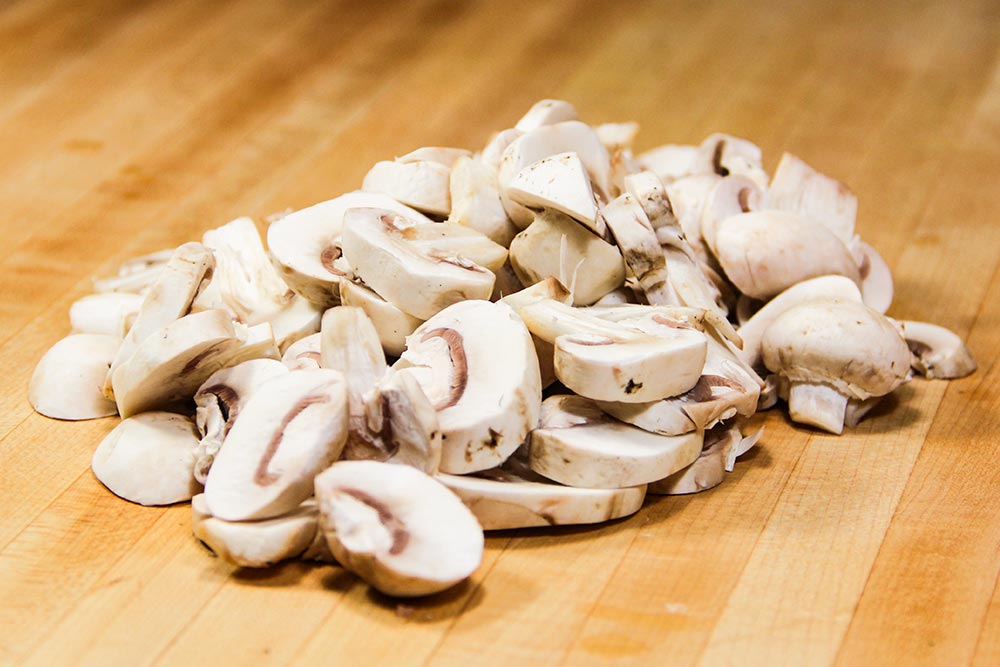
Slice the Mushrooms
Mushrooms add a lot of flavor when browned. Because of this, we want as much surface area as possible. So, instead of halving or quartering them, we’re going to slice them.
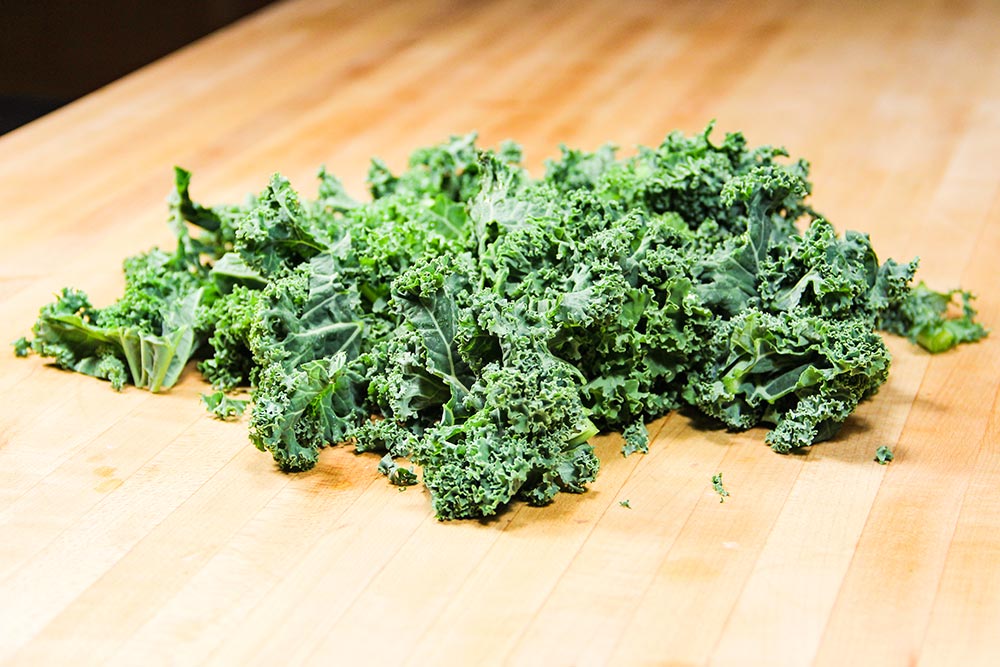
Trim & Slice Chard or Kale
This is important. Whichever leafy green you choose, you’re going to have to separate the leaves from the stems. Once that’s done, you can go ahead and slice the leaves so they’re about half inch thick and chop the stems so they’re half inch thick as well. Keep these two ingredients in different bowls for later use.
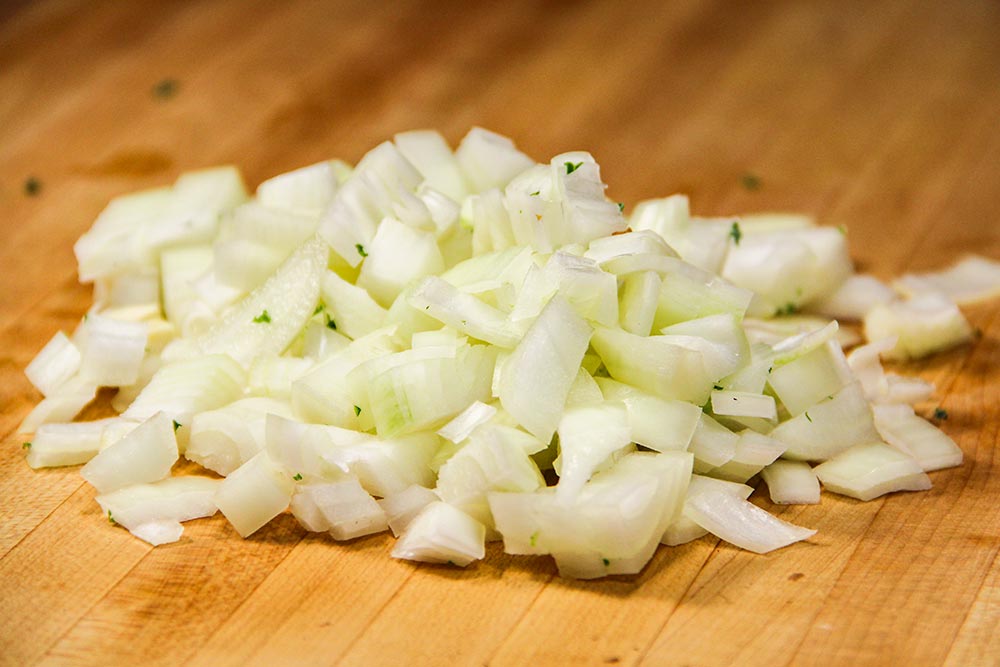
Mince or Chop the Onions
The original recipe calls for mincing the onions, but I chopped them. I wanted to ultimately have larger pieces. Do whichever you choose.
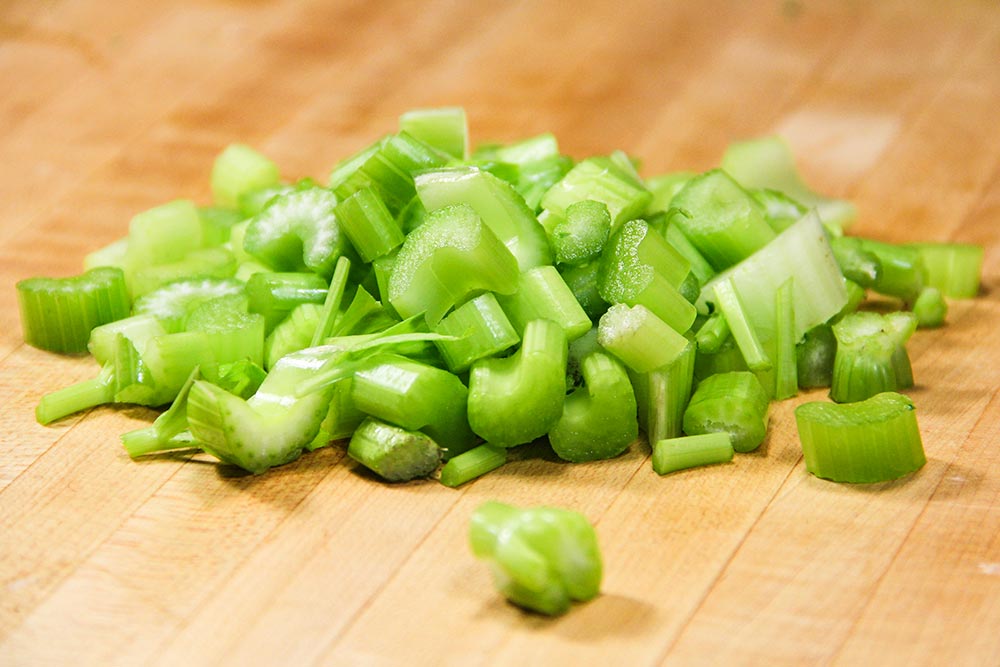
Chop the Celery
Chop the celery into half-inch pieces.
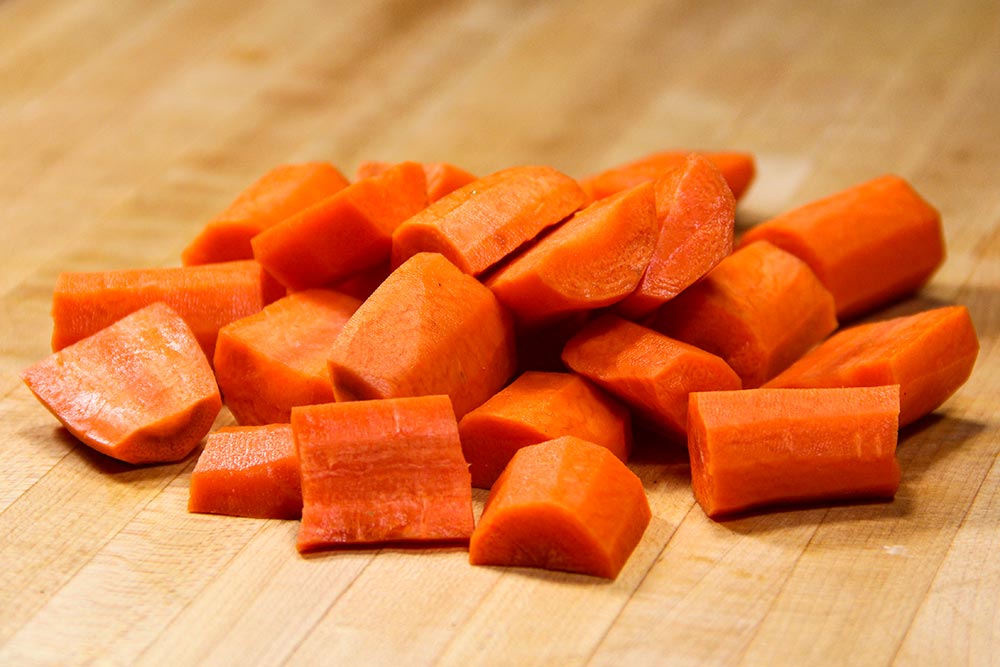
Peel & Chop Carrots
This is the first ingredient that has the potential of overcooking and falling apart. Because we’re going to be putting this in the pot early, we’re going to keep the pieces rather large at around an inch. If we diced these, they may become too soft throughout the process.
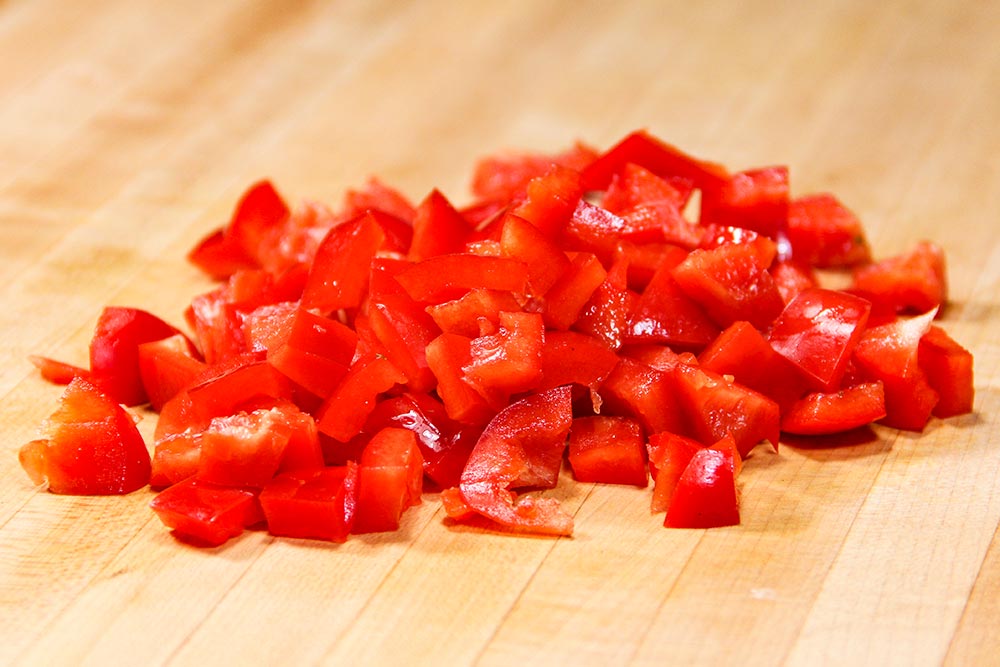
Cut Red Bell Pepper
Honestly, you could get away with green pepper here and save yourself a few dollars. I purchased the red specifically so I could take pictures of it. When it’s mixed in with the other vegetables, it looks great. In the future though, I’ll be using green.
Stem and seed the pepper and cut into half-inch pieces.
Peel & Mince Garlic
Garlic is a sensitive subject when it comes to cooking. If you really love garlic, feel free to use more than six cloves. Don’t go crazy, but think about what you’ll enjoy. Obviously, if you prefer not to taste any garlic, don’t include any. You’ll be missing out though!
Mince Thyme
Since I used dried thyme, I didn’t have to mince any, but if you purchased fresh, now would be the “time” to mince it and store it in a small bowl.
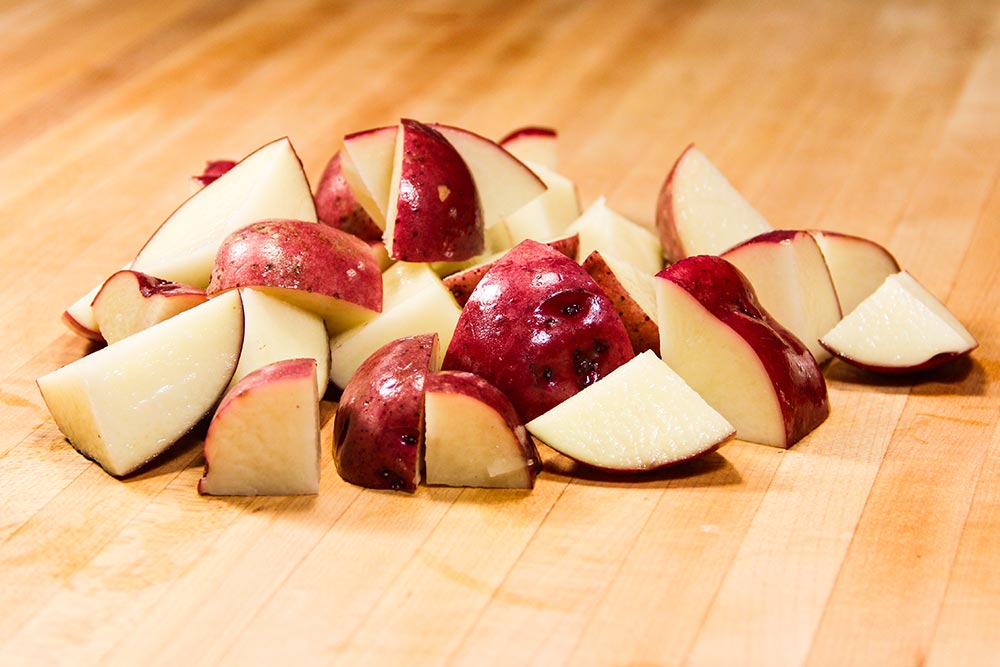
Cut Potatoes
Cut the potatoes into one inch pieces. I added a few more potatoes because I wanted a lot of food.
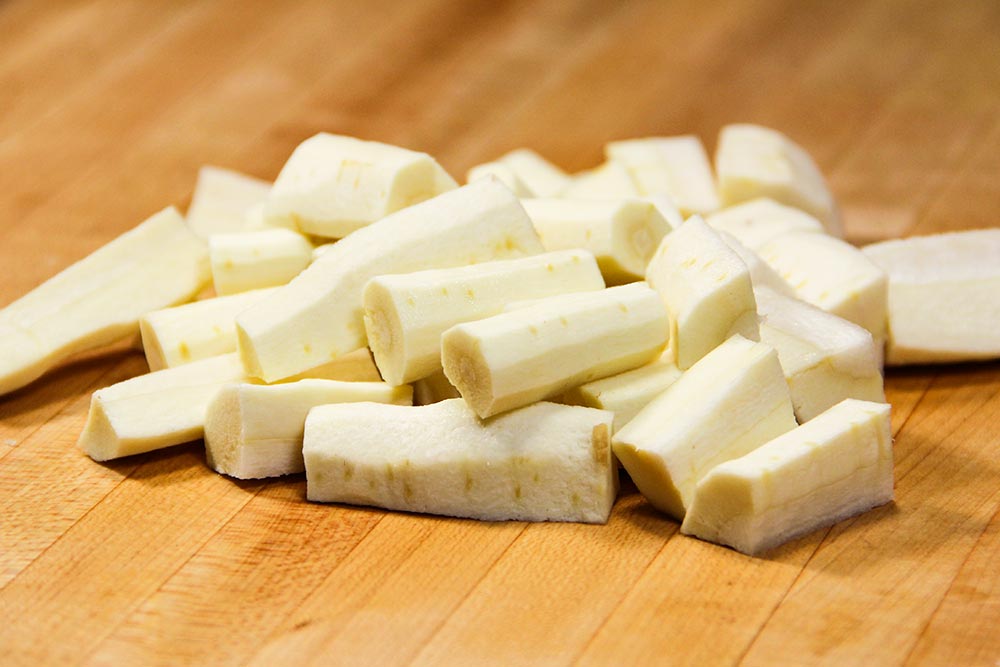
Peel & Chop Parsnips
I’m not sure I’ve ever eaten a parsnip before, so this was an adventure. I peeled them just as I did the carrot and chopped then in the same one inch pieces. What struck me was their aroma. Very interesting.
Peel & Cut Celery Root
For the life of me, I couldn’t find this ingredient anywhere. I’m not sure if it’s seasonal or what, but I was unable to add it to this recipe. It’s a shame too, because I would have liked to have tried it. If you are going to include the celery root, go ahead and peel it now and chop it into one inch pieces.
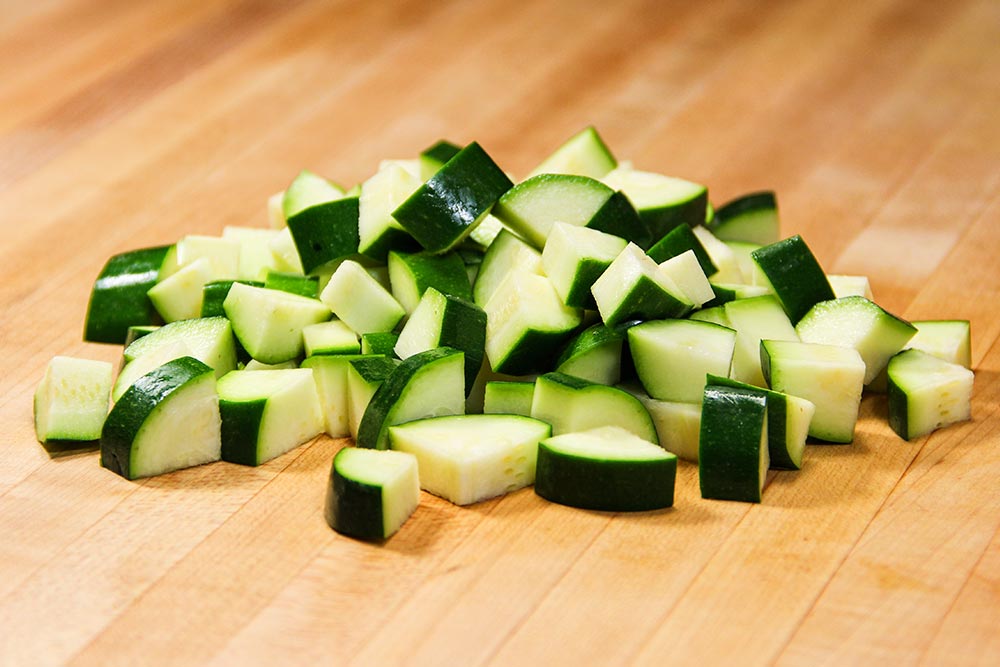
Cut Zucchini
The original recipe calls for cutting the zucchini lengthwise and then scraping out the seeds. I didn’t do that. I know some folks find this necessary, but since my zucchini were so small, there wasn’t much to scrape, so I left it as is. I did cut lengthwise and chop into half-inch pieces though.
Mince Parsley
Again, since I used dried parsley, I didn’t have to mince. If you purchased fresh, go ahead and mince what you’ve got and set it aside. You’ll need a quarter cup.
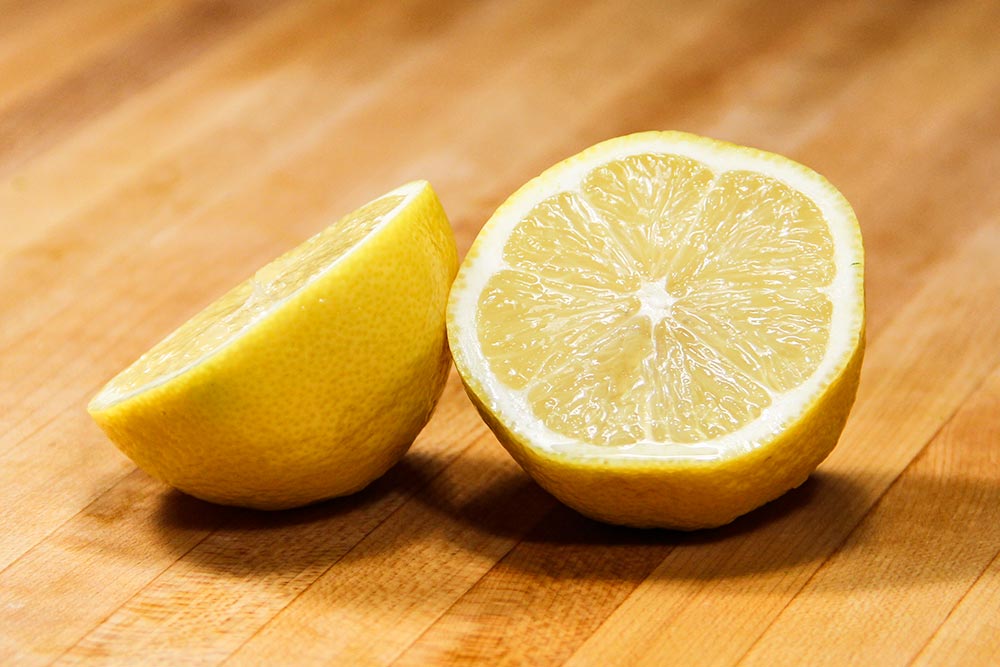
Juice Lemon
When I was buying my lemon, I felt great. I had never juiced a fresh lemon for a recipe before and I was looking forward to it. As I was squeezing it my fist later on though, with juice dribbling down my hand, I realized the value of lemon juice in the bottle. I think my days of purchasing fresh lemons are over. Especially because I believe buying the entire lemon is more expensive than the alternative. But, if you enjoy purchasing raw, go ahead and juice the lemon. I used the equivalent of two tablespoons and am glad I did. The lemon juice added a lot of flavor to this stew.
Heat the Olive Oil
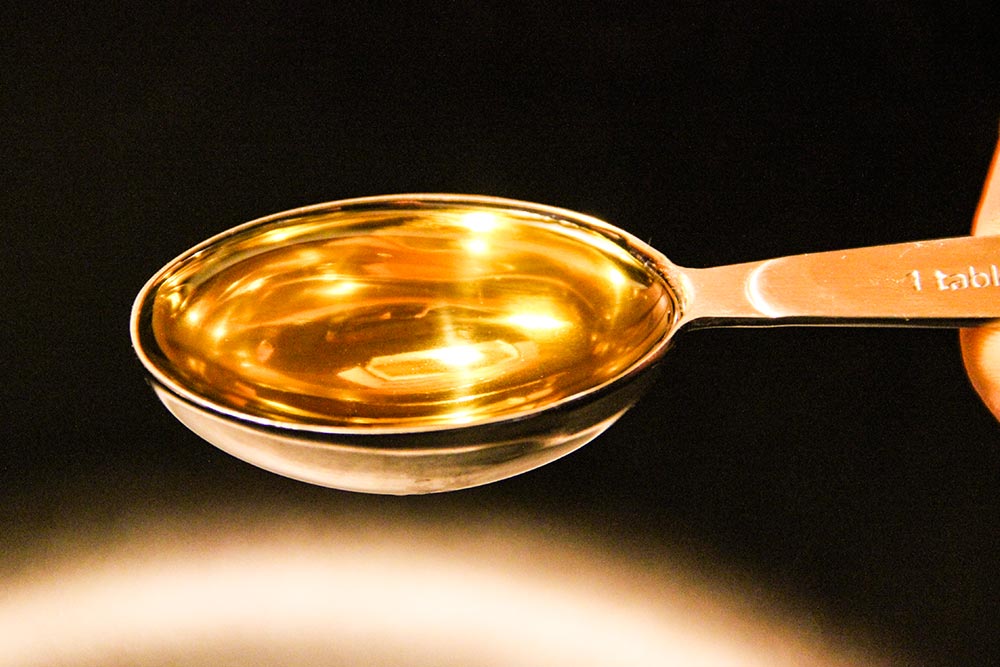
We’re now going to move into a more exciting sequence of events. We’re actually going to begin cooking. With that said, go ahead and place one tablespoon of olive oil in your Dutch oven and heat over medium until the oil is hot enough to add an ingredient. In this case, that would be when the oil shimmers. Not “smokes,” only shimmers.
Add & Brown Mushrooms
This is a multi-step process. Once your oil is hot, add the mushrooms and 1/4 teaspoon salt. The salt will help draw moisture from the vegetable.
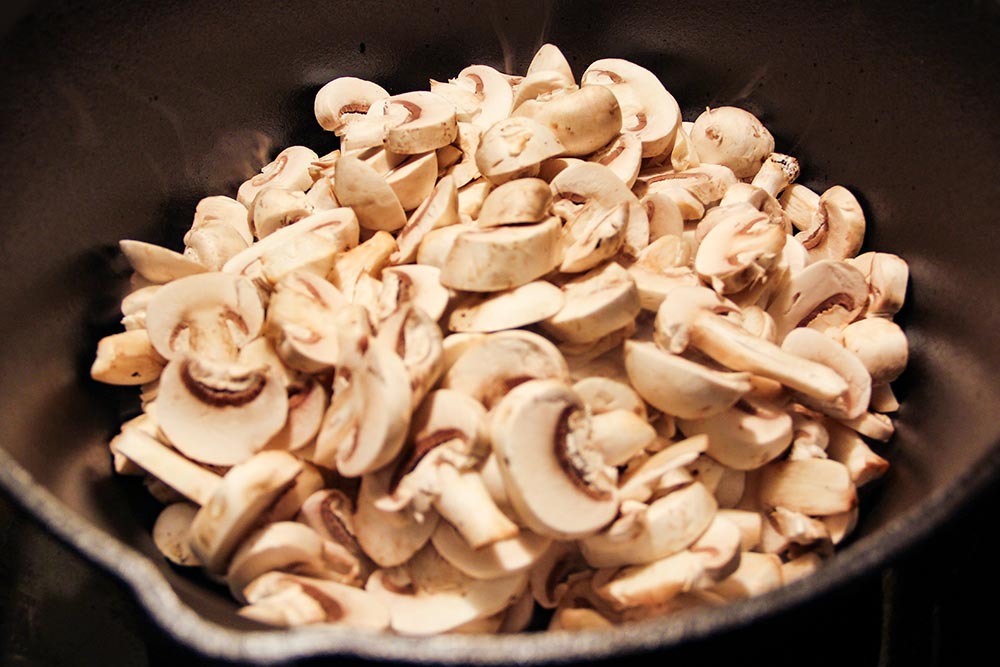
After that, cover your Dutch oven and wait until the mushrooms begin releasing their moisture. This only takes a few minutes. Once you see the mushrooms becoming wet, remove the lid and continue to simmer so the steam can escape.
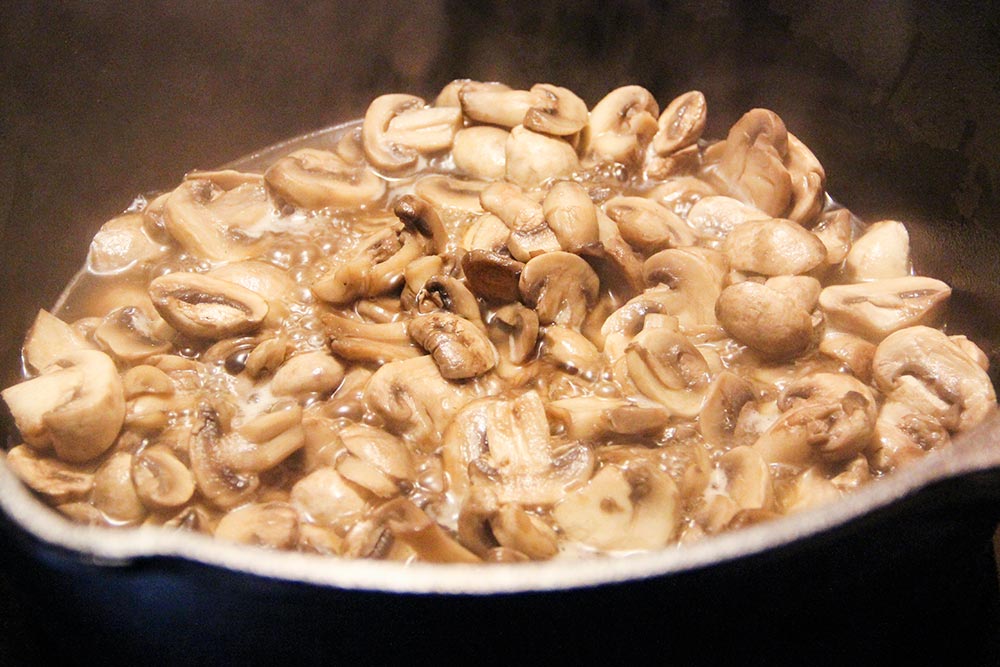
Basically, what you’re doing here is trying to remove any liquid the mushrooms are holding. They can’t brown by holding onto it. Continue to cook until you see all the liquid boil off and the mushrooms turn brown. This should take anywhere from 5 to 15 minutes, depending on how many mushrooms you added to your pot. You’ll need to continuously stir.
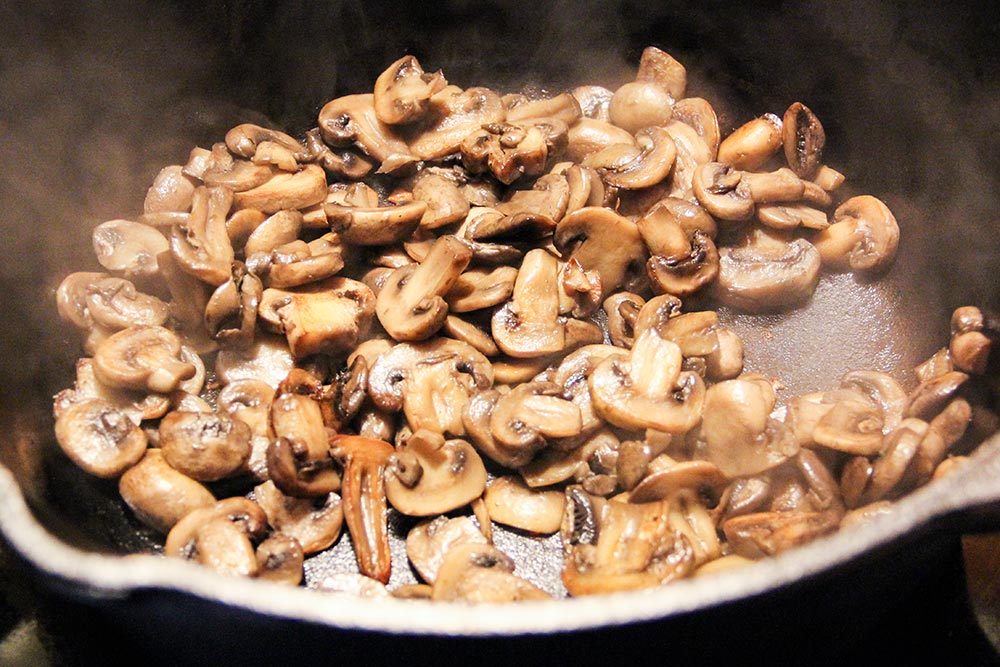
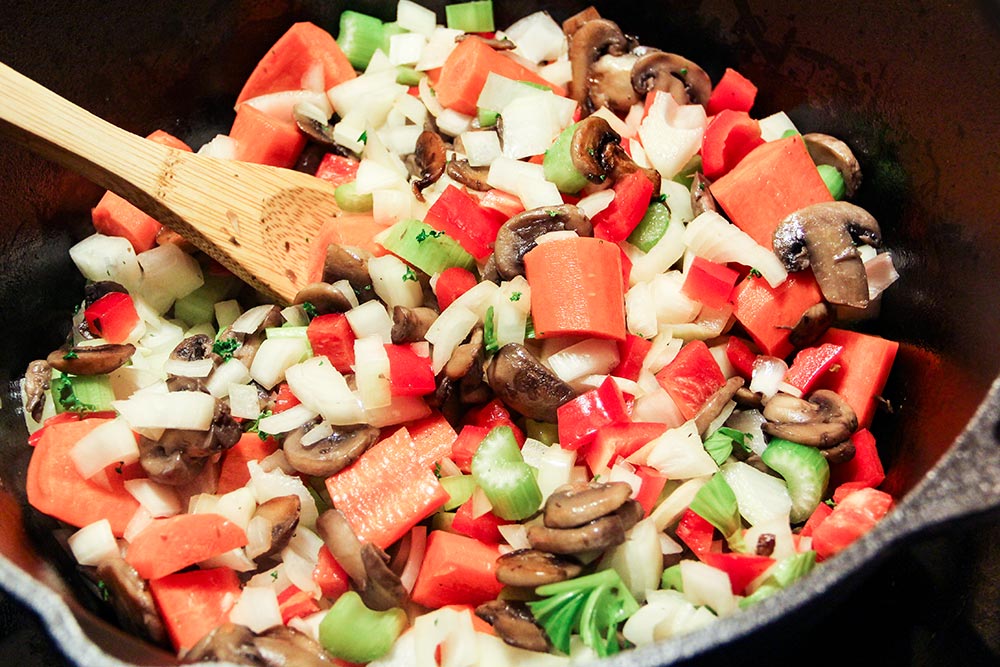
Add Oil, Stems, Onions, Celery, Carrot & Pepper
A lot of ingredients get tossed into the pot at this point and this is why it was so important to do all that prep work. This is no time to be mincing and chopping. Once you see that your mushrooms are nice and brown, go ahead and throw in the remaining tablespoon of olive oil, the stems you chopped from either your chard or your kale, your onions, your celery, carrot and pepper.
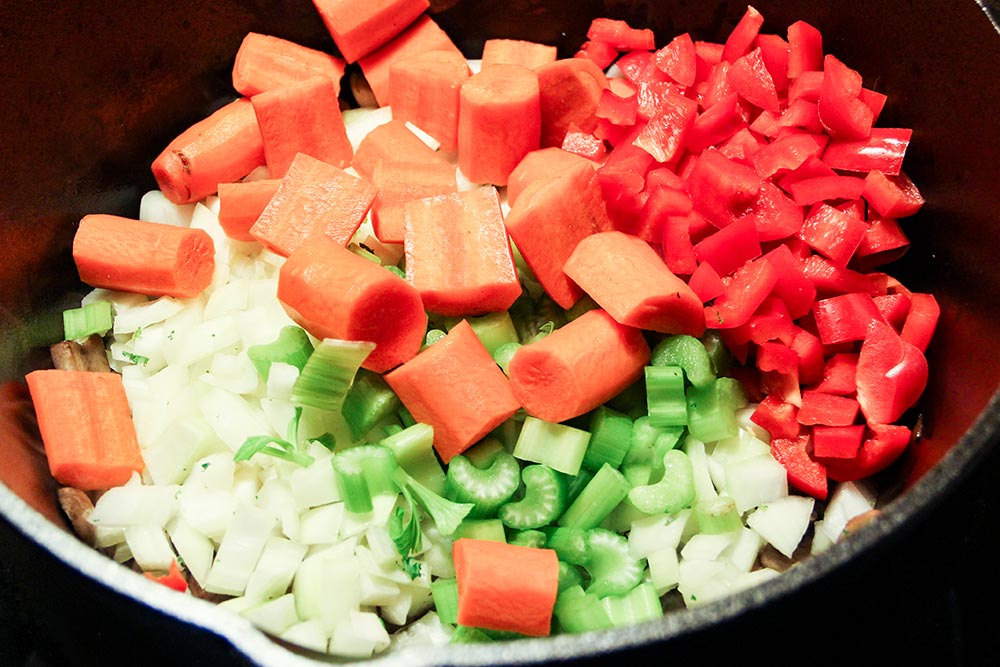
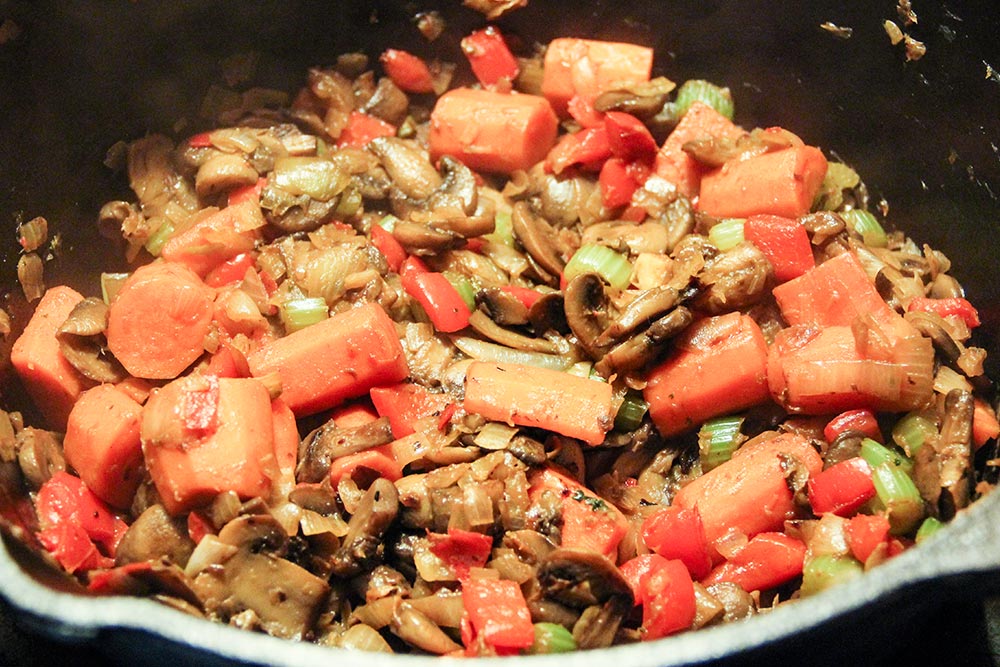
Now, this is what I was talking about above, when I said that you’ll see what was once vivid and beautiful turn, well, less than beautiful. The photo above is the best you’re going to see this recipe. From here on out, things are going to cook and become less vibrant. Don’t get upset because it’s going to taste really good in the end.
Once all the above listed ingredients are in your pot, stir then up.
And continue to stir until everything becomes nice and brown, being sure to scrape what sticks to the bottom. This should take between 10 and 15 minutes. Maybe even more, depending on how much you’ve got in there. Focus on color, not time.
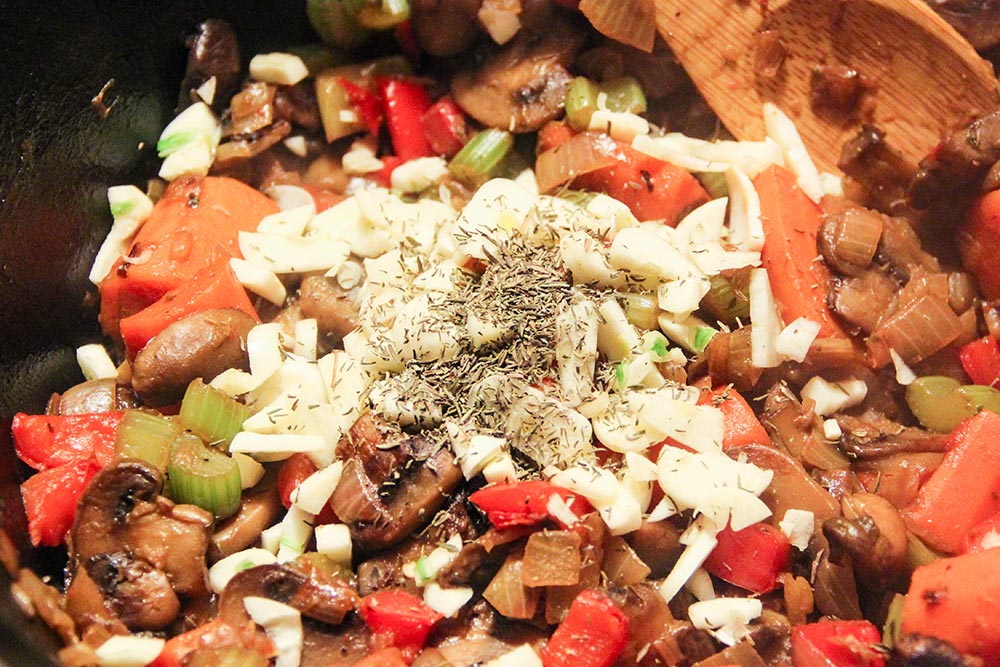
Add Garlic & Thyme
At this point, you should see some wonderfully browned vegetables. Now’s the time to include the garlic and thyme. All you need is 30 seconds for your entire house to smell like some fresh home cooking. Mix these ingredients in and get ready to add the next.
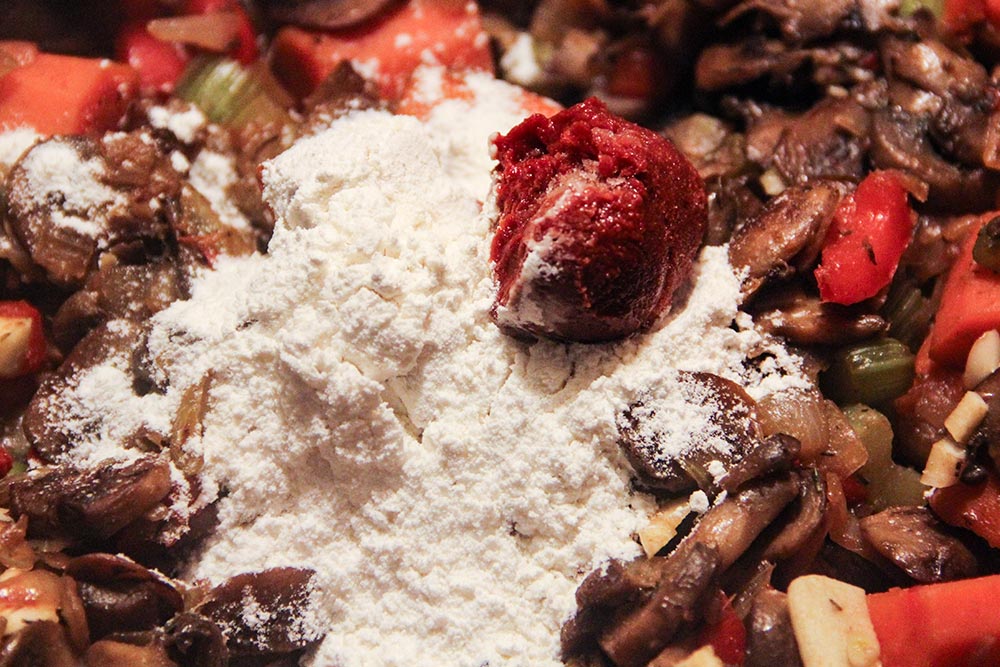
Add Flour & Tomato Paste
At this point, add the 2 tablespoons of flour and the one tablespoon of tomato paste. The tomato paste adds some good flavor, so this doesn’t necessarily need to be exact. You can add a bit more if you’d like. I know some people who say “The more the better.” Mix and cook for one more minute.
Add Wine
I purchased Pinot Grigio for this recipe. Before I went out to the store, I did a bit of research on what type of dry white wine was best for cooking. I discovered that while many would suffice, Pinot Grigio was a good choice. Since I had a bottle of this type of wine staring me in the face at the store, I grabbed it.
The 5 Best White Wines for Cooking
Go ahead and add 1/2 cup of wine, stir it in and let it cook down for about a minute.
Add Broth & Water
After the wine almost entirely evaporates, add the 3 cups of broth and the 2 1/2 cups of water. Mix everything together.
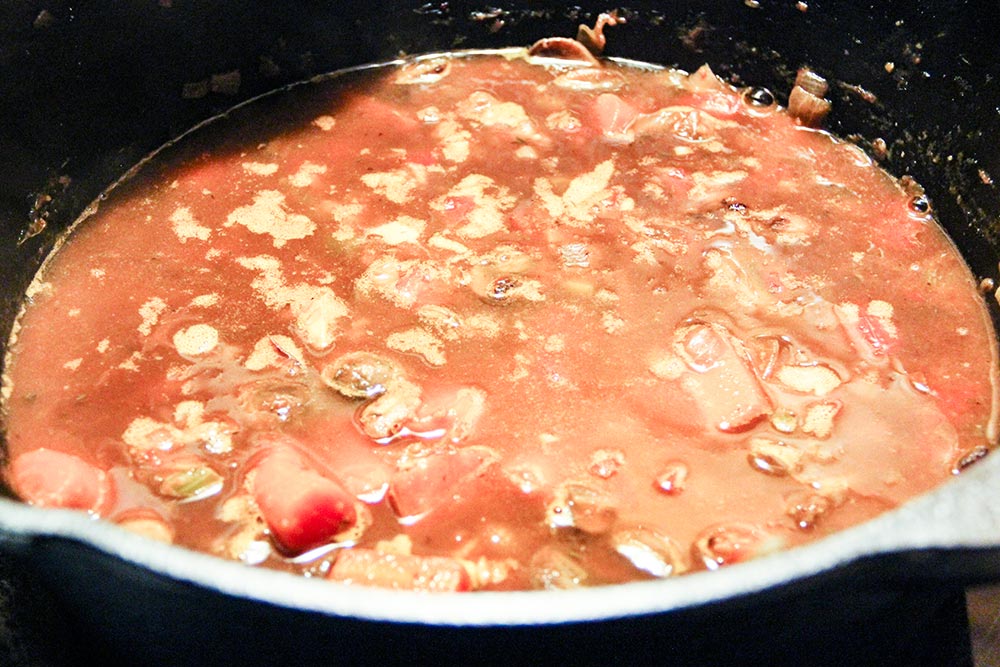
Add Potatoes, Parsnips, Celery Root & Bay Leaves
Do you see what’s going on here? As I mentioned above, we’re adding vegetables in their cooking order. Since the ingredients in this section take less time to cook, we’re adding them last. Also, these aren’t “brownable” vegetables within this recipe.
Once your broth and water have been added, immediately add the potatoes, parsnips, celery root and bay leaves. Turn the heat up a bit until what’s in the pot begins to boil.
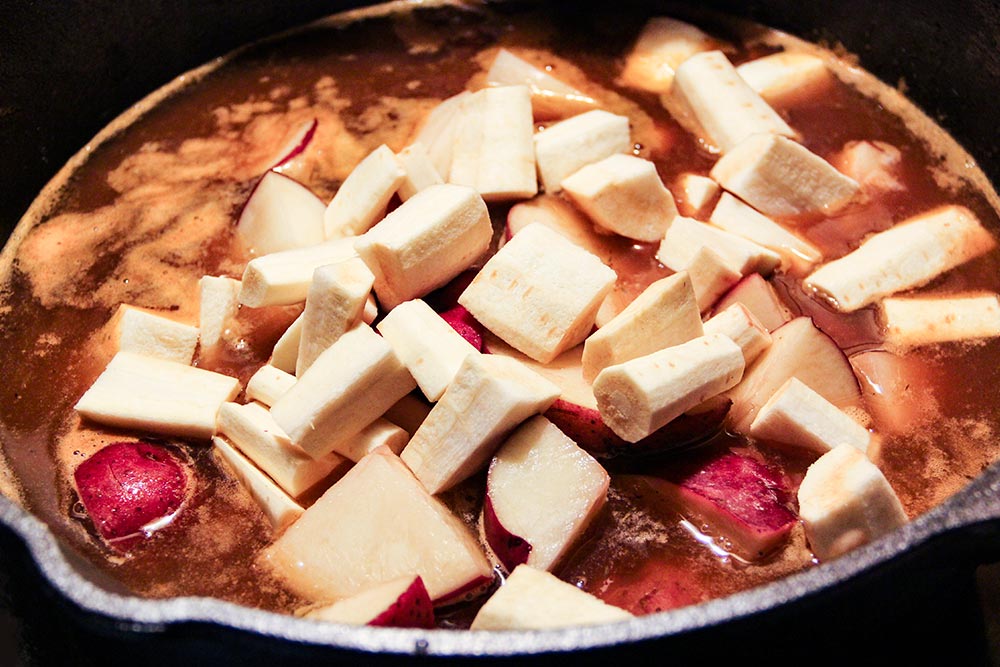
Simmer For An Hour
I performed all the previous steps on my regular stove top. This next step is where I got to use my wood stove. First though, I made sure I had enough wood inside the stove to keep my Dutch oven simmering for the entire hour. I’d say that was about 300 degrees on the stove thermometer.
Once the stew is boiling on your stove top, either transfer it to your wood stove or simply lower the heat and keep it where it is. You’ll want to cover the pot with the lid, but keep a space for steam to escape. After about an hour, you should see all your ingredients thicken and come together. All vegetables at the end of this process should be tender.
Add Chard or Kale Leaves
After an hour, you can go ahead and add either your chard or kale. Stir it in.
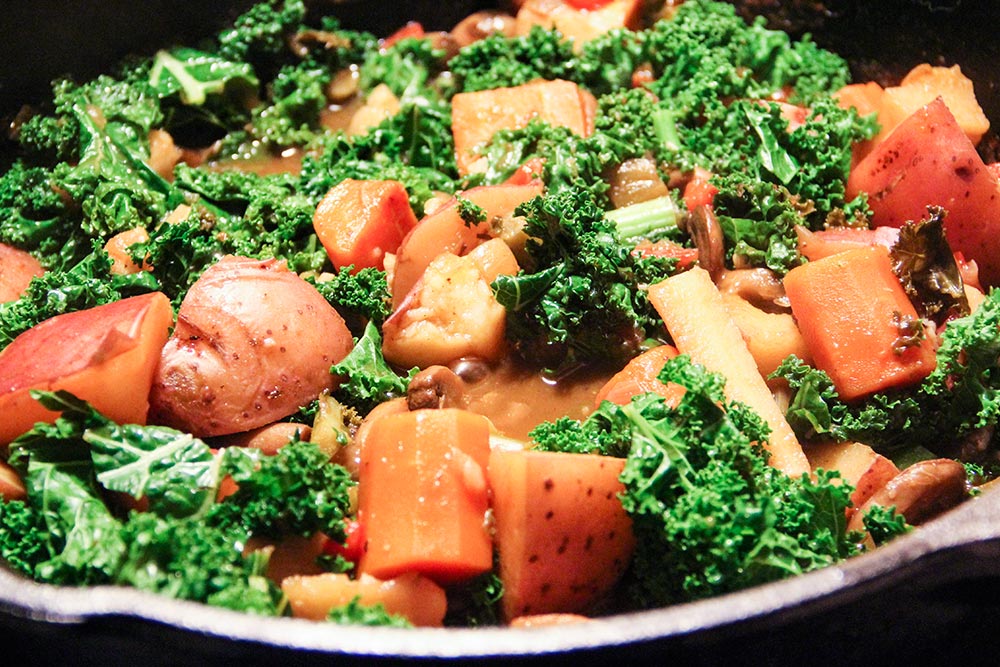
Add Zucchini
Immediately following the above addition, you can add your zucchini.
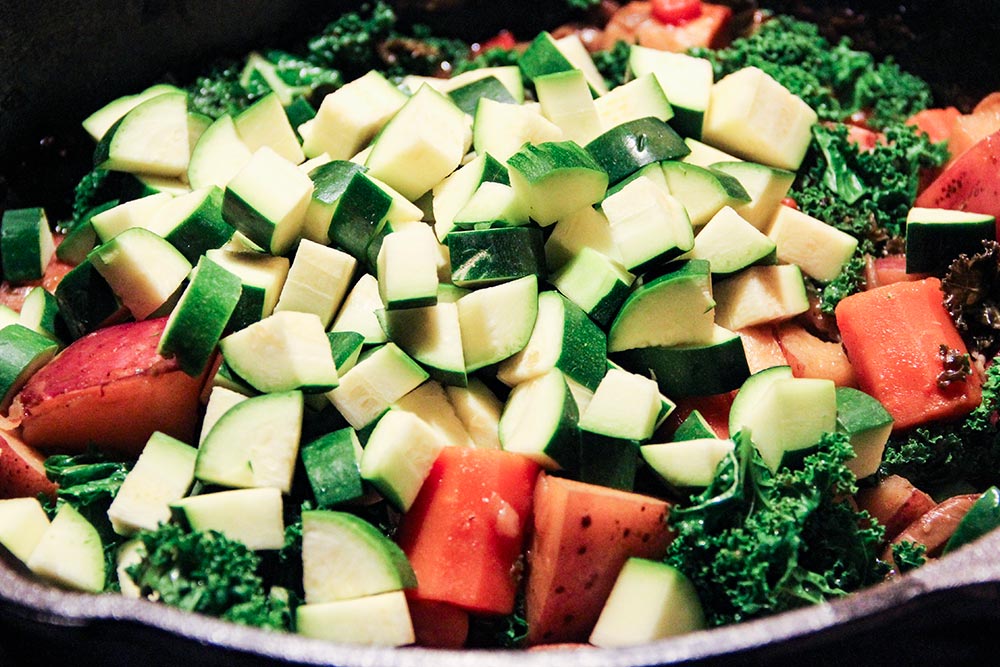
Continue to simmer for about ten more minutes or until these new ingredients become tender as well.
Remove Bay Leaves, Add Lemon & Parsley and Season to Taste
Once the above ingredients have had their chance to cook a bit, you can start digging around to see if you can find the bay leaves. Once you do, be sure to pull them out of your stew. After that, add the 1 or 2 tablespoons of lemon juice (the more you add, the more citrusy the stew will taste) and the fresh or dried parsley. Stir that all together and then season with salt and pepper.
The Final Product
Once you’ve got the taste where you want it, you’ll have a finished stew. Scoop some up and put it on a plate or in a bowl and enjoy!

——
If you’ve enjoyed today’s post and found it helpful, please share it with a friend. Also, if you’d like to continue reading and would like our posts sent directly to your email inbox, simply sign up for our newsletter. We’ll send each and every post directly to you. Thanks!
Thanks for sharing this! I used to get the ATK magazine and saw this recipe in it. I got to make it once before I lost track of my copy of the recipe, and of course ATK has it behind a paywall on their website…
I remember really liking this soup, so I’m really excited to find the recipe again and giving it another try. I appreciate finding it here 😁