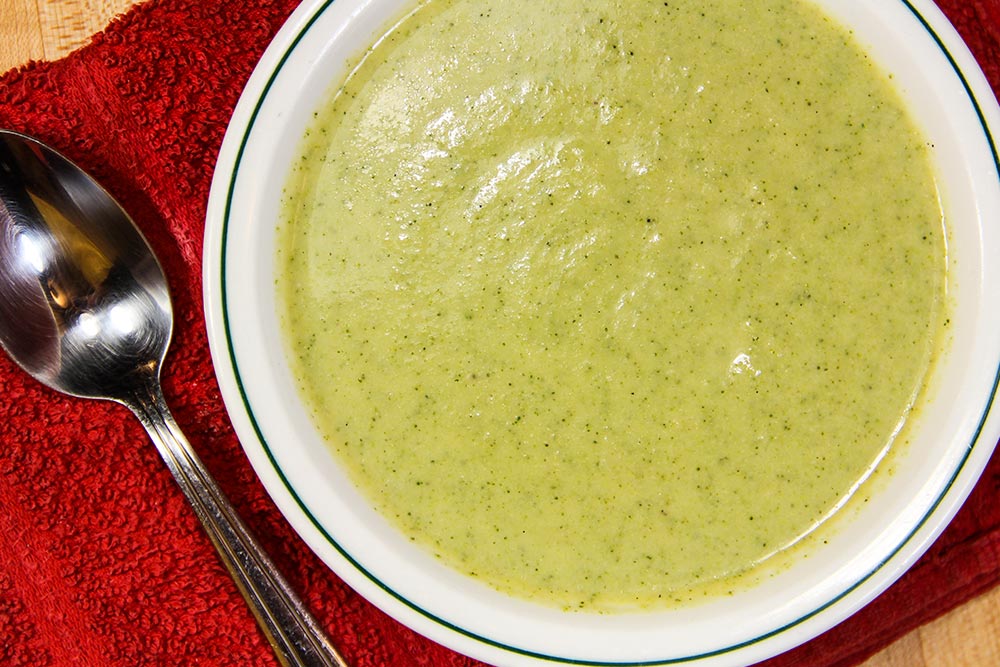
I’m going to make a confession here. Throughout my life, I never learned much about soup, therefore, I don’t think I gained any appreciation for it. The breadth of my knowledge and understanding consisted of someone tossing some ingredients into a heated pot and letting them all come together over time. I have matured. I now know it’s not that simple.
In today’s post, I’m going to share my experience making some cream of broccoli soup. This is another recipe from America’s Test Kitchen, so I’m sure it’s been well thought out and put through the ringer. Putting this recipe together last night was an eye opener. I wasn’t aware of all the timing and flavor development that goes into something like this. And honestly, I also wasn’t aware of how so many ingredients can boil down into something that looks so simple.
With this recipe, the primary focus needs to be on timing and ingredient preparation size. Everything that goes into the pot must cook evenly or the final product will have a good amount of inconsistency that will really show through.
Ingredients
1 Tablespoon Pure Olive Oil
1 Medium Onion
1 1/2 Pounds of Broccoli
3 Garlic Cloves
1 Tablespoon All-Purpose Flour
1/4 Cup Dry White Wine
2 Cups Low-Sodium Chicken Broth
2 Cups Vegetable Broth
1 Bay Leaf
1/2 Cup Half-and-Half
Salt
Ground Black Pepper
Step-by-Step Instructions
I’d like to take a moment to talk about bay leaves. As you can see, the ingredients above call for one of them. The thing is, this dish doesn’t take very long to prepare, which doesn’t bring much out of the leaf itself. When I was finished cooking last night, I took a quick glance at the leaf and wondered if I needed to spend the money on these things in the future. It didn’t seem to do much. It didn’t even have an aroma to it.
This morning, I did a quick search to see if others had the same concern. Apparently, there are some skeptics, such as myself, as well as some folks who simply couldn’t live without this herb.
I will tell you this, while bay leaves may add a little something to a dish, they certainly aren’t worth the $7.19 that my local grocer was charging for them. Luckily, we found some elsewhere for only $.99. Strange? I’d say so.
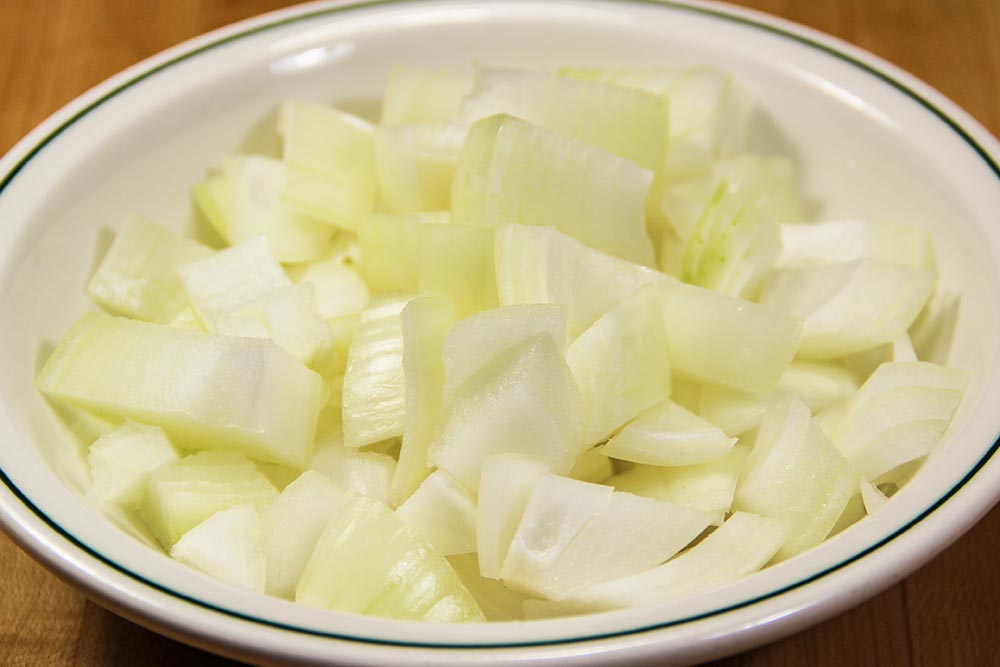
Peel & Chop the Onion
By now, I’m really getting used to chopping onions. It seems that they are in everything. For this recipe, the onion gets chopped into medium sized pieces.
Process Broccoli
The recipe calls for separating the broccoli florets from the stems. These two parts of the broccoli cook at different rates, so it’s important to add them to the pot at different times. In my case though, I didn’t need to trim much of the stem at all because I purchased only the broccoli crowns. I did separate what I could though.

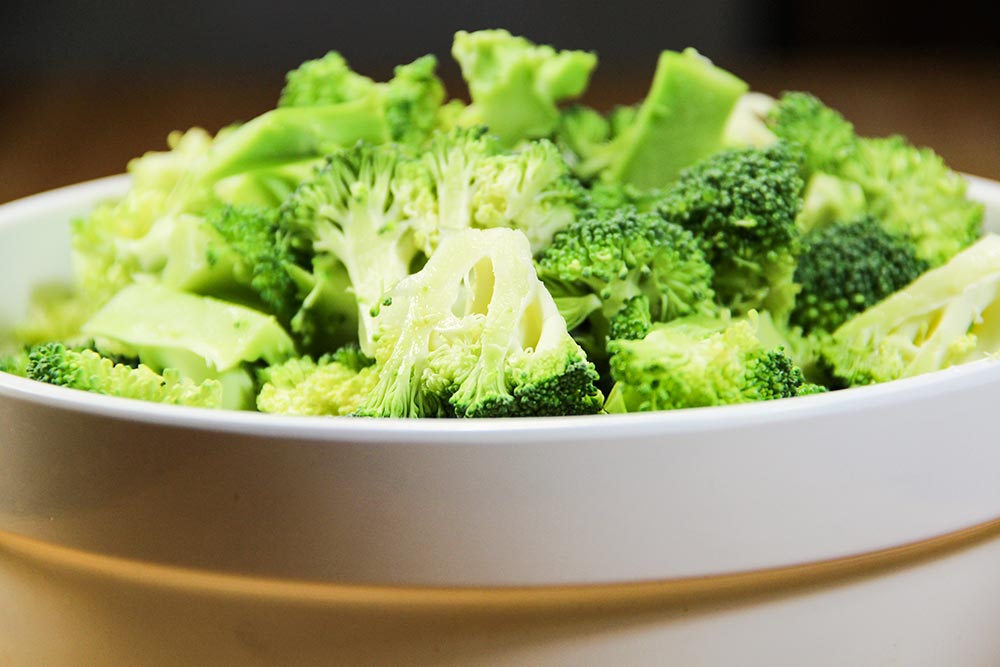
Cut Broccoli Florets
Next, I processed all the broccoli tops, or florets, into evenly cut one inch pieces. I tossed them into a bowl and Laura took a picture of them.
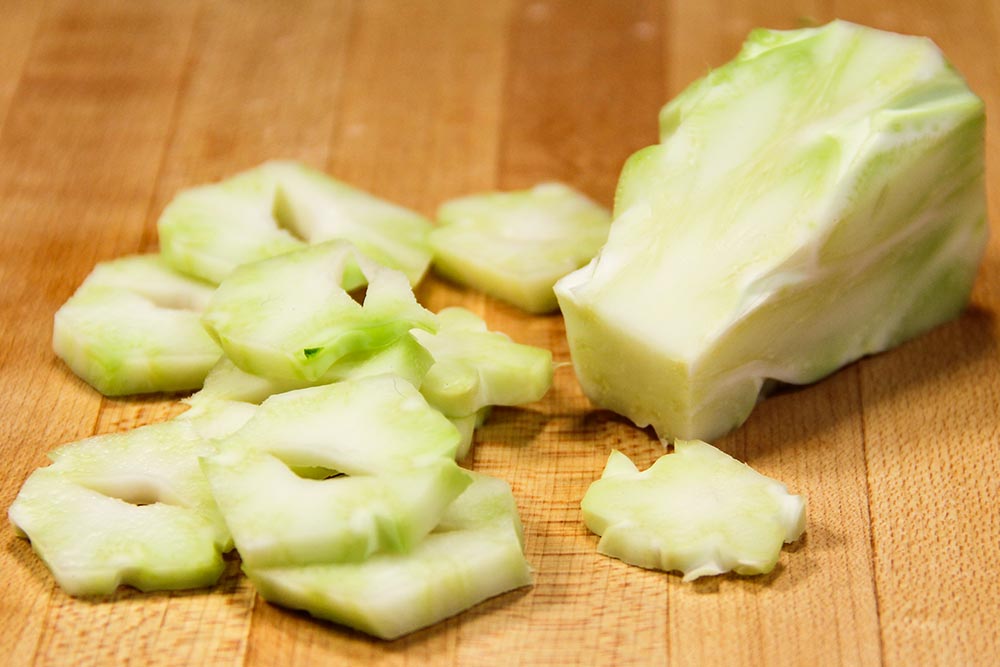
Trim & Slice Broccoli Stems
The stems I did manage to salvage, I was able to use. I trimmed off the tough outer skin and sliced the cores into about quarter inch slices.
Mince the Garlic Cloves
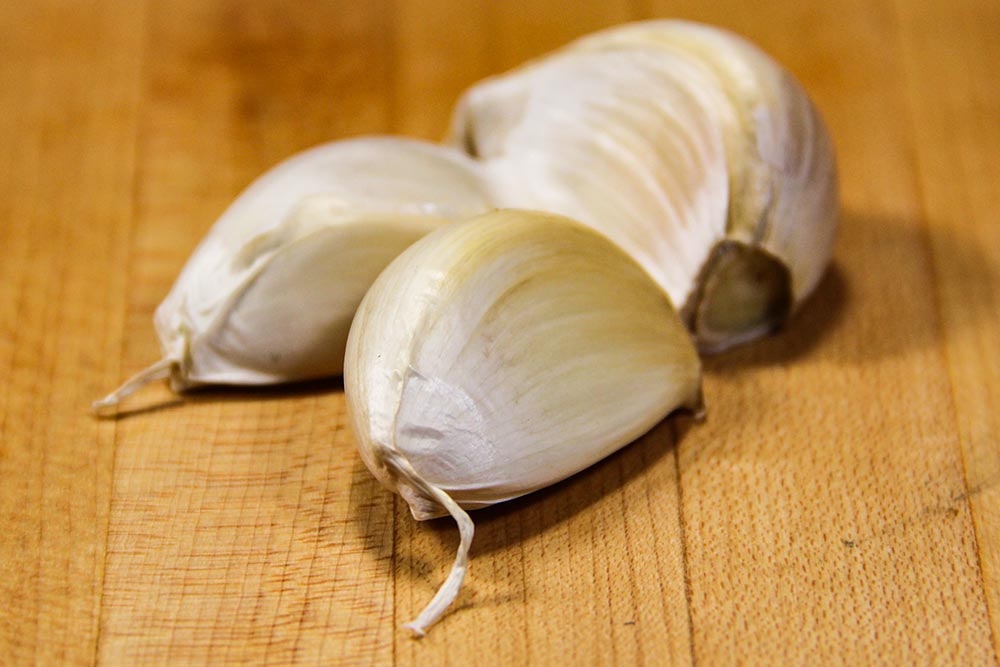
At this point, it was time to mince up the garlic. We didn’t take a photo of the final product because it’s sort of tough to move around without making everything smell like garlic. I did, however, peel and cut up each clove and set it all aside.
Add Oil to Dutch Oven
Right before I began mincing the garlic, I turned the stove on to medium to pre-heat my Dutch oven. Since this large pot is made of solid cast iron, it takes a few minutes to get warm. During the pre-heat, I added one tablespoon of pure olive oil to it (not extra virgin).
Add Onion & Broccoli Stems To Dutch Oven
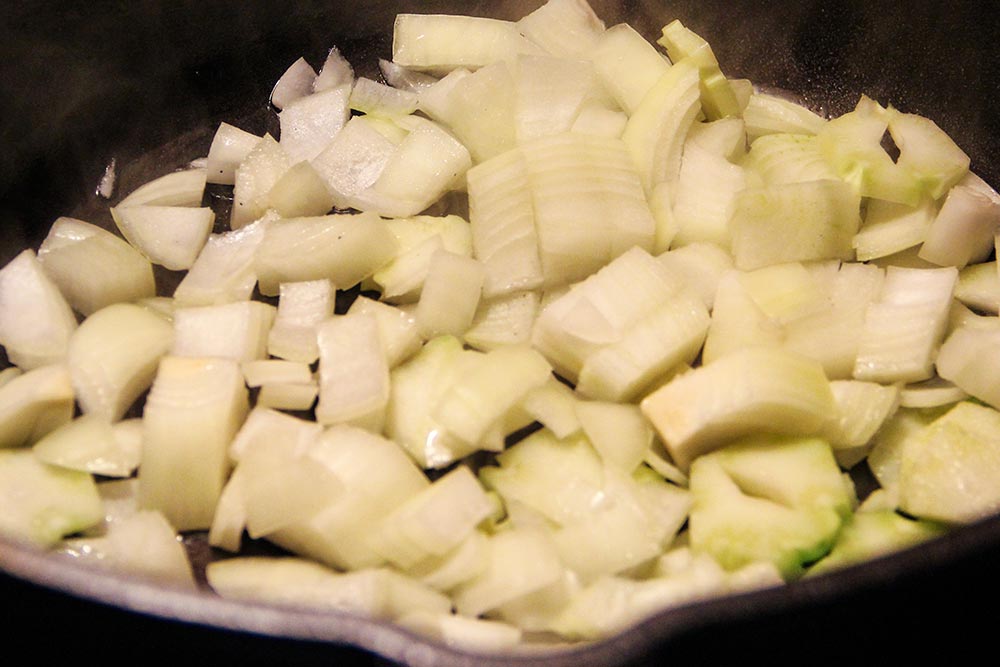
Once the Dutch oven was to temperature, meaning, the oil was shimmering, I added both the chopped onion and broccoli stems to it. I let these ingredients saute for about 5 minutes until they were softened. For you, this may take a bit longer or shorter. I’d say the average is the time it took me.
Add Garlic
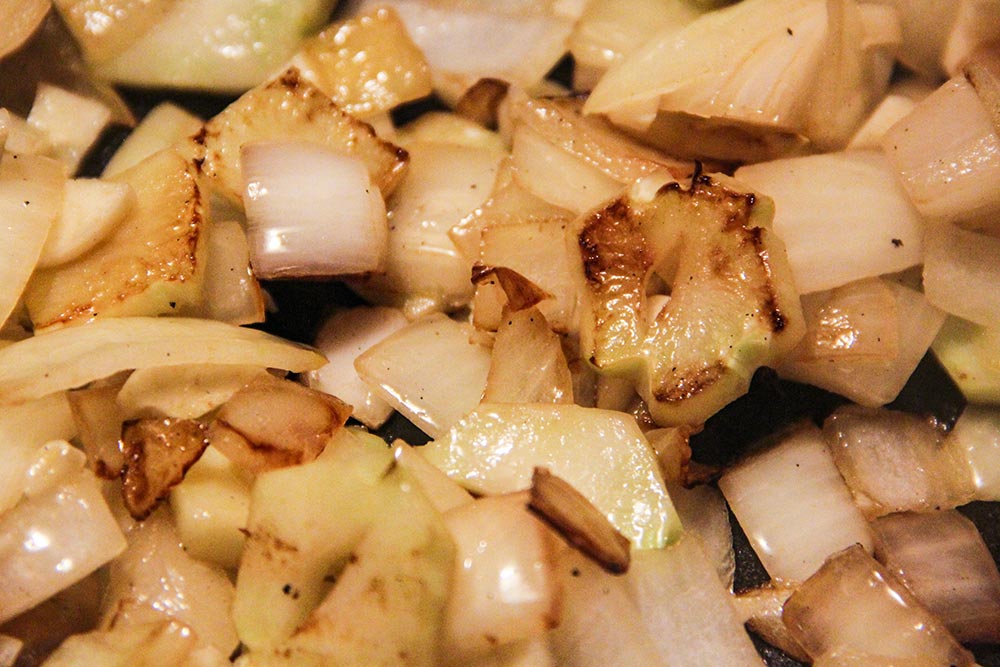
When I found the onion and broccoli stems soft, I added the minced garlic. I only cooked this combination for under a minute – basically until the kitchen smelled like garlic.
Stir & Cook Flour
America’s Test Kitchen tells me that too much heavy cream washes out the taste of the broccoli in this dish, so they don’t like to add too much of this ingredient. To compensate for the cream and to keep with creating a nice, thick soup, they suggest adding one tablespoon of all-purpose flour.
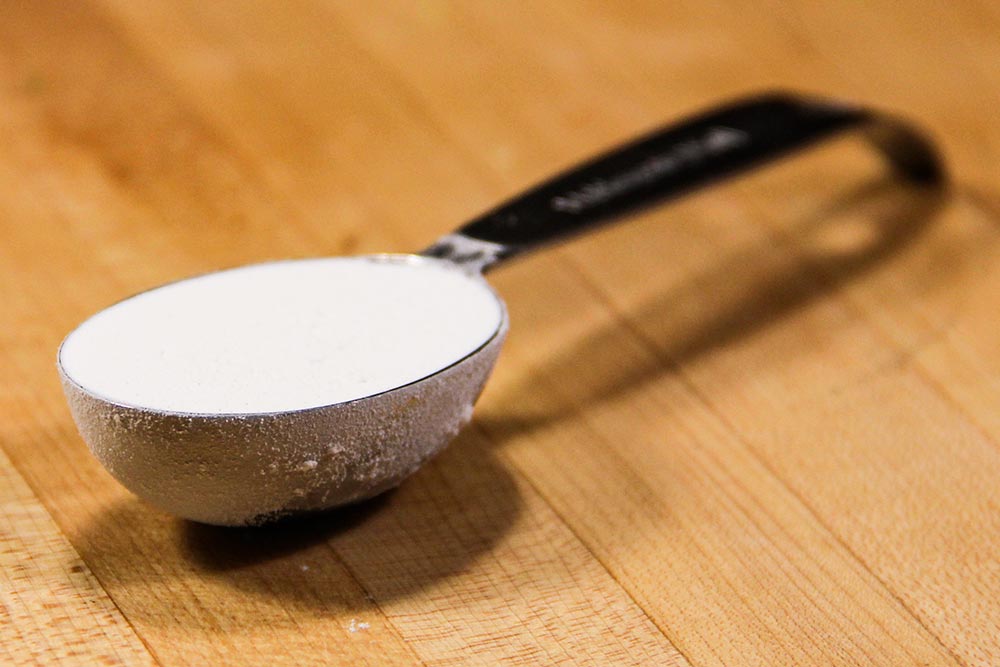
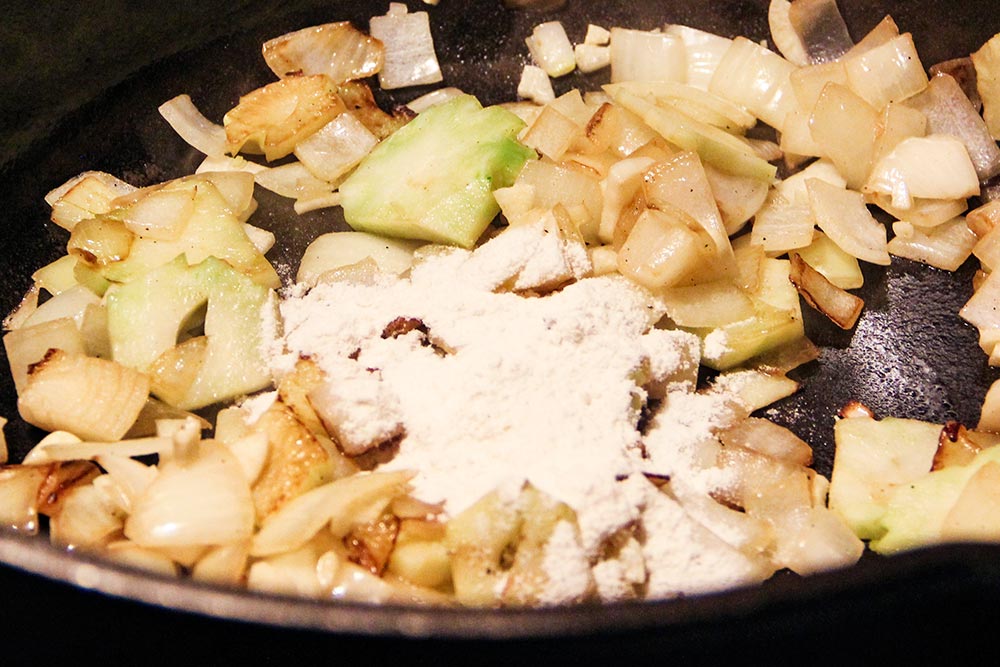
Once the flour was in the Dutch oven, I cooked everything, stirring occasionally, for about one minute.
Add Wine
I believe I already discussed which types of white wine are good for cooking in a previous post, but if you missed it, you can take a look at this site to catch up:
The 5 Best White Wines for Cooking
For this recipe, I used a nice Pinot Grigio.
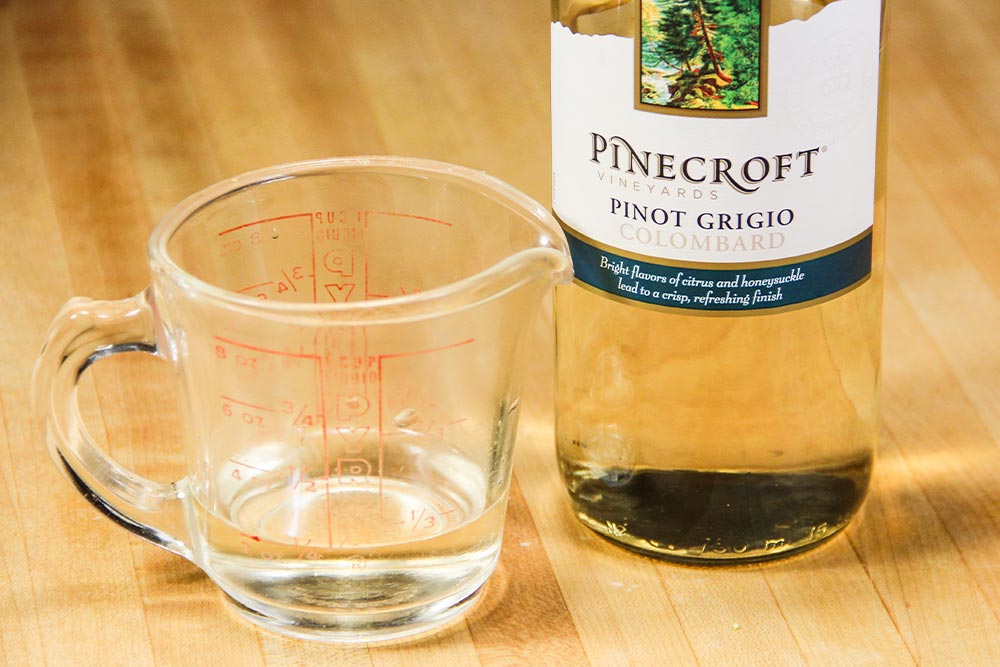
I added 1/4 cup and let it simmer for about a minute until almost all of it had steamed out of the pot.
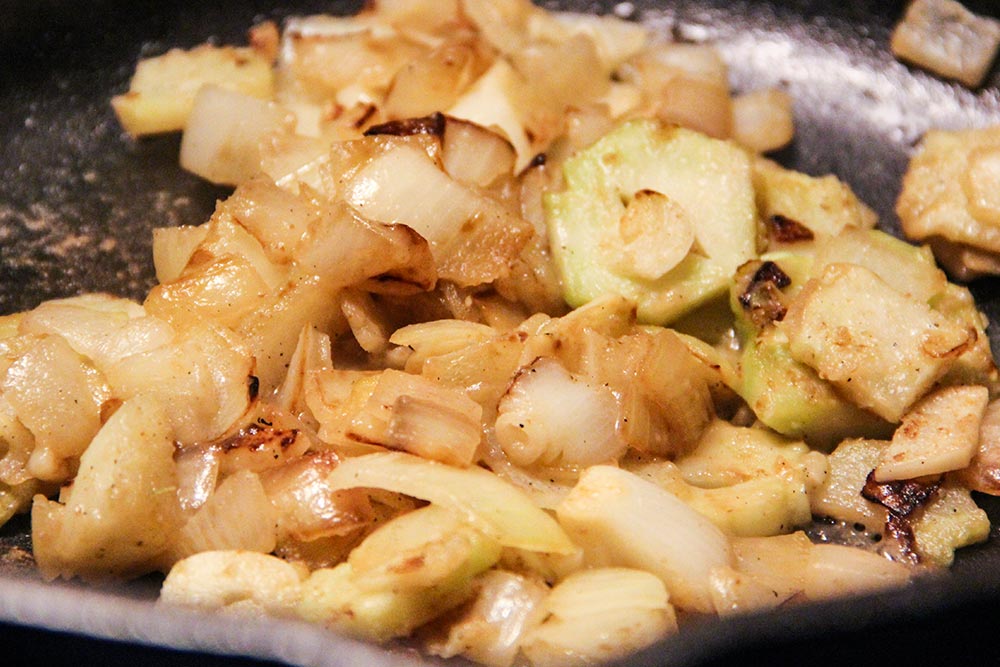
I also stirred constantly while the wine was evaporating.
Add Broth
The recipe calls for 2 cups of chicken broth and 2 cups of vegetable broth. I decided to use 4 cups of vegetable broth instead. America’s Test Kitchen warns against this, though, because they claim that too much of either will cause a too “chickeny” taste or a too “sweet” taste. I’m not sure if the final product was too sweet, as it tasted quite nice.
Anyway, for this next step, I slowly added the 4 cups of broth and stirred the ingredients, making sure to scrape up any fond that had earlier formed on the bottom of the pot. I brought everything to a simmer.
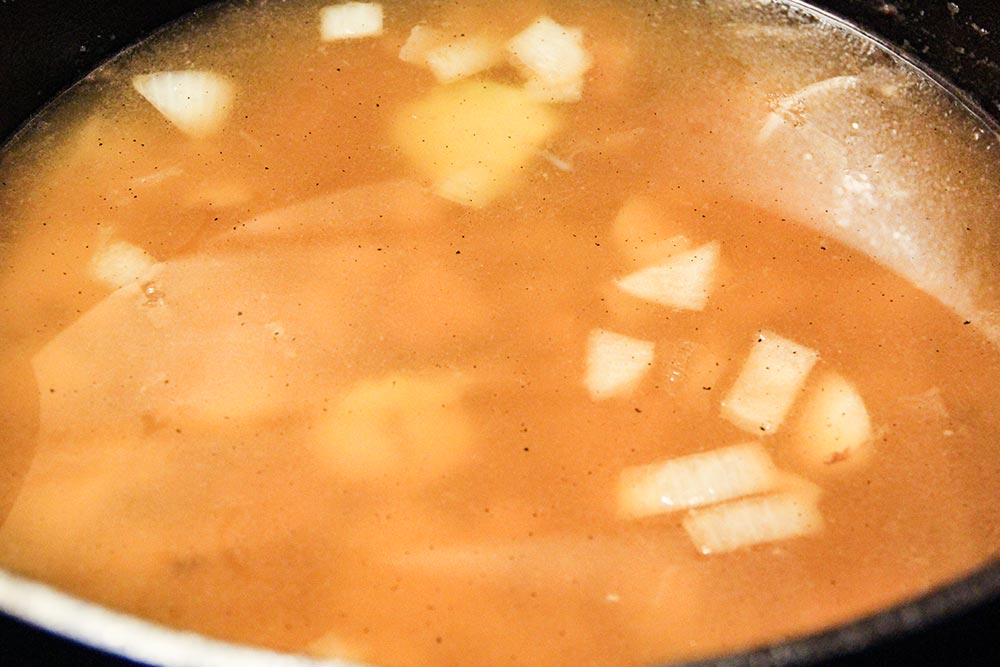
Add Broccoli Florets & Bay Leaf
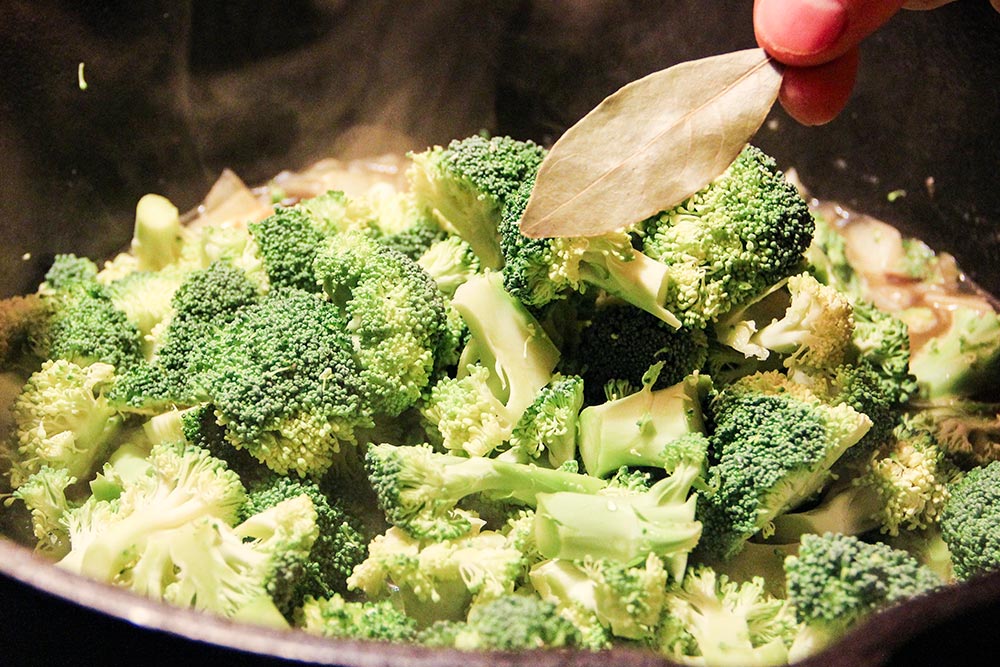
Once I had my broth cooking at a nice simmer, I added the rest of the broccoli and the bay leaf. Please review my above concerns regarding the bay leaf. If you do decide to use one, please be sure it’s submerged in the liquid.
Bring Back the Simmer
After everything was added, I brought the simmer back and cooked for another 10 minutes.

Remove Bay Leaf & Puree
Very important – fish through the Dutch oven and find the bay leaf. Remove it and do what you will with it. Just be sure to not put it in the blender with the rest of the ingredients.
This step will probably take a few batches. It took two for me. I added half the cooked ingredients to our blender and pureed for a minute or two. It took some jiggling around of the blender, but it got finished.

Return Pureed Soup to Dutch Oven
As I was pureeing, I turned the heat off on my stove. I also transferred the ingredients to a clean bowl. Basically, I wanted to have the pot cleaned and ready for the soup I was about to add back to it for warming.
Add Half-and-Half
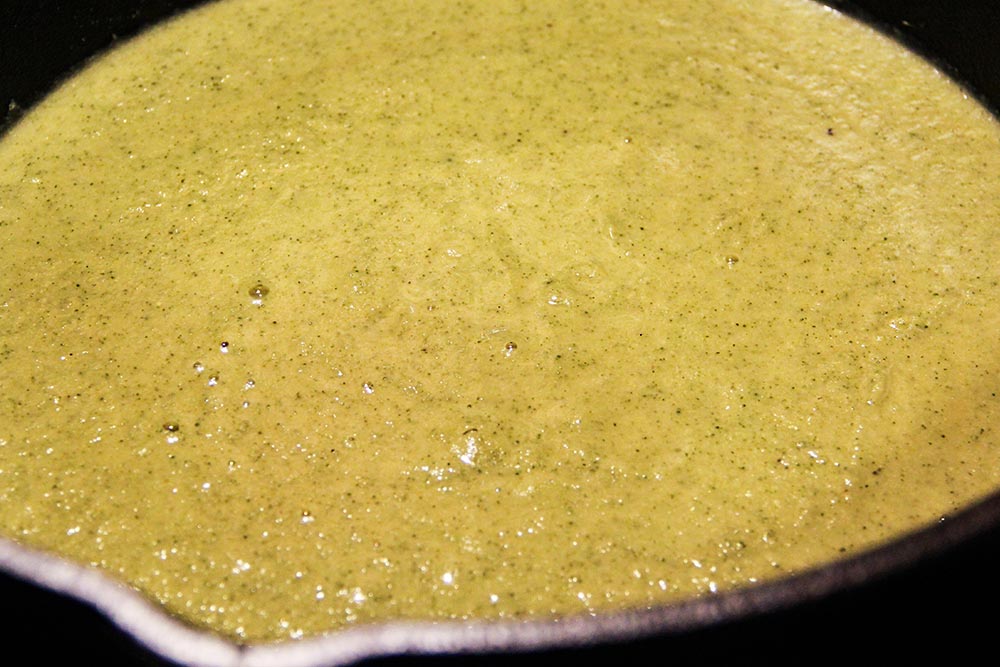
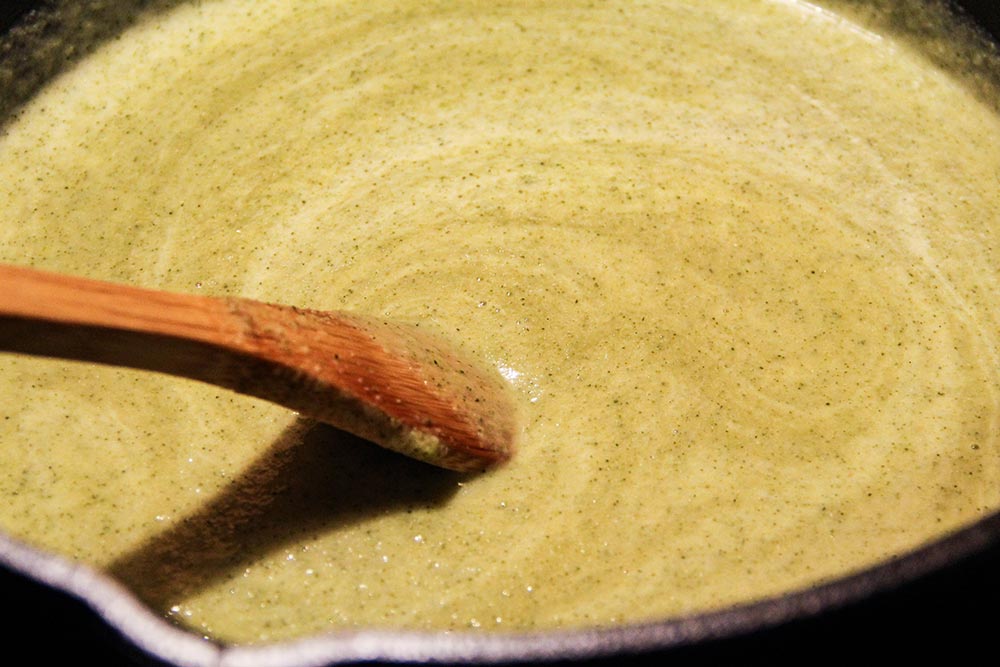
With the heat off (the Dutch oven was holding some heat), I returned all the pureed soup to the pot and added the half cup of half-and-half. I stirred it into the rest of the soup.
Season With Salt & Pepper
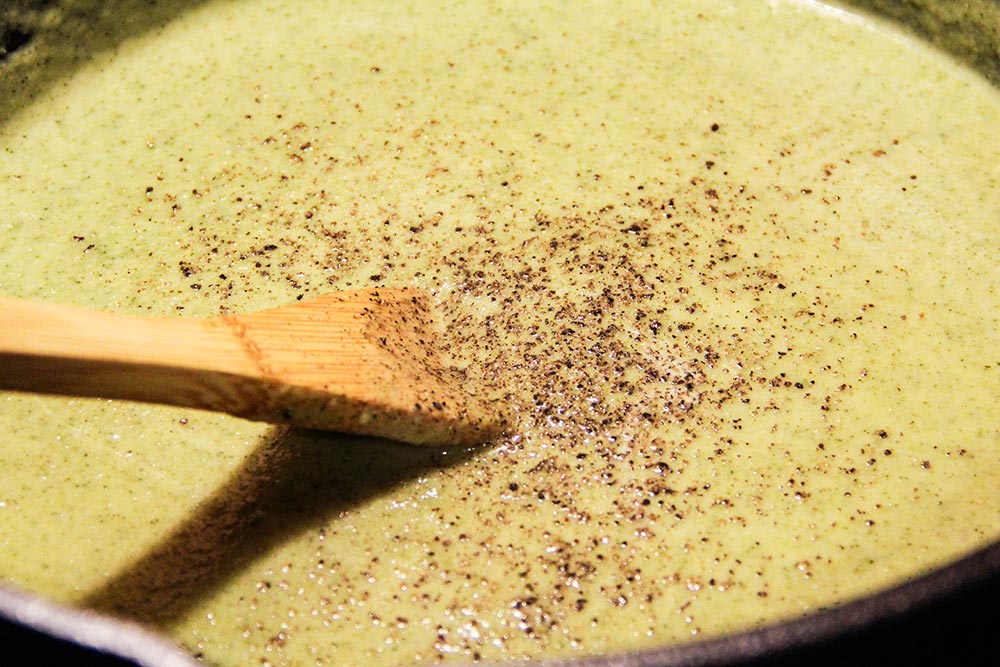
If you used broth with sodium, you may not need to add any salt at this point. If you used sodium-free broth (recommended), you’ll most likely need to add a bit of salt. Either way, you’ll probably want to add some ground pepper for flavor.
The Final Product
Again, I’m surprised at myself. I never knew I could prepare something like this. The soup tasted great! Go ahead and give it a shot. Please let me know how you made out.

——
If you’ve enjoyed today’s post and found it helpful, please share it with a friend. Also, if you’d like to continue reading and would like our posts sent directly to your email inbox, simply sign up for our newsletter. We’ll send each and every post directly to you. Thanks!
Leave a Reply