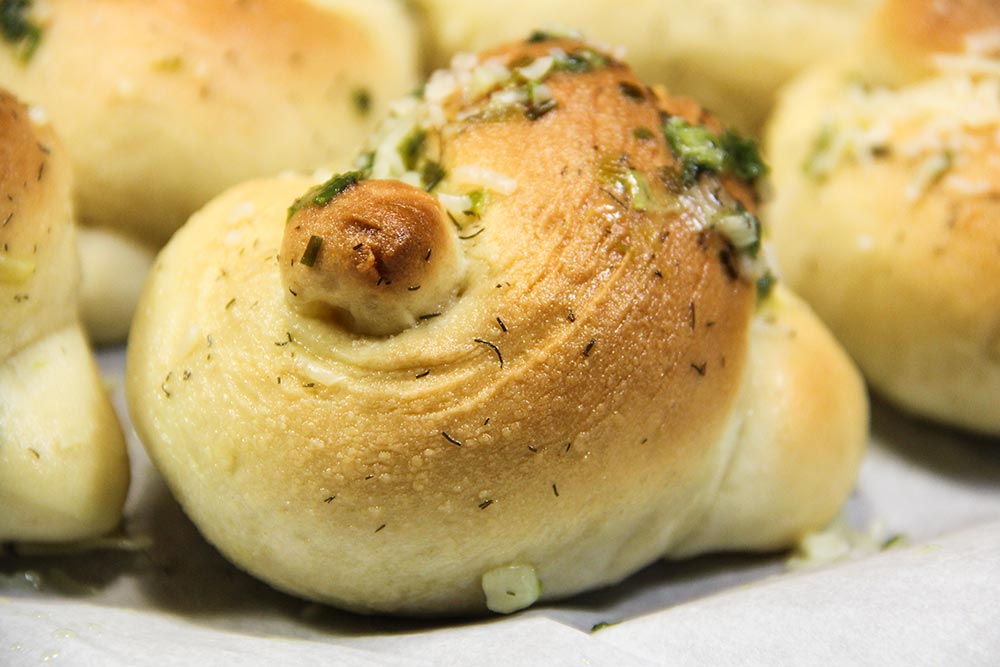
Whenever I talk about garlic knots with someone, we usually end up saying the same types of things. “Mmmm. Oh man. I love garlic knots!” I mean, honestly, who doesn’t really, really enjoy eating garlic knots?
I recently found a recipe over at Tori Avey’s site, where Kelly Jaggers offered up a version of one of her favorite foods. She titled it “Garlic Knots – Homemade Buttery Garlic Herb Rolls Recipe.” I’d say that pretty much covers it. I wrote a comment at the bottom of the page, telling the author that I’d be giving this one a go and that I’d report back with how things went. Well, I made this recipe last night and I have to say, I was successful. Not only did I eat two delicious, warm, buttery and garlicy knots during dinner, I’ve got a refrigerator full of them now. I’ll have to wait for those “less than social” days to finish them up.
I’m going to give you a step by step review of what I did to produce these wonderful little nuggets of flavor. Laura and I took dozens of photos, so you should really get an eyeful.
Ingredients
There are two sets of ingredients for this recipe. The first deals with how to make the knot itself, while the second deals with how to make the topping. I’ll break these down individually.
The Dough
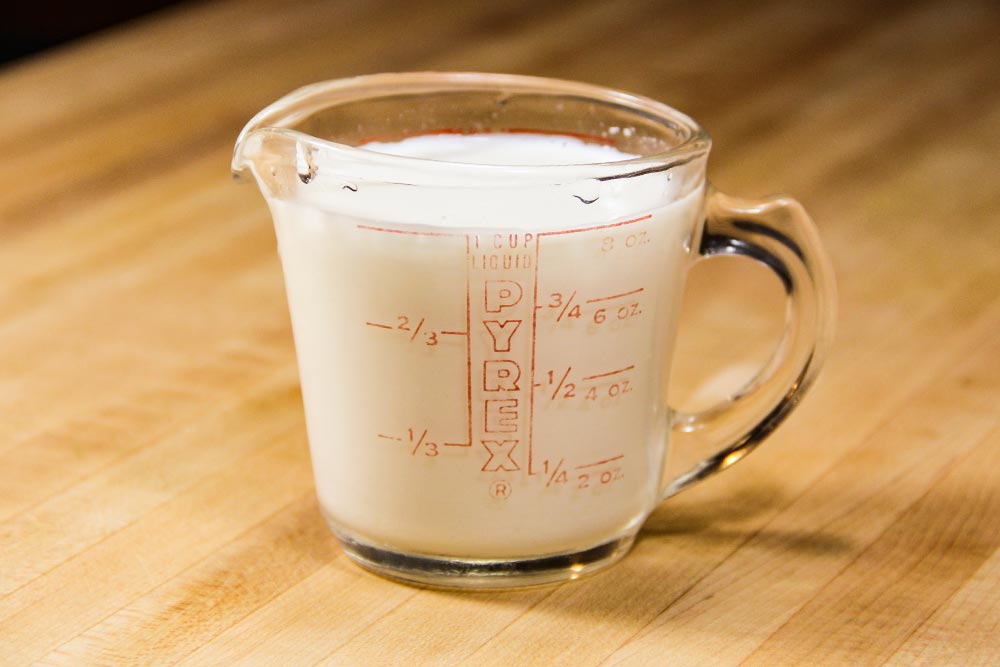
2 Cups Milk
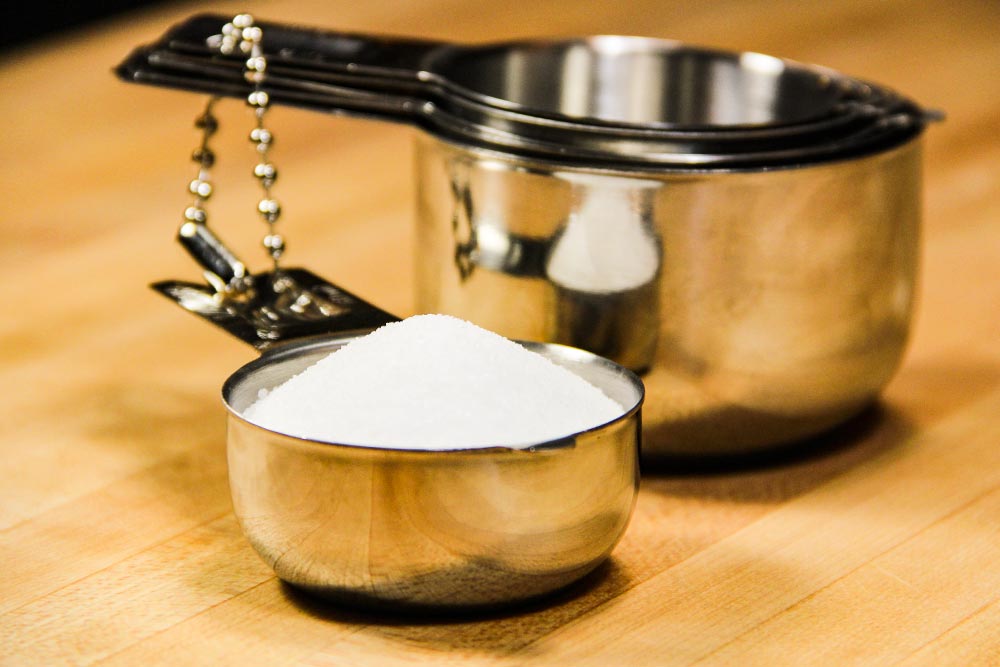
1/4 Cup Sugar
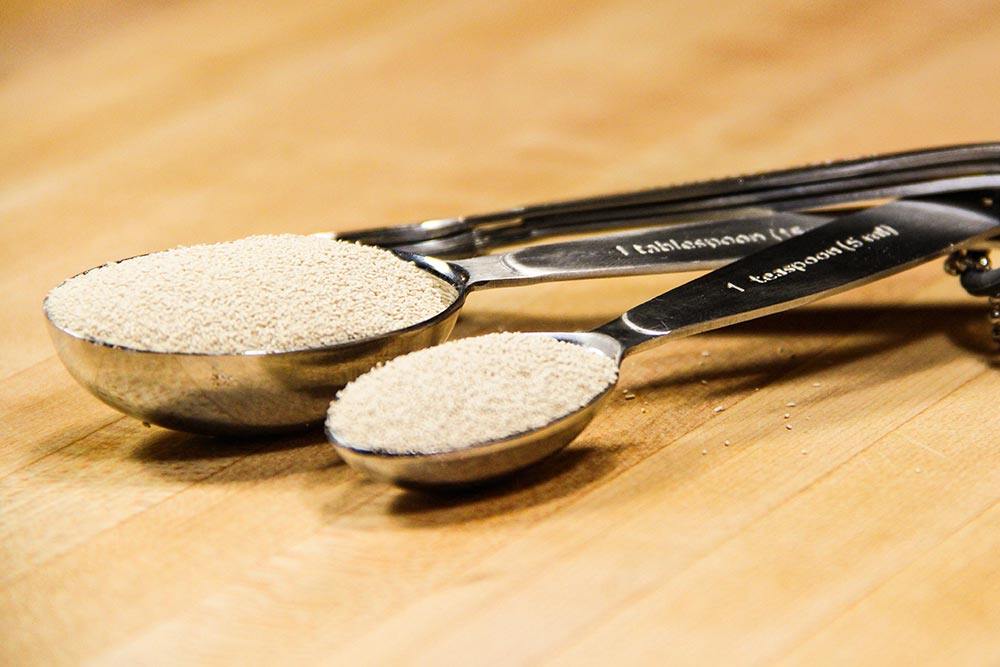
4 Teaspoons (20ml) Active Dry Yeast
1 1/2 Teaspoons Salt
1/4 Cup Melted Butter (Unsalted)
1 Large Egg
3 Cups Flour (All-Purpose)
3 Cups Flour (Bread)
1 Teaspoon Pure Olive Oil
The Dressing
1 Stick Butter (Salted)
1 Tablespoon Chopped Chives (or)
3 Chopped Scallions
2 Teaspoons Chopped Dill
1 Clove Minced Garlic
1/2 Cup Grated Parmesan Cheese
Substitutions
I was forced to make a few substitutions for this recipe, due to the unavailability of ingredients. Once again, I wasn’t able to get my hands on fresh chives, so I used scallions instead. I had excellent results with these. Also, instead of using fresh dill, I used dried dill. I’m sure there was a difference, but I didn’t notice it. Lastly, I mistakenly purchased shredded parmesan cheese instead of grated. Because of this, I had to chop the cheese with my chef’s knife to break it down. This was simple enough.
Step-by-Step Instructions
It all starts with the first cup of milk. I bought a gallon of whole, because that’s what I like. There are a lot of moving parts during the construction of this recipe, but once you pour that first cup, you’ll quickly get in the rhythm of things.
Activate the Yeast
The very first task we’ve got to take care of is to activate our yeast. This is an important step, because without activation, our yeast won’t perform as intended. To read more about this topic, you can check out this resource:
Working with Yeast: Be Not Afraid!
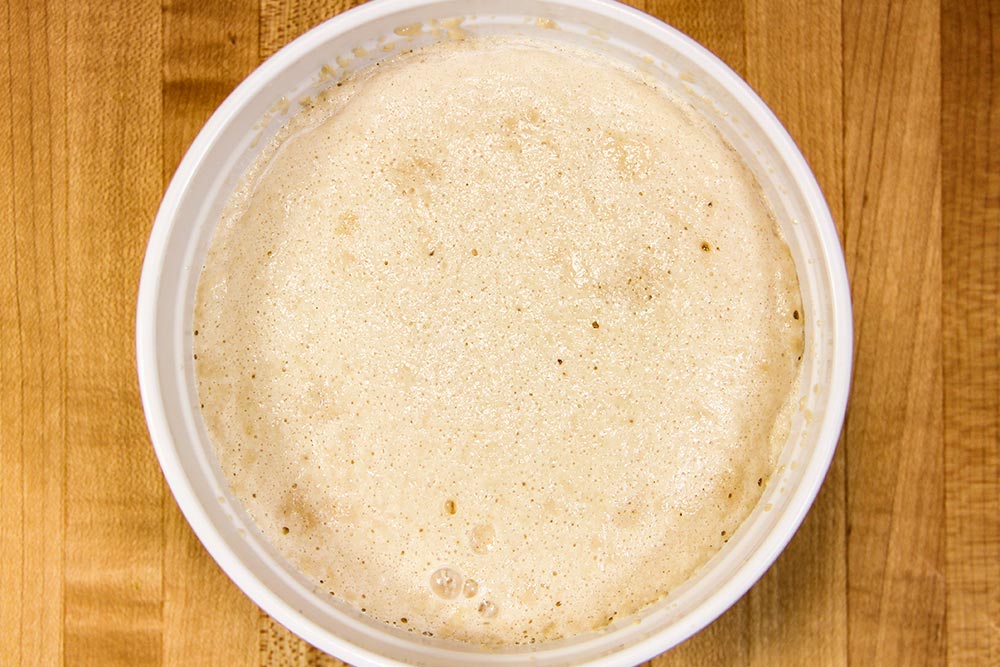
Proper activation requires just a few ingredients. In our case, we’re going to warm the two cups of milk to approximately 100 degrees (where it just begins to steam on a stove top) and combine it with the 1/4 cup of sugar and the 4 teaspoons of yeast in a bowl. This mixture needs to be stirred vigorously to ensure everything is dispersed and in good form. Once that’s finished, we can let the bowl of warm ingredients sit out for about 10 minutes.
You should know when your mixture is ready because it’ll be foaming. Take a look at this photo below.
Combine Ingredients
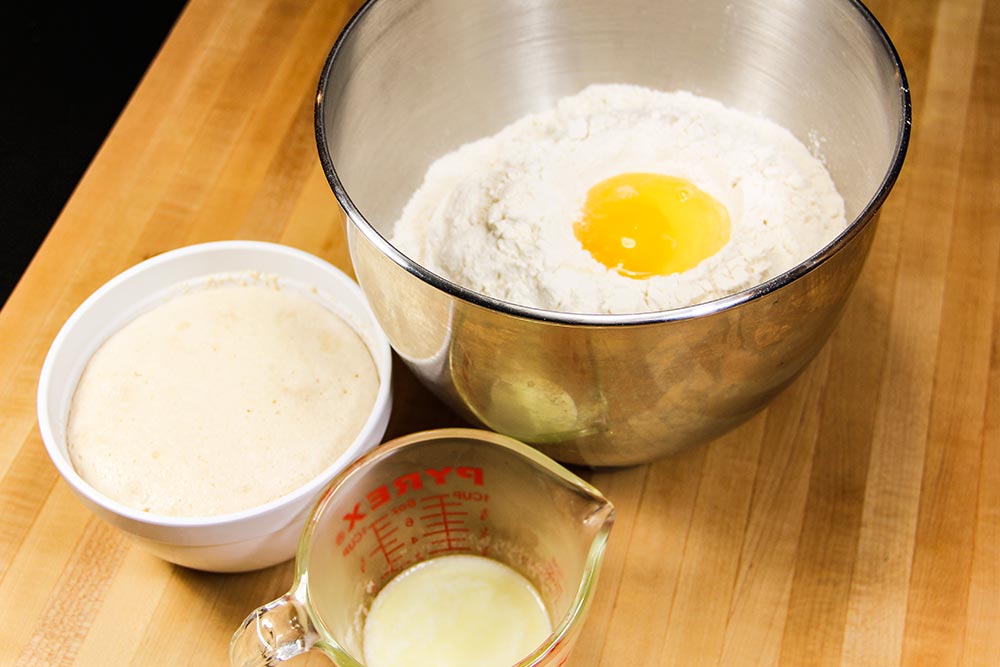
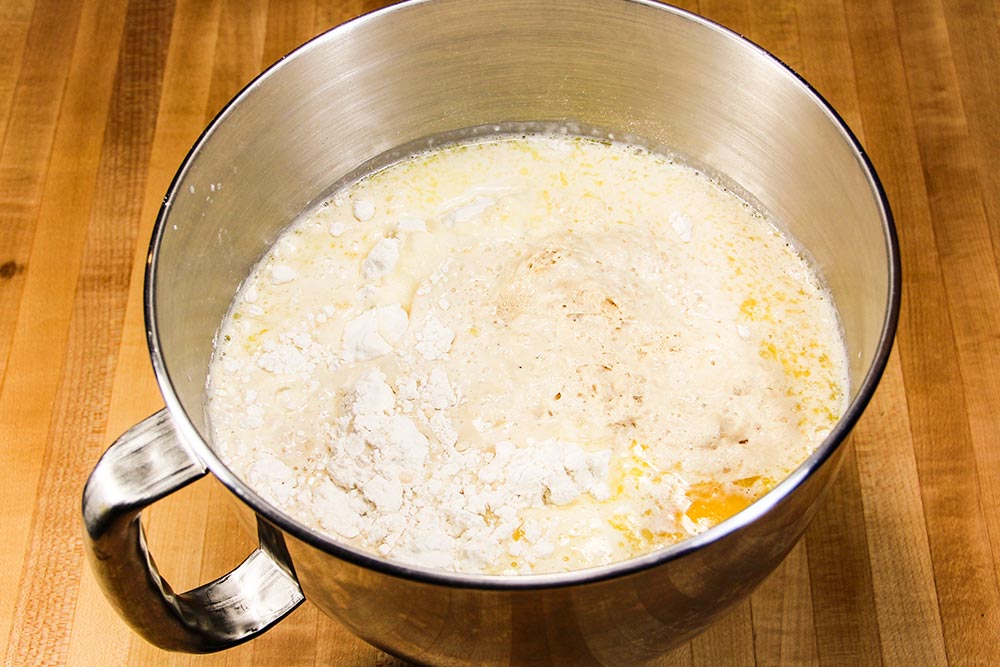
From here, we’ve got to get most of our ingredients together to make the dough. In my large KitchenAid mixing bowl, I added all 6 cups of flour, the 1 1/2 teaspoons of salt, the 1/4 cup of melted butter, the large egg and my activated yeast mixture. This combination of ingredients:
Turned into this combination of ingredients:
Mix Ingredients
I’m going to give you a word of warning here. Kelly’s recipe claims that this dough mixture will come out somewhat wet and sticky. This wasn’t the case for me and I followed her directions fairly exactly. I found that my mixer had a very tough time turning its hook attachment and I thought the motor was going to burn out. I had to increase the speed of the mixer and add a bit of milk here and there. That seemed to do the trick. I’m telling you that this is a tough job for any mixer, so keep your eye on it.
The directions say to mix for a total of 11 minutes, beginning on low and then increasing to medium. I followed this, with the exceptions I just told you about above.
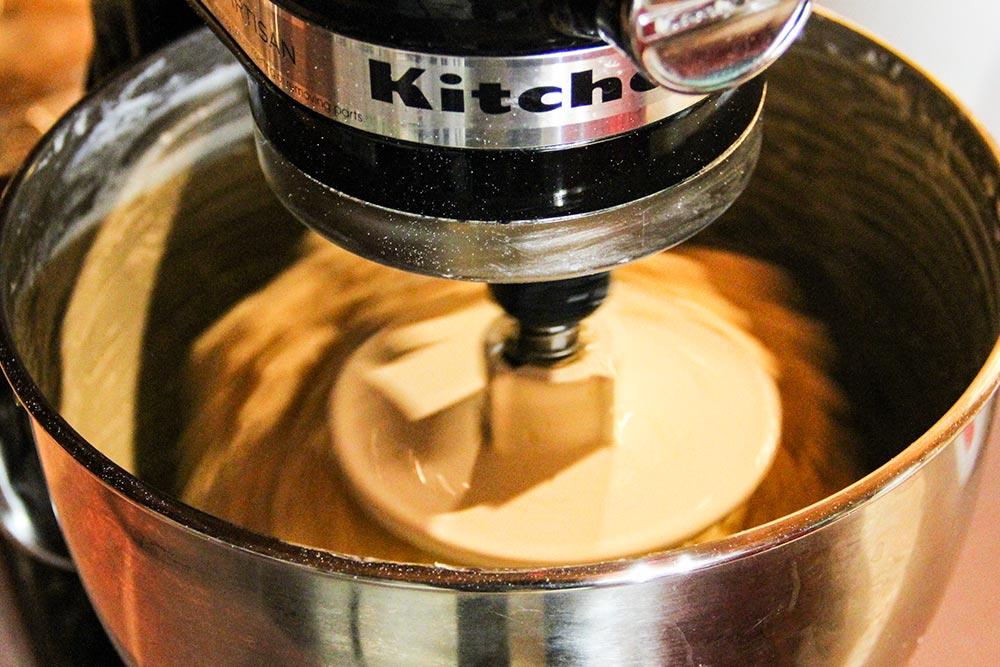
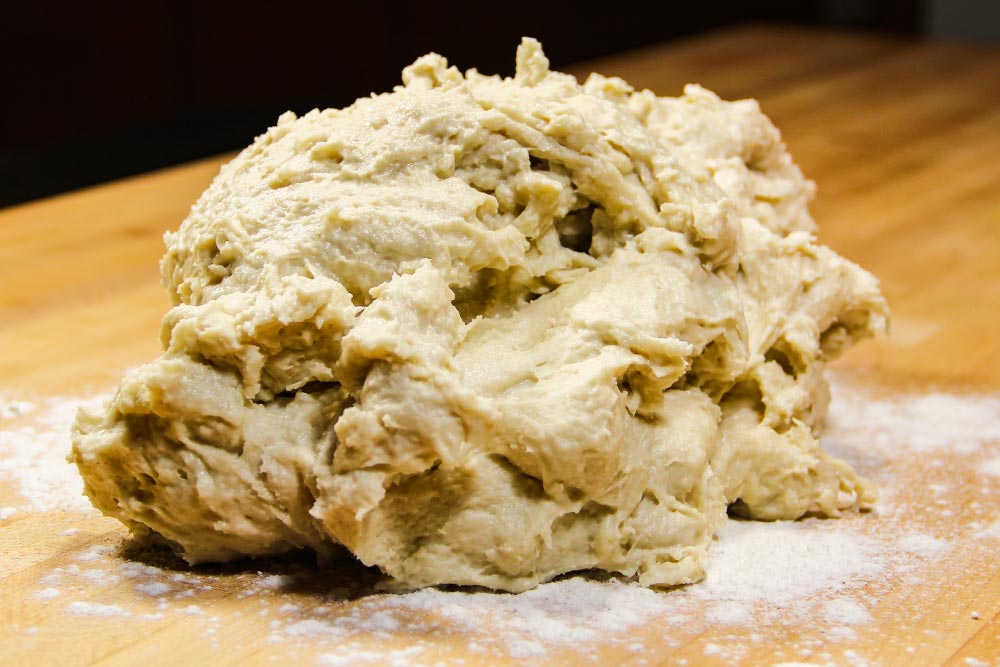
Eventually, I did end up with the sticky pile of dough that was called for. I removed it from the bowl and placed it on my flour covered butcher’s block.
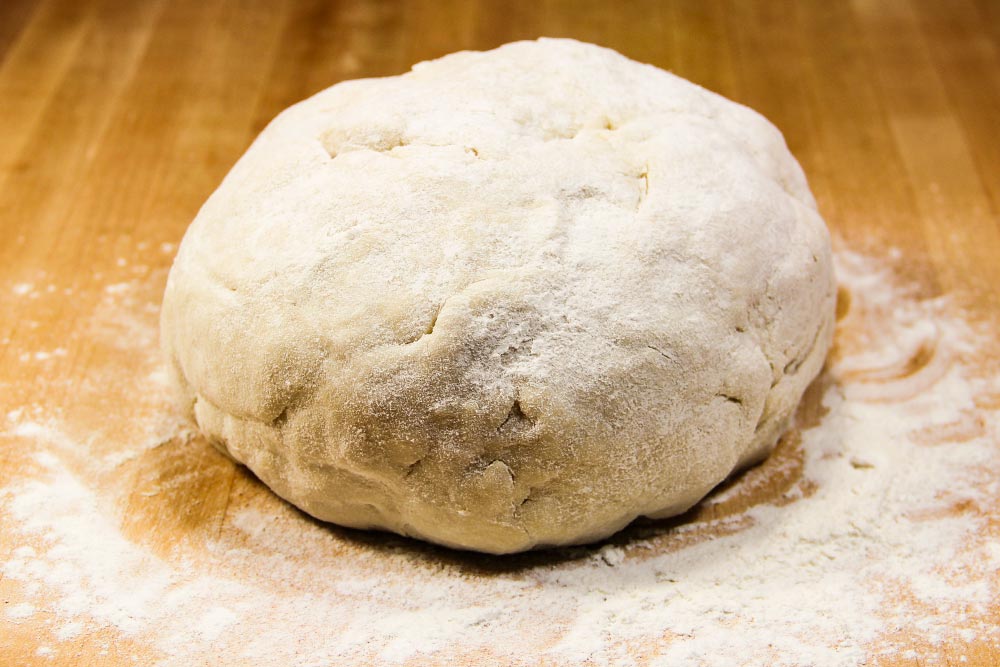
Right after that, I sprinkled some flour on top of the wet dough to make it easier to handle and formed it into a ball.
Let the Dough Rise
This is the toughest time while preparing any recipe like this. Personally, once I get rocking and rolling, I find it very challenging to stop and wait an hour. Unfortunately, when making many types of bread, this is something we need to do. In the case of this recipe, I put about a teaspoon of olive oil in a bowl and coated the sides. Then, I dropped the ball of dough inside it and covered it with plastic wrap. The goal here is to allow the dough to rise for an hour and have it not dry out.
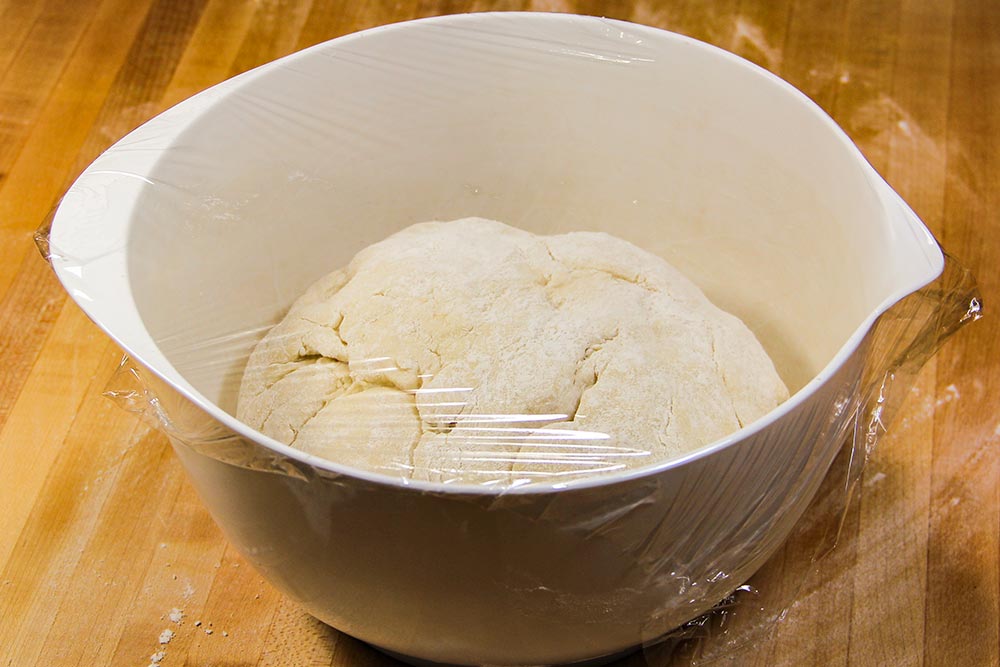
Be sure that you’re letting this dough rise in an area that’s at least 70 degrees. Dough likes warmth.
For the first half hour, not much was happening with mine, but during the second half of my long, extended waiting period, I finally began to see the ball getting larger and larger. That was a good sign.
Flatten, Cut & Roll
In this step, we’re going to set the stage for our knots.
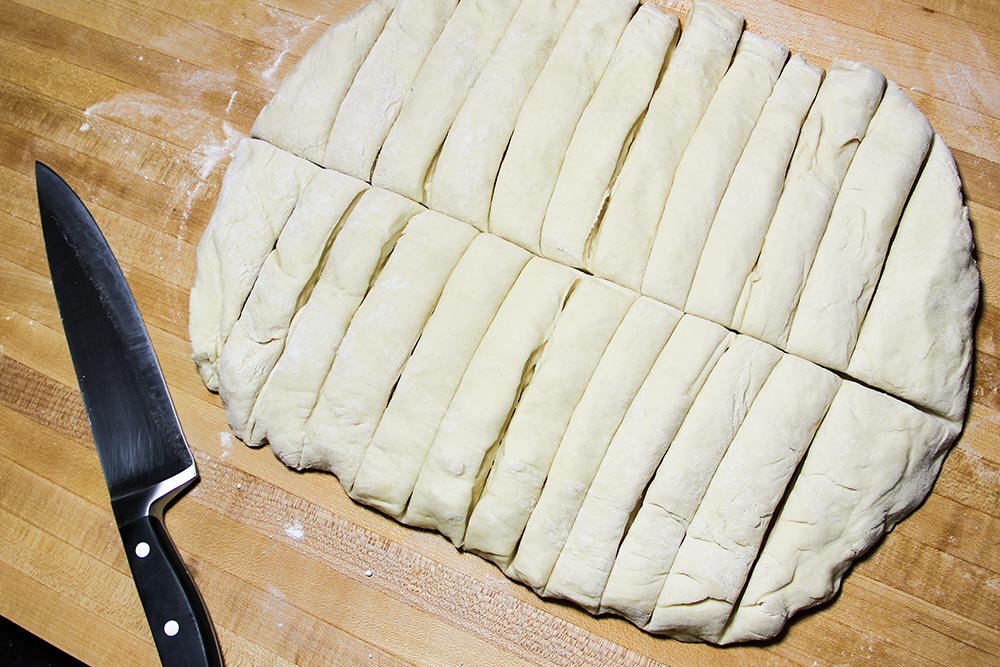
After my dough had risen for the appropriate time, I removed it from the bowl and placed it back on my flour coated butcher’s block. I punched it flat and shaped it into a rectangle that measured about 16 inches by 12 inches.
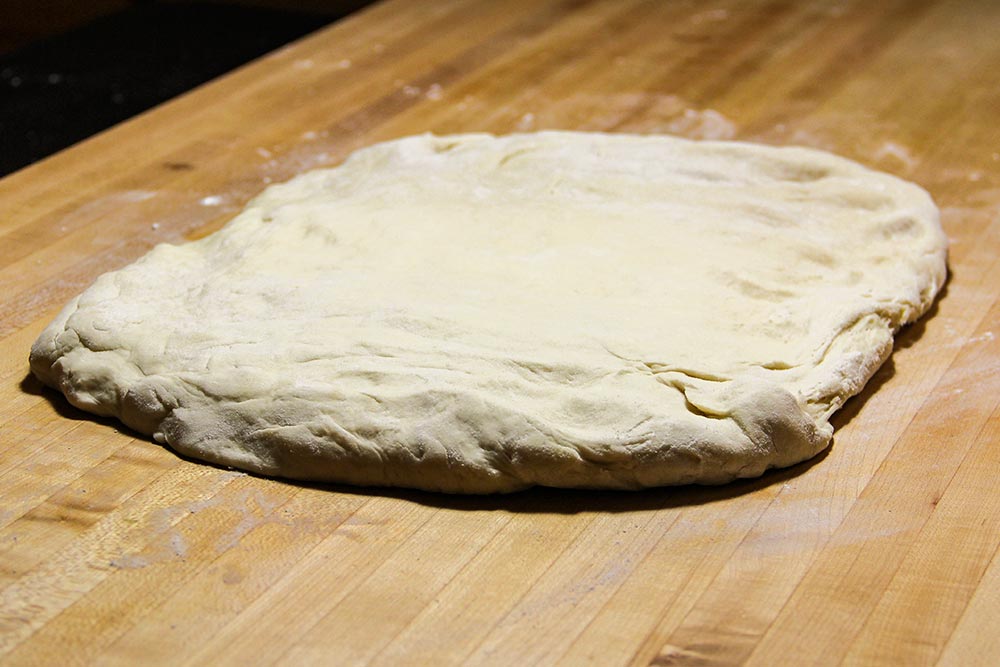
After that, I cut through the dough to create 24 individual pieces. To do this, I used my chef’s knife to cut twelve strips depth-wise and then halved them by cutting straight across. The main priority was to cut pieces that were as evenly sized to one another as possible. I know the pieces in the picture below look sort of random, but I actually did a pretty good job.
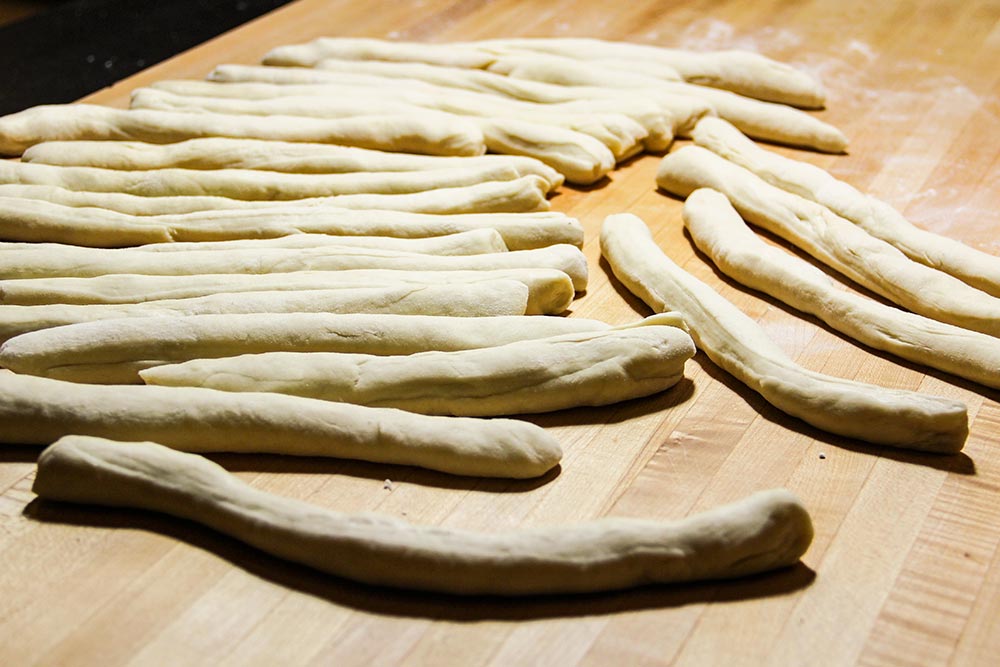
Finally, I rolled each slice into pieces that measured around 8 inches long.
Making the Knots
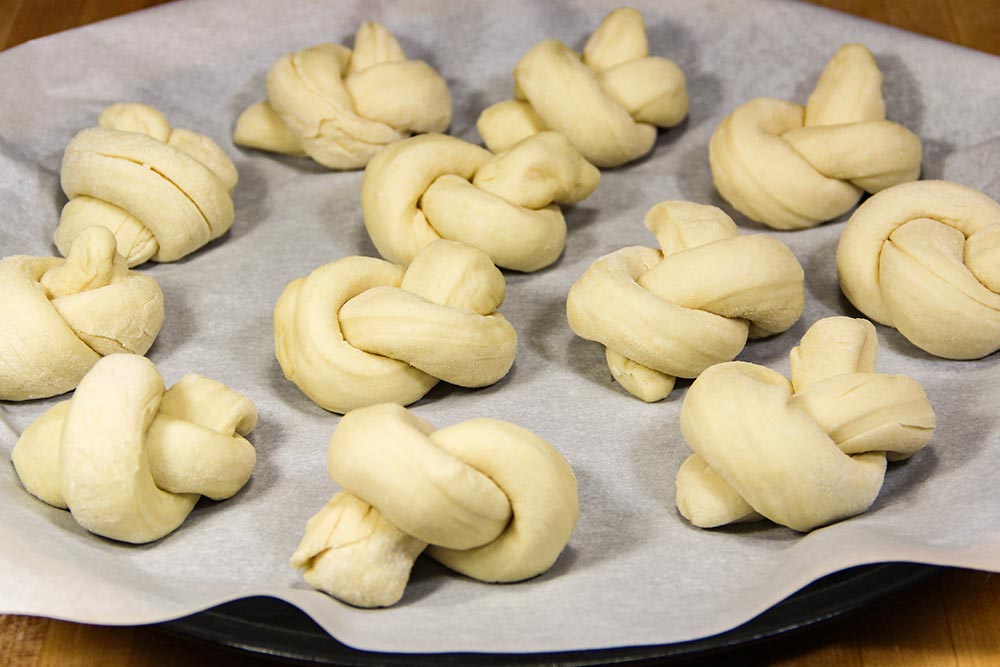
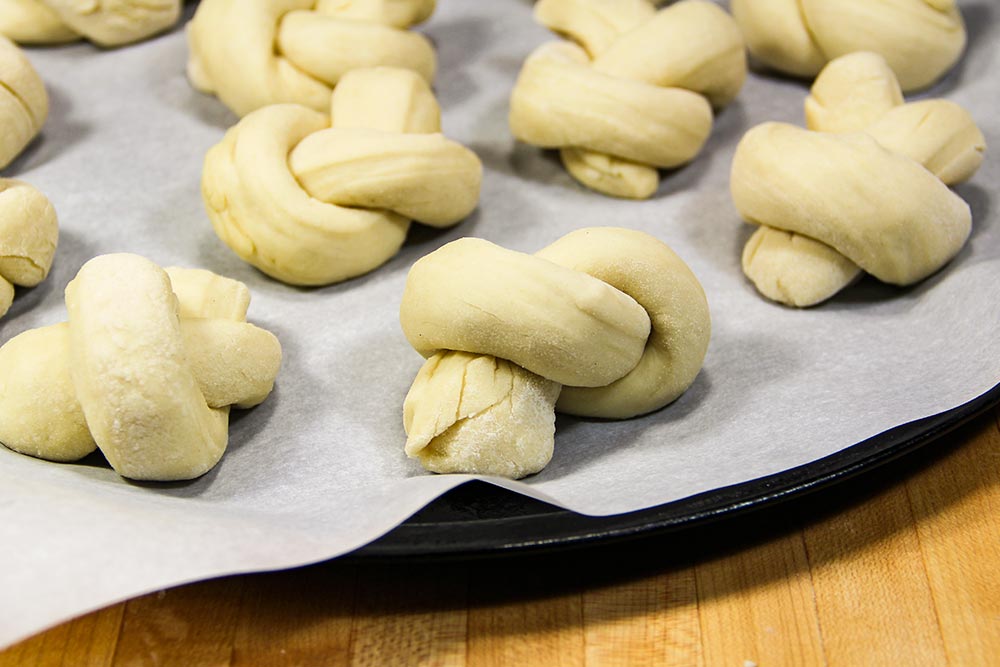
At this point, I really began seeing things come together quickly. I tied each one of my rolled pieces of dough into a knot and added all of them to two baking sheets that were covered with parchment paper. Reminder: Don’t use wax paper. Wax paper can’t handle the heat of the oven and will smoke.
Wax Paper vs. Parchment Paper | What is the Difference?
Preheat & Place in Oven
While I was twisting up my knots, I had the oven preheating on 350 degrees. Luckily, 350 isn’t very hot so this didn’t take very long. Once it was ready to go, I popped my two baking trays inside.
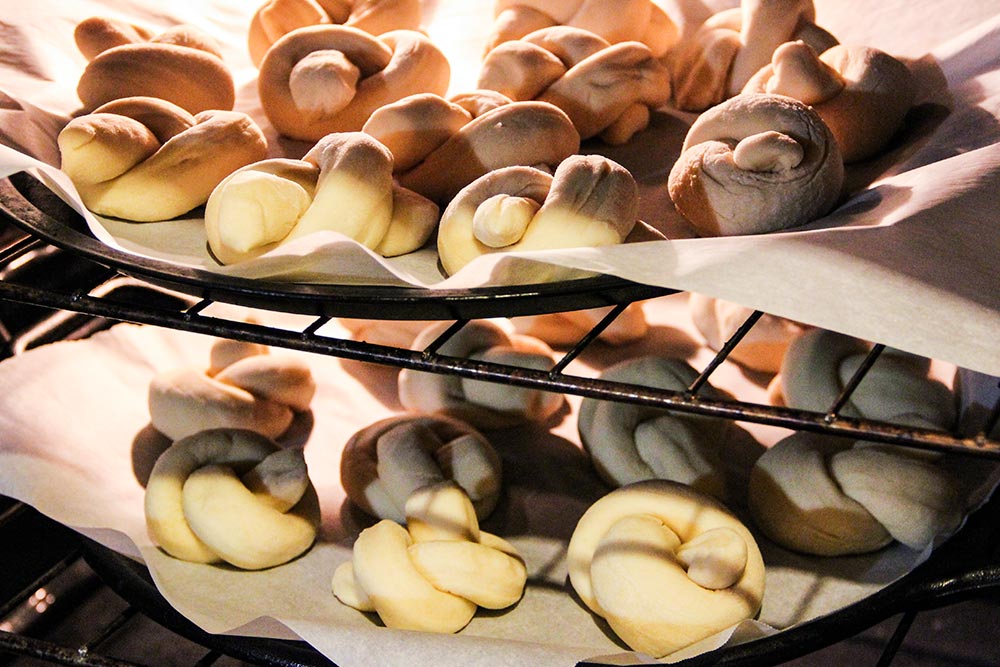
I let them bake anywhere between 15 and 20 minutes. Basically, I knew they were finished when the tops were nicely browned.
Here’s another tip for you – When baking with two baking sheets like this, it may be helpful to rotate and switch racks halfway through, just to keep the browning even. Also, I noticed the bottom knots browning more slowly than the ones on top, so I let them sit inside for an extra minute or two. Use your eyes as your primary gauge, not the timer.
Prepare the Topping
Get ready for your house to smell very good and for everyone to notice exactly what you’re doing. If there are others around, you’ll most definitely get the “Wow, what’s that smell? What’re you making?”
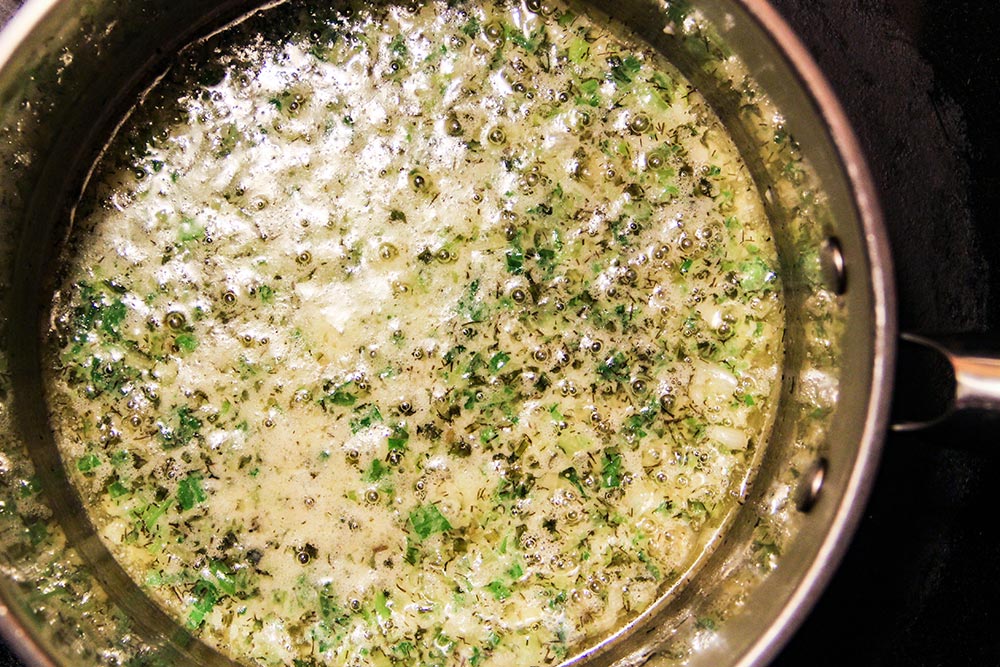
While your knots are baking, you’ll have the perfect opportunity to prepare the topping that you’ll brush on each one. To do this, combine the stick of salted butter, the chives or (and) scallions, the dill and the minced garlic into a small frying pan, or like in my case, a saucepan, and simmer over medium until everything softens. This really takes only a few minutes. Wait until you can truly smell all the ingredients, especially the garlic. Also, you may have to warm the pan back up slightly when you’re ready to begin brushing because the butter has a tendency to get a bit firm.
Remove From Oven & Brush on Topping
I waited until my knots were perfectly brown and when they were, I pulled them out of the oven. Here, take a look.
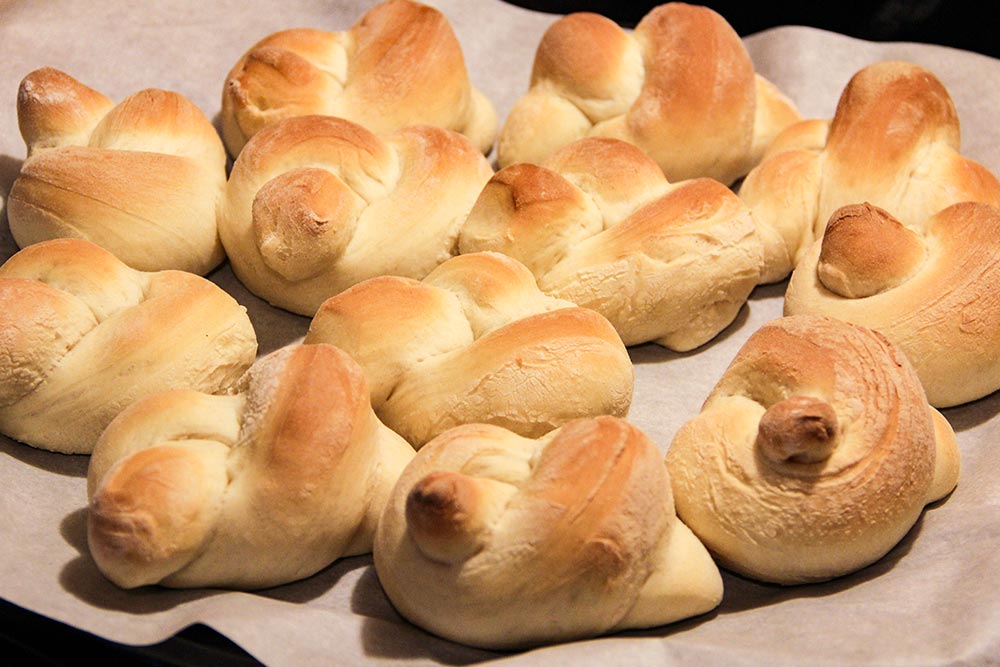
Right after I took them out and rested them on my stove top, I began brushing on the topping.
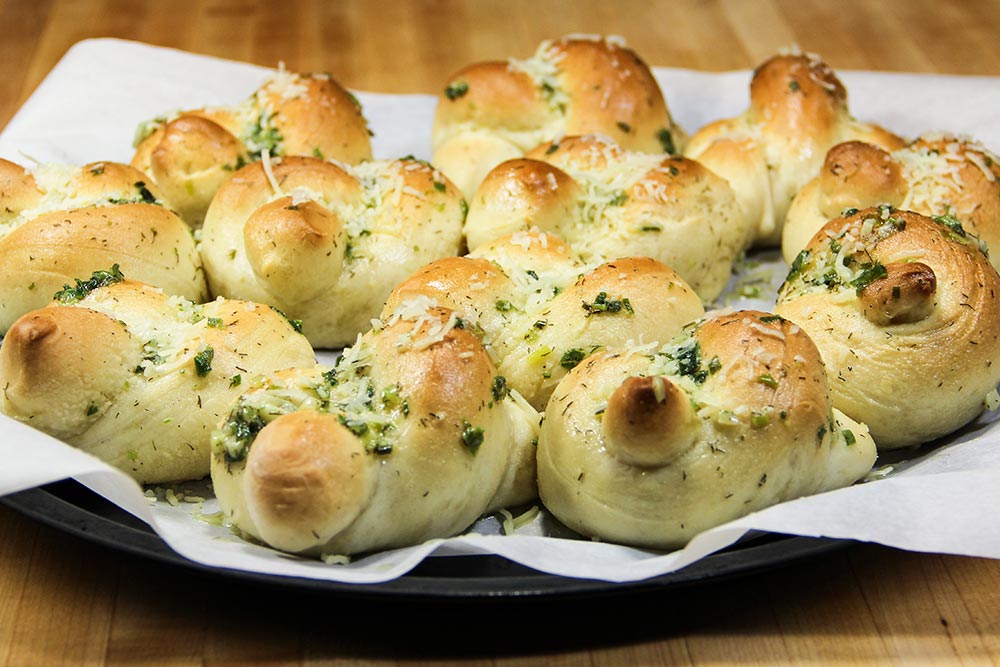
After applying the topping, I sprinkled some parmesan cheese on each one.
Can you smell them? I bet you can. Honestly, I’m surprised they came out so well. I’ve never been known for my timing in the kitchen, but I suppose I’m getting better at that. Here’s another photo of one of the knots for you.

I’m going to go eat another one right now.
——
If you’ve enjoyed today’s post and found it helpful, please share it with a friend. Thanks!
Leave a Reply