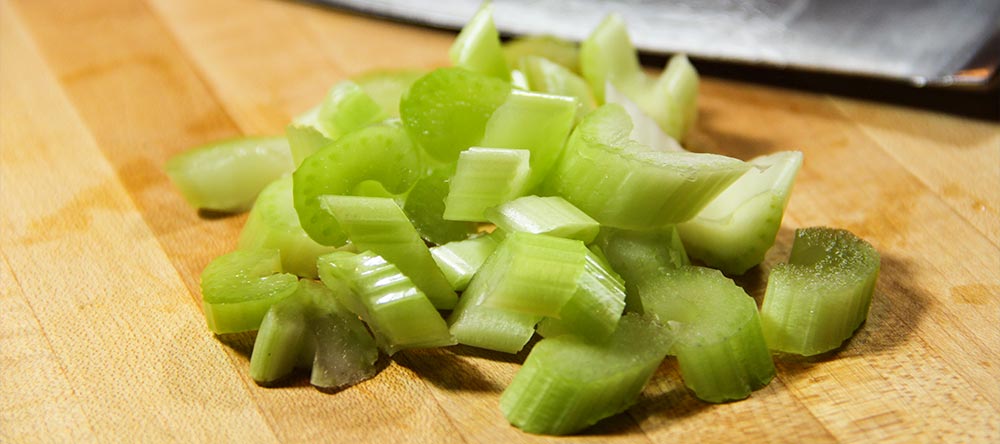
If you’re not a trained chef or don’t hang out with many folks who have made food and cooking a priority in their lives, you most likely have no idea what the term “bias” means. You may, however, hear it referred to in the future (due to the increasing popularity of cooking), so it’s not a bad idea to familiarize yourself with a term here and there. With that in mind, in this post, I’m going to let you behind the curtain as well as offer some example photos of yours truly cutting a piece or two of celery “on the bias.”
What Does “On the Bias” Mean?
In the most basic sense, when someone cuts something on the bias, they are cutting it at an angle. The most popular angle to cut a piece of food is 45 degrees. So if I were to cut a piece of celery or a carrot on the bias, I wouldn’t be cutting it straight across to make little hockey pucks – I’d be cutting it at an angle to create a more interesting piece of food that has more surface area than if it were cut traditionally. The reason many chefs like to cut on the bias is to obtain more area to brown the food as well as to reduce the cooking time. The thinner the cut and the more surface area (sharper angle), the shorter the time necessary to cook whatever you’re cooking.
My Celery
As promised, I’m going to show you a few different methods of cutting celery on the bias. Before that though, I thought I’d show you what I’m working with.
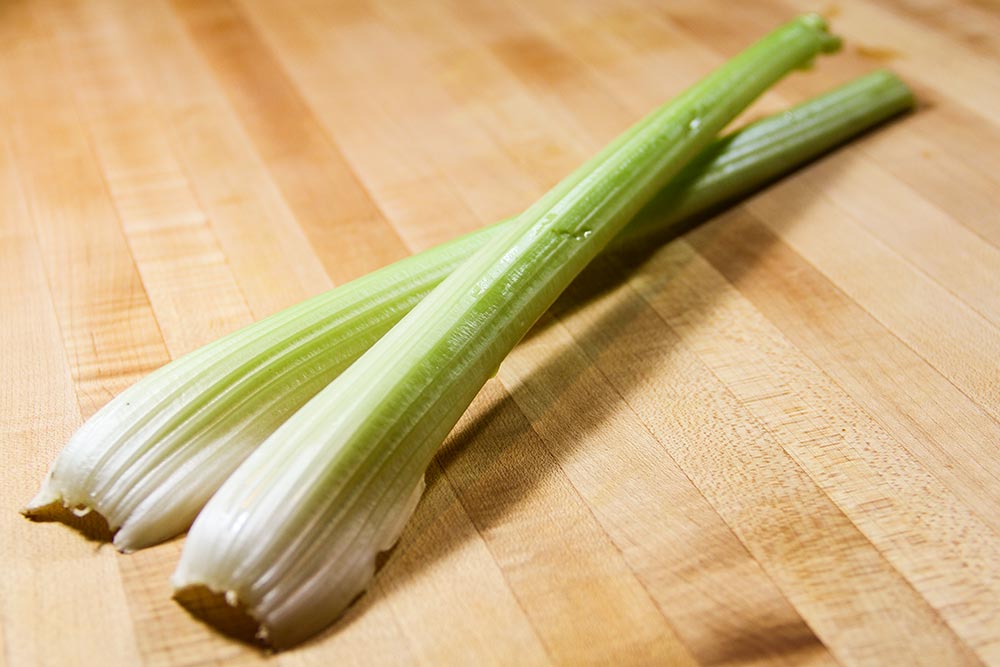
As you can see, I’ve got two celery stalks here. I plan on cutting one stalk at one angle and the other at another angle.
Trimming the Celery
Typically, you’d purchase celery that’s full of foliage. Before cutting it, you’d need to trim that foliage away. In my case, you can see that I purchased celery that’s already had the foliage trimmed off. All I’m left with are the white bottoms. Since this is the case, I’m going to quickly remove those bottoms.
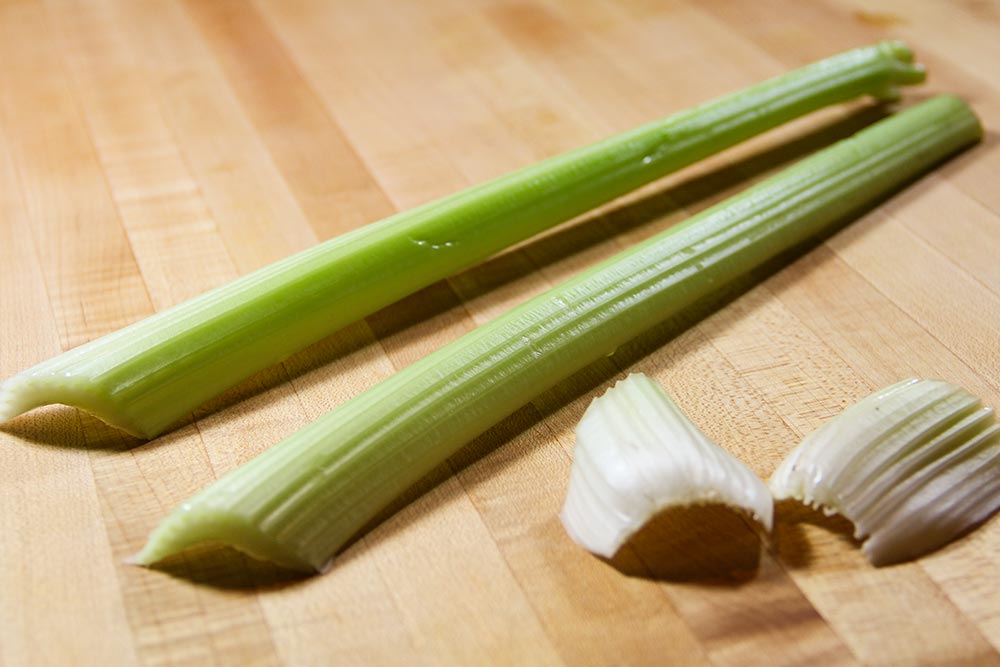
First Bias Cut
The first type of angle cut I’m going to make is when my eight inch chef’s knife is perpendicular to the cutting board. All I’m doing is angling the knife at 45 degrees as compared to the celery stalk. I’ll show you what I’m talking about in the next two photos.
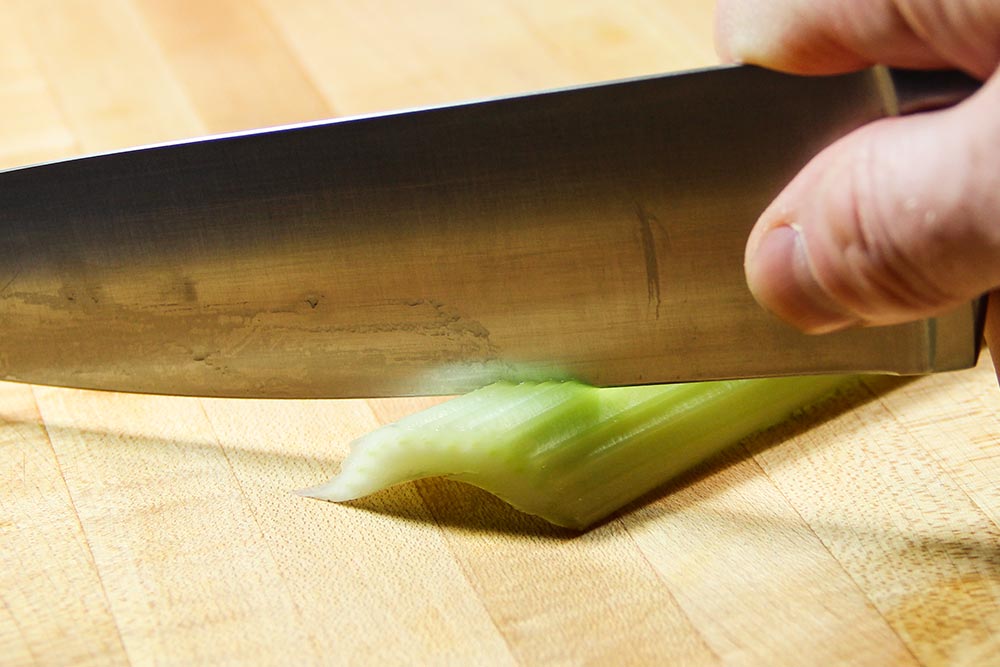
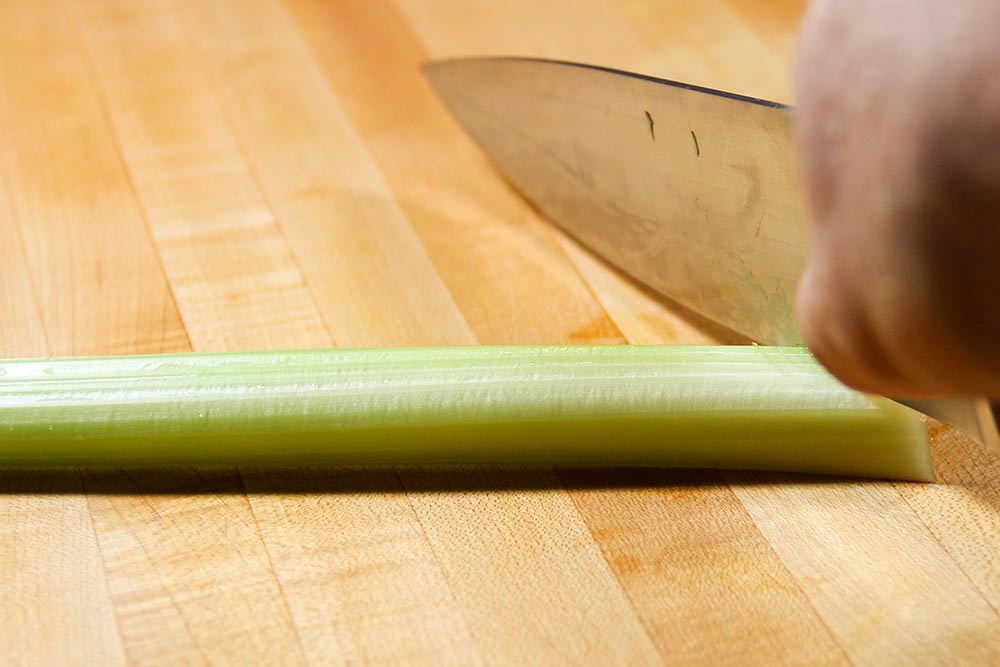
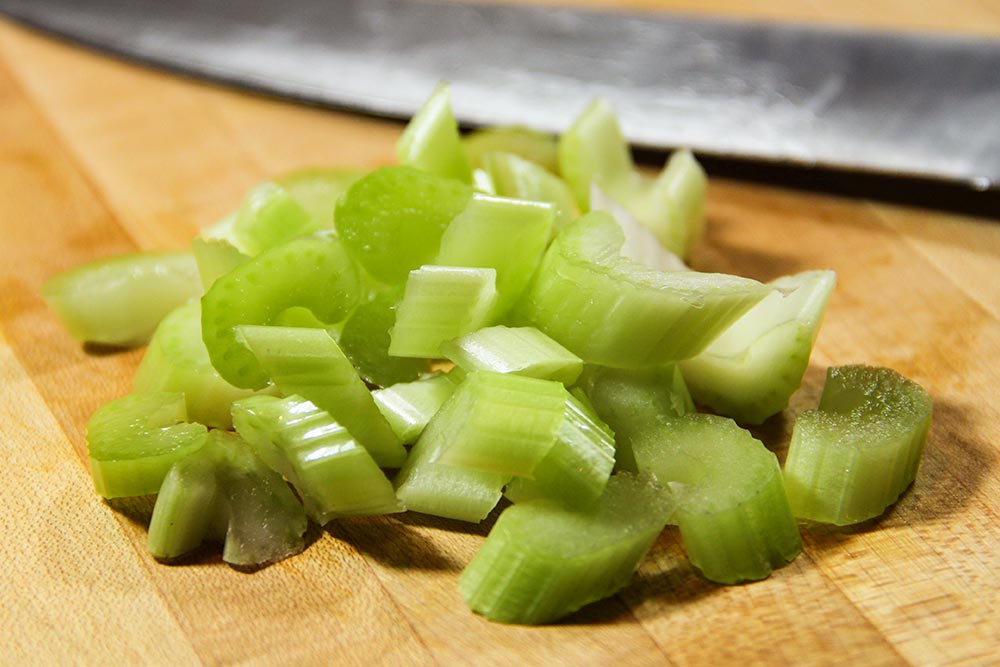
Next up, I’ll continue to cut through the celery stalk at this angle until I’m all the way across. I like to make each piece about a half inch thick. What I’m left with is a pile of beautiful celery that’s been cut on the bias.
Second Bias Cut
This next cut is a bit different than the first. If you recall, during the first cut, I held my knife perpendicular to the cutting board and held it at an angle to the celery. In this case, I’m going to hold the knife perpendicular to the celery and angle it with the board. This next photo will give you a better idea of what I’m talking about.
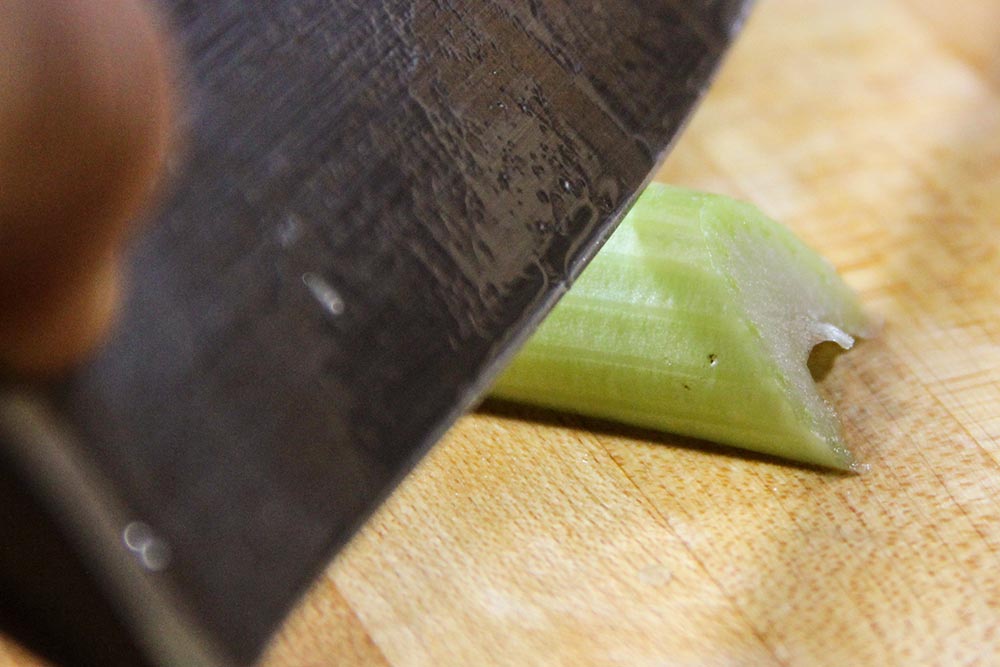
For some strange reason, I consider this cut a bit fancier than the first. It’s less common.
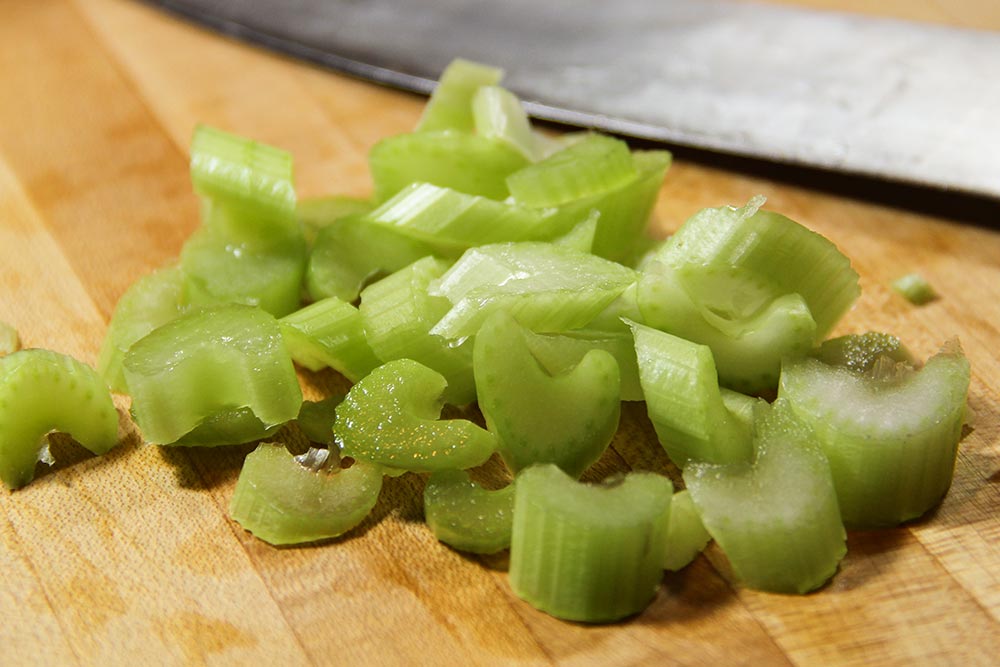
Now, if I continue to cut through the celery at this angle, I’m left with another pile.
The Final Cuts
I don’t know about you, but I can’t really tell the difference between those celery piles when they’re all lumped together like that. To be more clear, I thought I’d pull one piece from each and arrange them so they can exemplify what I’ve done. This is my best shot.
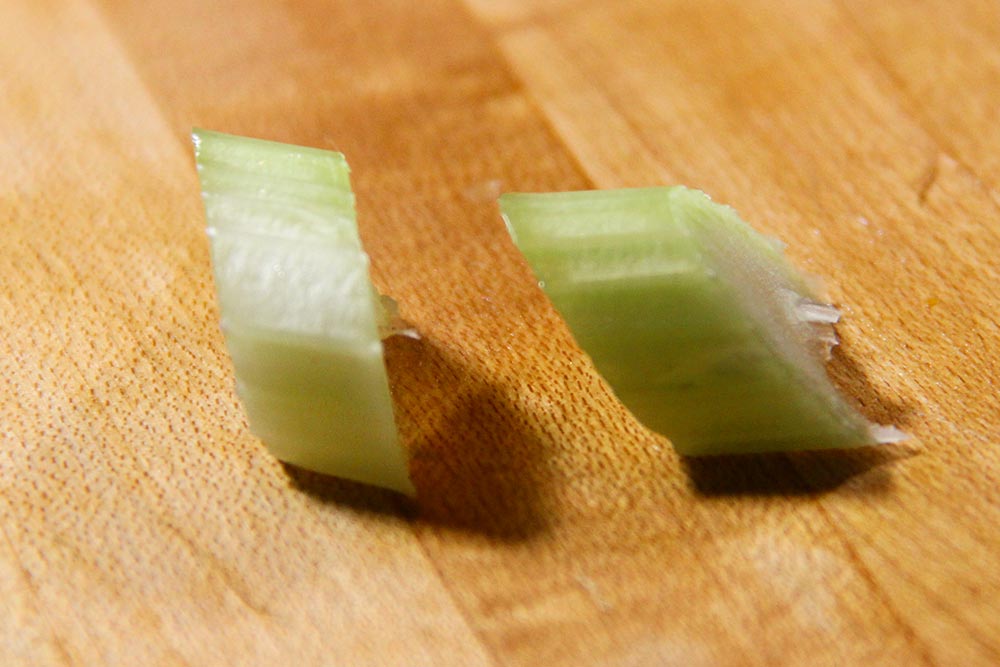
So there we have it. Two final pieces of celery cut at two different angles. Both are considered cut on the bias, so whichever angle you choose is up to you.
——
If you’ve enjoyed today’s post and found it helpful, please share it with a friend. Also, if you’d like to continue reading and would like our posts sent directly to your email inbox, simply sign up for our newsletter. We’ll send each and every post directly to you. Thanks!
COMMENT: What about the dreaded DOUBLE BIAS cut, cutting at a 45-degree angle to the celery AND to the cutting board? BRAIN EXPLOSION.
COMMENT: BOOM! I like that.
COMMENT: Thank you! I just came across “cut the meat on a bias” on a recipe (new to actually following recipes haha) and did not know what it meant. Thanks so much for sharing. Love your story and wish you blessings, good health and success!
Leave a Reply